Hey, I’m Dora. I was staring at a 45-second product script on December 3, 2025, thinking, “This either becomes a crisp storyboard tonight, or it becomes tomorrow-me’s problem.” Classic fork-in-the-road moment. I’d been seeing “script to storyboard AI” pop up everywhere, so I poured some tea, hit record on a screen capture, and tested a few tools. Here’s what worked, what didn’t, and the small tricks that saved me hours.
What Is Script to Storyboard AI?
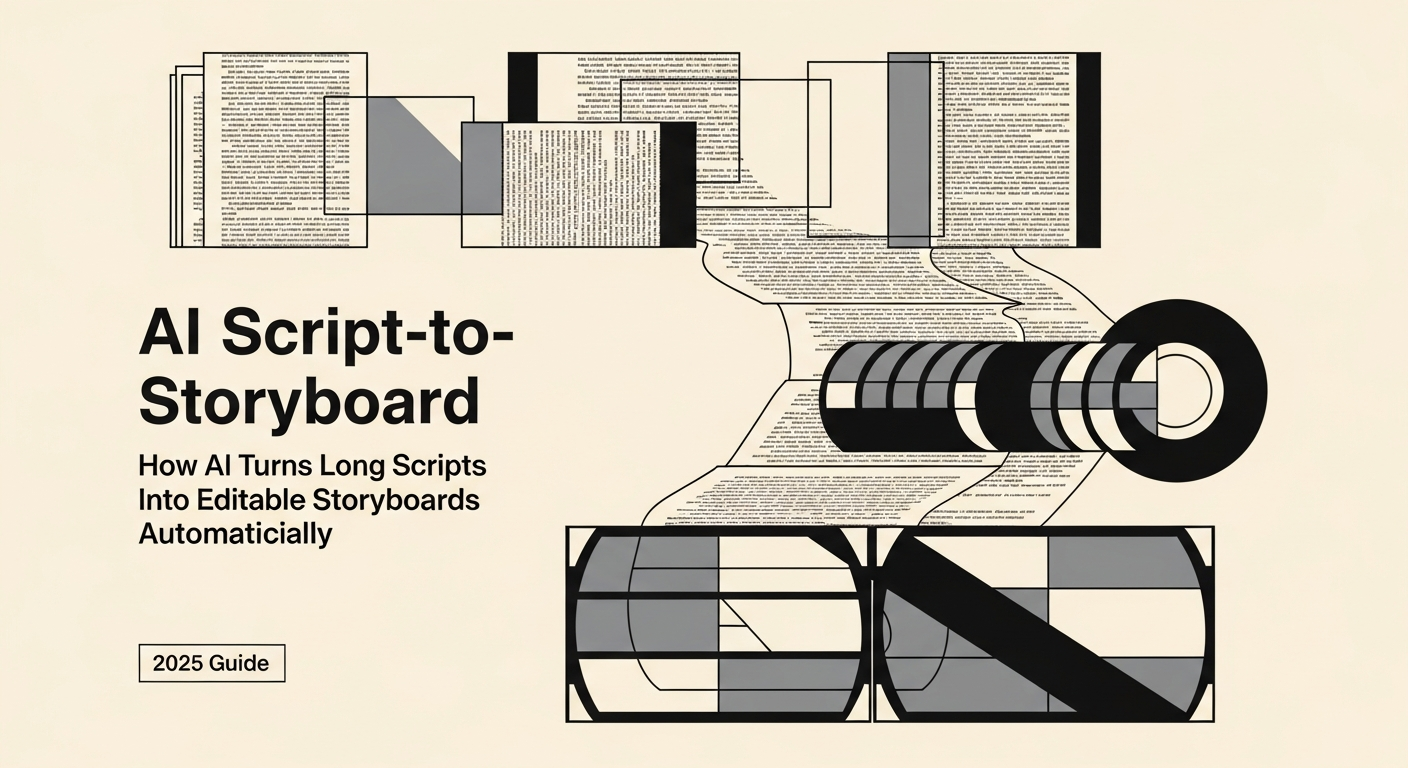
At its best, script to storyboard AI takes a written script and turns it into a sequence of visual frames with shot descriptions, angles, and notes, sometimes even rough compositions. Think of it as a fast previsualization partner: you feed it lines, it sketches the movie in your head.
Under the hood, most tools mash up two engines:
- A language model that parses beats, scenes, and actions from the script (e.g., Claude 3.5, GPT-4.1-class models).
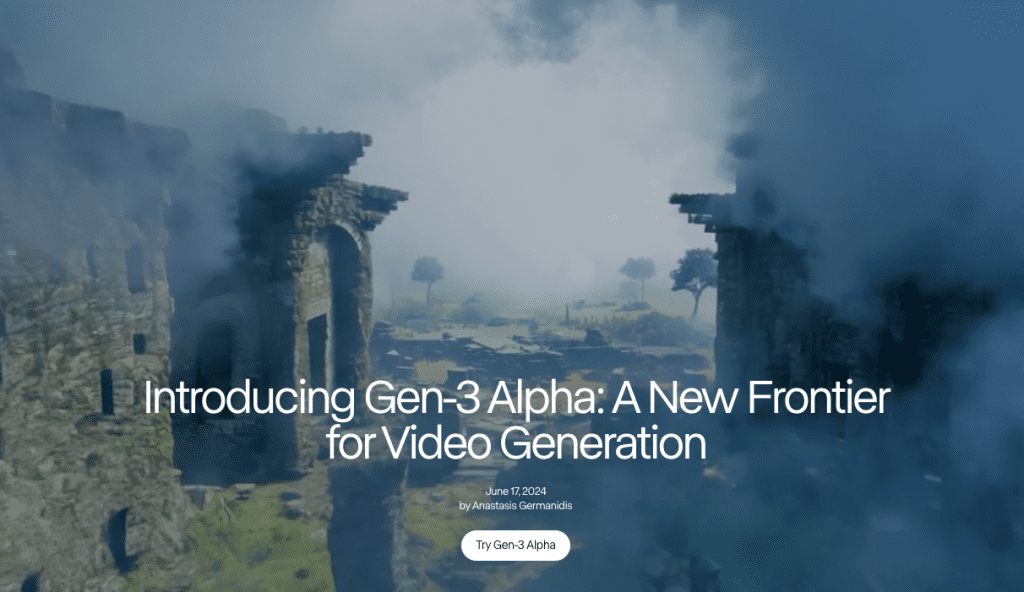
- A generative visual model that renders frames (SDXL/Flux-style image models or video preview tools like Runway Gen-3 and Pika 2 for motion tests).
Some platforms (Boords with AI assist, Wonder Unit’s Storyboarder with plugins, Runway workflows) try to bundle these steps: others expect you to shuttle between an LLM and an image generator. Either way, the goal is the same: turn words into shareable visuals fast enough to keep momentum without sacrificing intent.
Script to Storyboard Workflow
Step-by-Step Process from Script to Storyboard Frames
Here’s the flow I used on Dec 3–5, 2025 for a 12-shot explainer (result: 12 frames in ~38 minutes):
- Break the script into beats. I asked an LLM to chunk by scene and shot (include: action, subject, emotion, camera, time of day). Output: a numbered shot list.
- Add visual directives. For each shot, I appended style hints (brand palette, lens, aspect ratio). Example: “Warm daylight, 35mm, mid-shot, soft shadows, teal-accent UI.”
- Generate frames. I pushed each shot description into an image model with a seed for consistency and a character reference sheet. For those looking for a straightforward way to generate storyboard sketches from descriptions, specialized tools can speed up this step significantly while maintaining visual consistency across frames.
- Assemble the board. I dropped frames plus captions into a storyboard template with time codes and VO lines.
- Iterate. Two quick passes: one to fix mismatched props: one to unify color and character.
My benchmark: manual boards usually take me ~3 hours for 12 frames. With AI assist, I got usable boards in 40–60 minutes.
How to Prepare Your Script for Storyboarding
Think like a cinematographer for five minutes, it pays off.
- Mark beats: Add [SFX], [VO], and [Action] tags. Clear tags reduce hallucinations.
- Note camera intent: “Close-up on hands,” “Wide exterior,” “Over-the-shoulder.” The AI will guess, don’t make it.
- Lock tone and palette: Include brand colors and lighting vibe (cool tech, warm human, high-contrast night). Consistency saves rework.
- Character bible: 3–5 lines describing age, clothing, vibe, and recurring props. I attach a single reference image when possible.
- Props and no-gos: If the product CAN’T be shown plugged in, say so. Small constraints prevent big fixes later.
Workflow Mistakes to Avoid During Script to Storyboard Conversion
I made these so you don’t have to:
- Too many adjectives, not enough nouns: “Dynamic, inspiring” means nothing to a model. “Handheld shot, subtle head turn” does.
- Style drift: Change seeds or prompts too often and your character morphs. Keep one seed per character and one palette per project.
- Ignoring continuity: That mug color you didn’t specify? It’ll change every frame. Lock props, angles, and horizon line.
- Skipping alt text: Add 1–2 lines under each frame explaining intent. Stakeholders read those first.
- Rendering before structure: Nail the shot list in text before you start image generation. It’s faster, promise.
Real Script to Storyboard Examples
Practical Use Cases and Visual Outputs
- 45s Product Explainer (Dec 3, 2025): 12 frames, 16:9, warm UI palette. The AI nailed UI focus shots and hand interactions: it struggled with consistent laptop ports until I locked a prop reference.
- Social Teaser (Dec 4, 2025): 6 frames, square crop. Fast and clean. I reused the same character seed and got near-perfect continuity.
- Research Video Abstract (Dec 5, 2025): 8 frames translating a dense paragraph into visuals for a lab update. Huge win for clarity, the PI approved in one pass.
Before-and-After Script to Storyboard Samples
Before: “VO: Our app keeps your day on track. Cut to user at desk.” Vague. I got four wildly different offices.
After: “VO: Our app keeps your day on track. Shot 3: OTS on a 27″ matte monitor with teal sticky notes left edge: morning light: user in gray hoodie: app calendar with two green events.” Result: frames matched across iterations, and reviewers gave precise feedback (“swap teal to #00A6A6”).
Quick metric: With that level of specificity, my revision count dropped from 3 rounds to 1.
Tips for Better Script to Storyboard Results
Best Practices to Improve Accuracy and Visual Quality
- Lock the triangle: character, palette, lens. Keep them stable across shots.
- Use time codes: 00:00–00:04 per frame focuses reviewers on pacing, not perfection.
- Add motion notes: “Push-in,” “Rack focus,” “Hold 1s before cut.” Even for still frames, motion notes shape composition.
- Reference reality: A single photo of the real device or room beats ten adjectives.
- Version control: Name files Shot_01_v1 to v3. I cap myself at three passes to avoid tinkering forever.
If you want deeper dives, official docs for your image model and your board tool are worth a skim, camera terms and seeds behave differently across platforms.
How to Optimize Prompts for Script to Storyboard AI
I treat prompts like recipes:
- Structure: [Subject], [Action], [Camera], [Lighting], [Style], [Palette], [Constraints].
- Example: “Young woman at desk, tapping ‘Start’ on a teal calendar app, mid-shot, 35mm, soft morning light, clean corporate style, teal/white/charcoal, no logos, no reflections on screen.”
- Consistency: Add “same character as Shot_02” and a fixed seed to keep faces stable.
- Negative prompts: “No text in background, no bokeh balls, no glossy screens.” Small line, big impact.
- Iteration trick: Generate grayscale first to test composition: then color once framing is right.
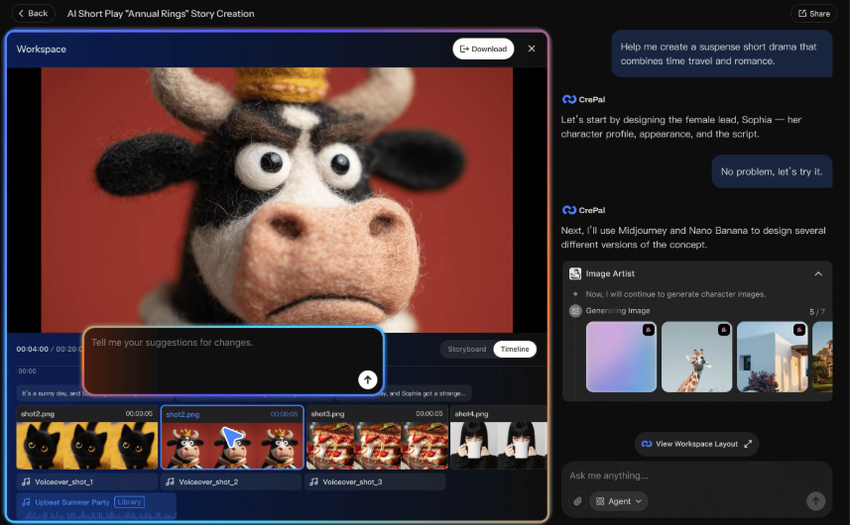
If you need to generate those storyboard frames fast without toggling between five different tools, Crepal lets you go from shot description to consistent visual frames in one place—worth trying if you’re tired of the prompt-shuffle workflow.
Previous posts: