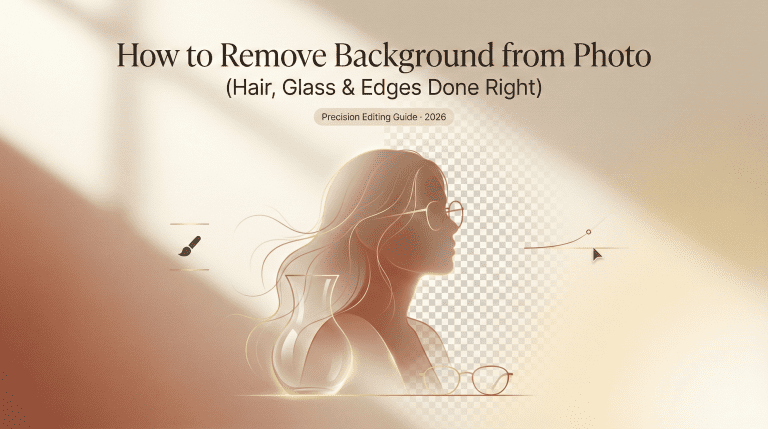
Hey, I’m Dora. That day, I was editing a quick product shot, when I realized the background was ruining the whole vibe. I wanted that clean, floating look you see on good landing pages. I’d seen people say “oh, just click Background Remover in Canva,” but I wasn’t sure how well it handled wispy hair or shiny edges. So I ran a few tests on my MacBook Air and my iPhone 14. Not sponsored, just honest results from a sleepy Monday night experiment that somehow turned into notes I had to share.
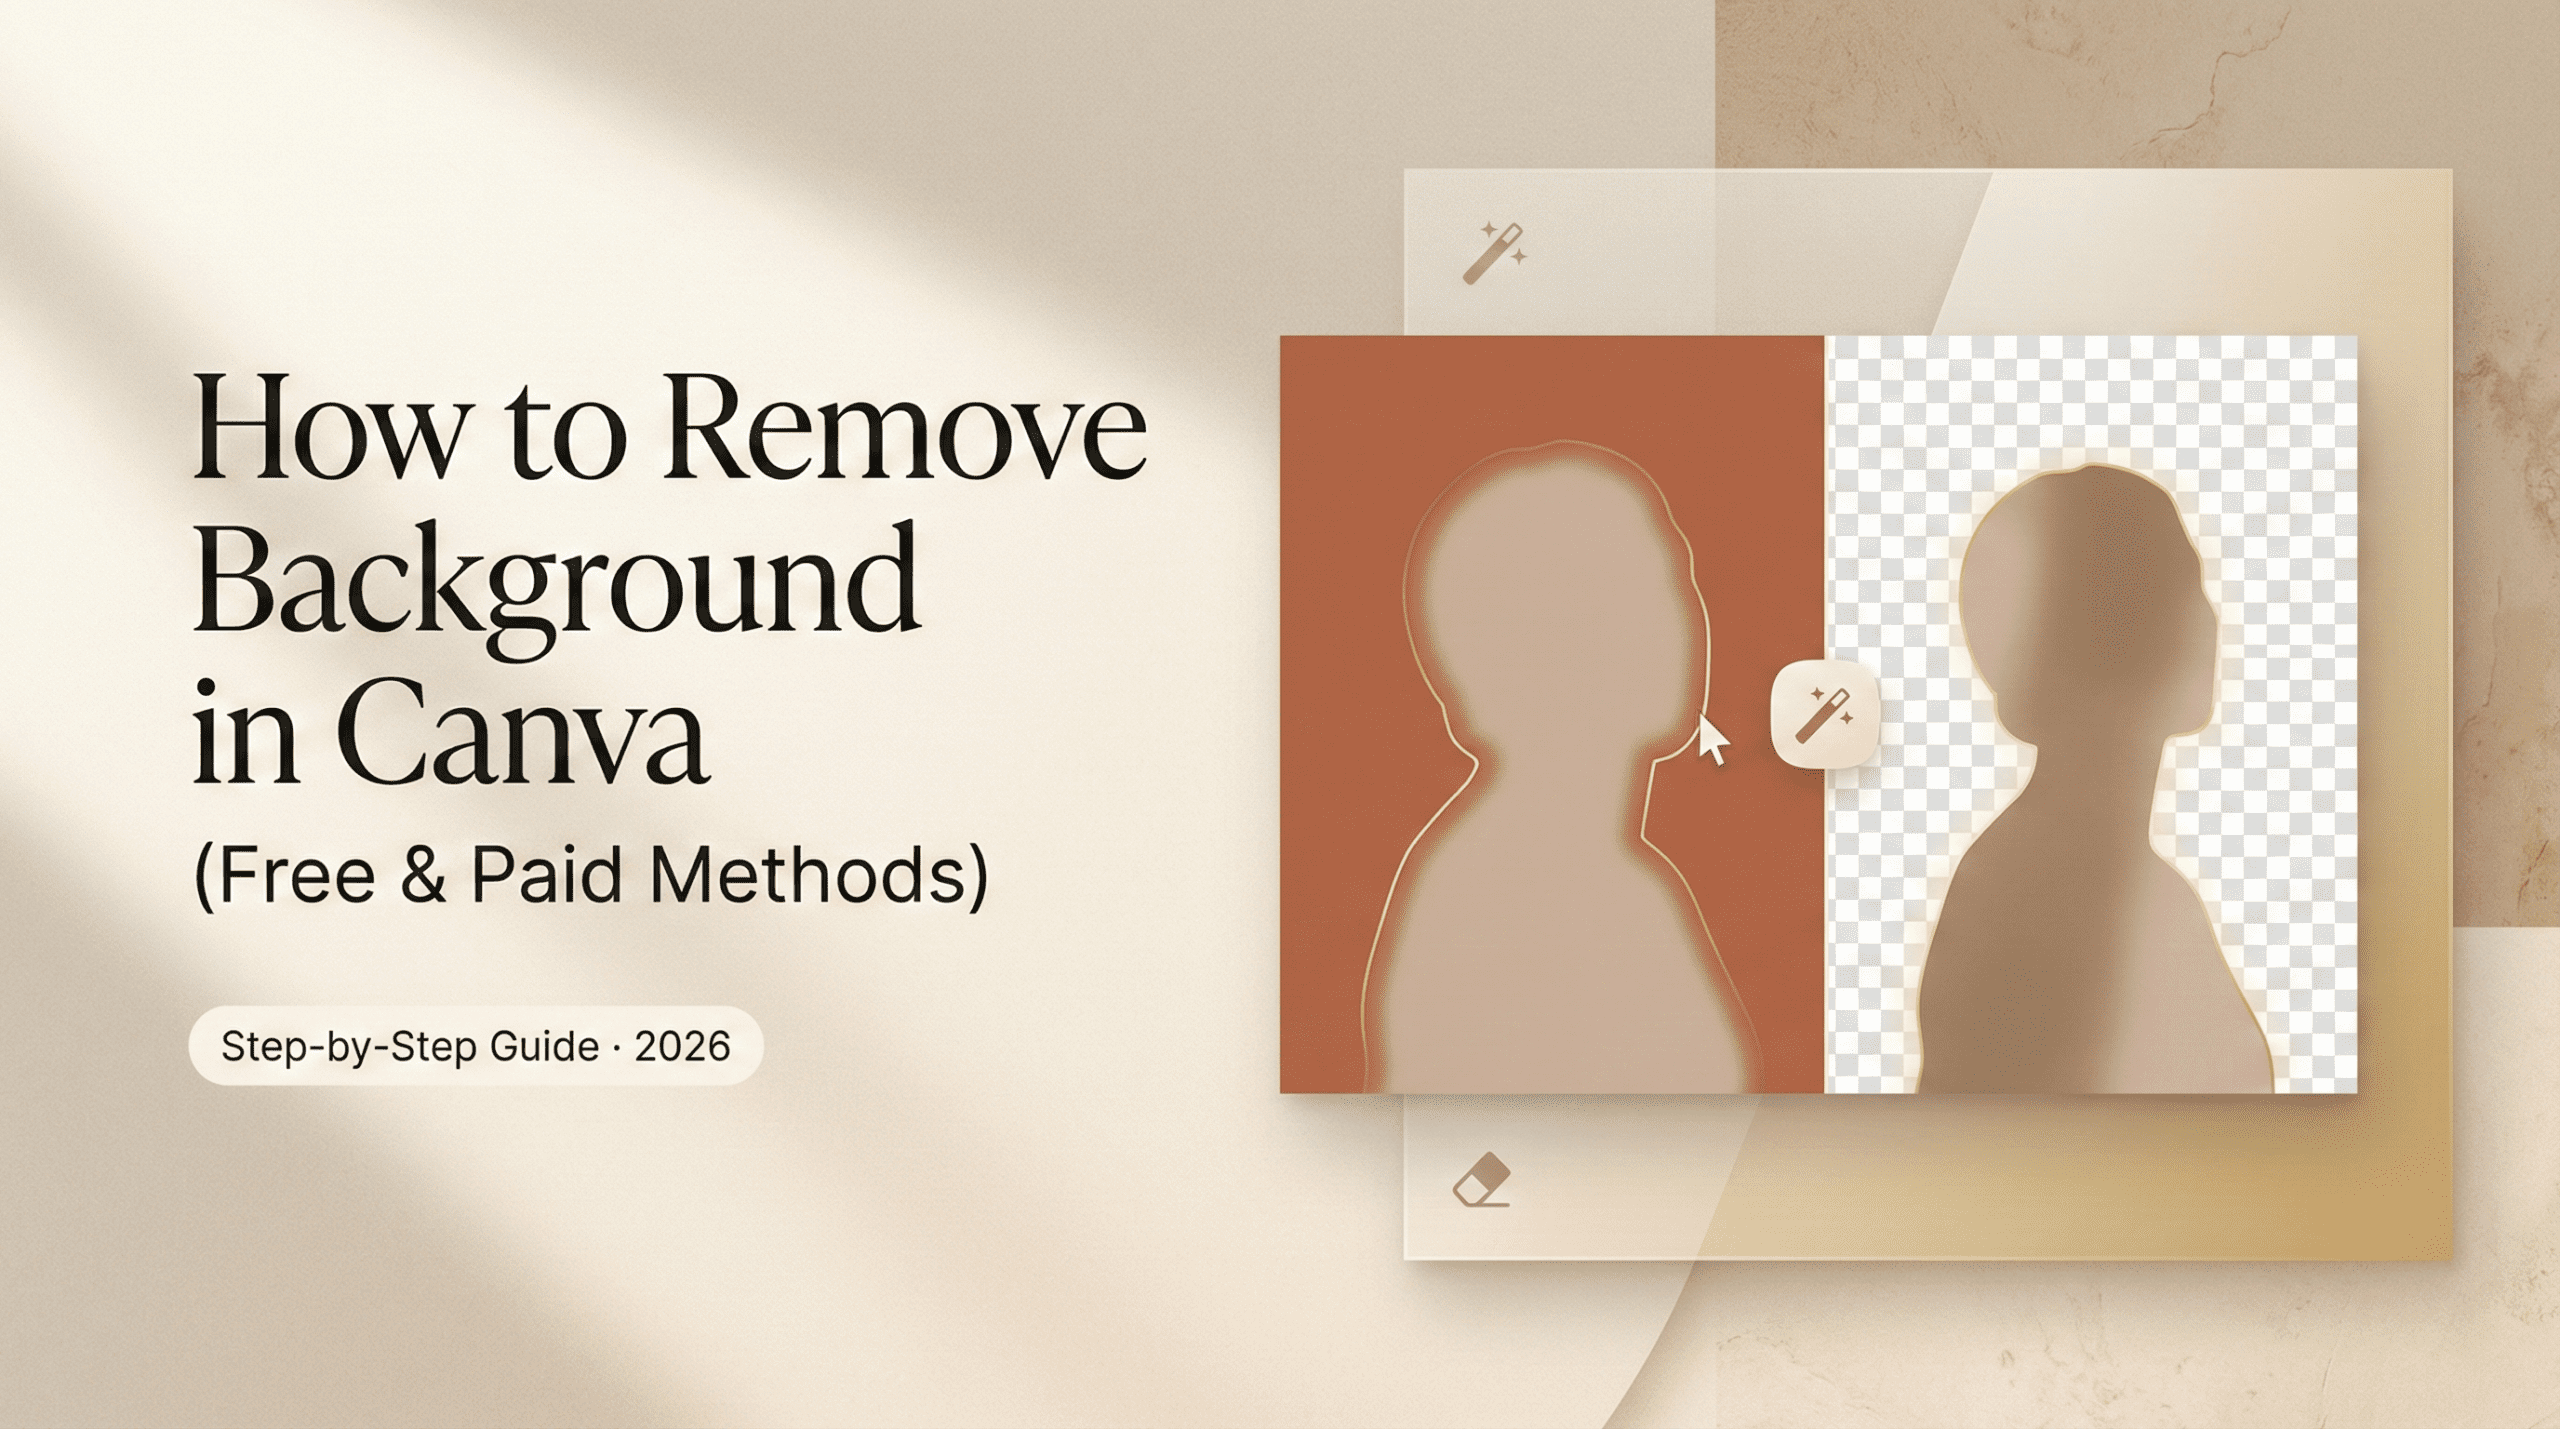
If you’ve been wondering how to remove background in Canva without losing detail, here’s exactly what worked for me, plus a solid free workaround if you’re not on Canva Pro.
Two Ways to Remove Backgrounds in Canva
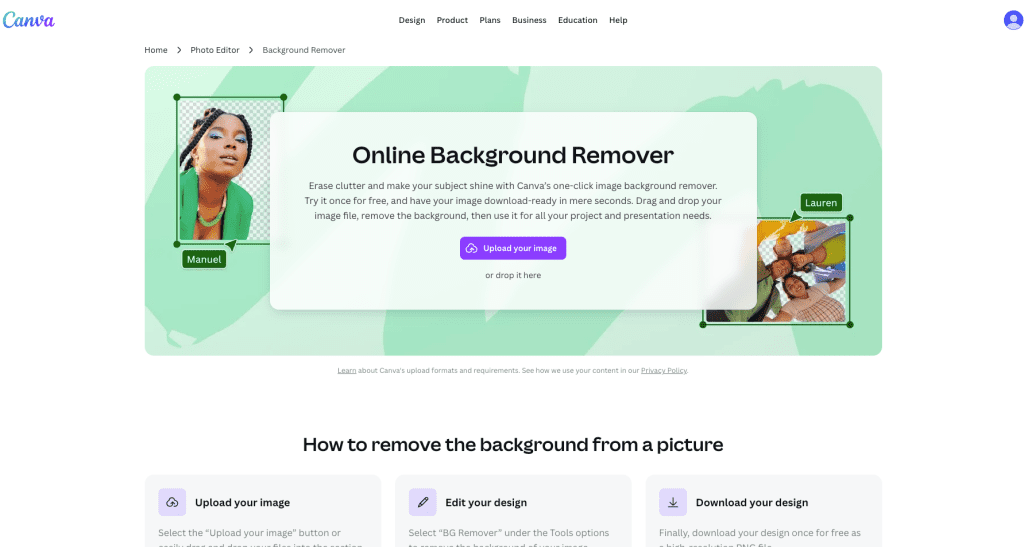
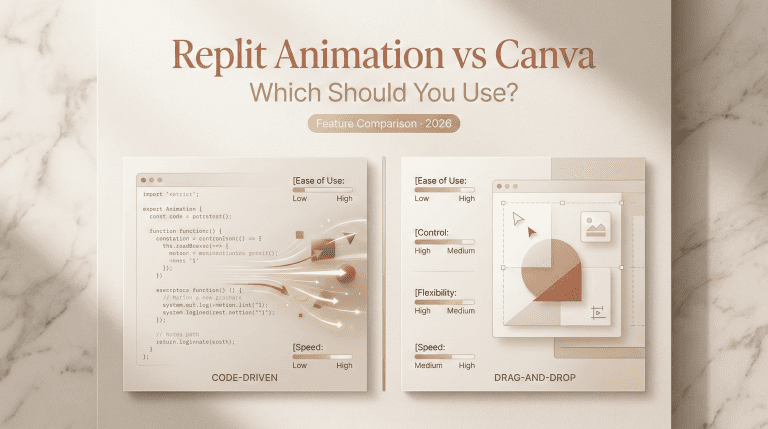
Method 1 – Background Remover (Canva Pro)
I’ll start with the obvious: Canva’s built-in Background Remover is fast and usually accurate. On my tests, most images processed in 2–4 seconds on desktop: mobile took about 3–6 seconds on Wi‑Fi. The results were clean on high-contrast photos, think dark subject, light background. Hair was decent, not perfect. More on that later.
Where to find it: Select your image → top toolbar → Edit Photo → Background Remover. If you don’t see it, you might be on the free plan. It’s included in Canva Pro, Teams, Education, and Nonprofits. Canva’s official docs spell out access and limitations here: Canva’s Background Remover guide.
Why it’s nice:
- Speed. It’s one click. You get Erase/Restore brushes right there, so touch-ups are quick.
- Workflow. No app-switching. Export as transparent PNG in the same flow.
Where it struggles:
- Flyaway hair, fur, and motion blur. You’ll need to zoom in and clean edges.
- Low-contrast scenes (gray hoodie on gray wall). Give it extra love with Restore/Erase.
Method 2 – Free Workaround (BG Remover Tool → Re-import)
If you’re on Canva Free, the button might be greyed out. The workaround I use:
- Remove the background in a free tool (I’ve had good luck with remove.bg and Adobe Express Background Remover).

- Download as PNG with transparency.
- Re-import to Canva and continue editing.
This does add one extra step, but it works. In my tests, remove.bg handled tricky hair a bit better than Canva on one curly-hair portrait, but Canva won on a reflective product shot (a coffee mug with chrome accents). If you’re doing lots of cutouts, Canva Pro wins on time saved. If you only do this once in a while, the free route is totally fine.
Step-by-Step: Using Canva’s Built-in Tool
Desktop Steps
I tested these on Chrome (macOS, Feb 18, 2026):
- Open a new design (any size) → Upload your image.
- Click the image to select it → Edit Photo (top toolbar) → Background Remover.
- Wait a second or two. You’ll see a transparent checkerboard.
- Clean edges:
- Click Erase to remove leftover bits (adjust Brush size for tight corners).
- Click Restore if it removed part of your subject by mistake.
- Tweak the look (optional):
- Use Shadows → Glow/Drop to add subtle depth behind the cutout.
- Use Adjust → Clarity/Contrast to help the subject pop against new backgrounds.
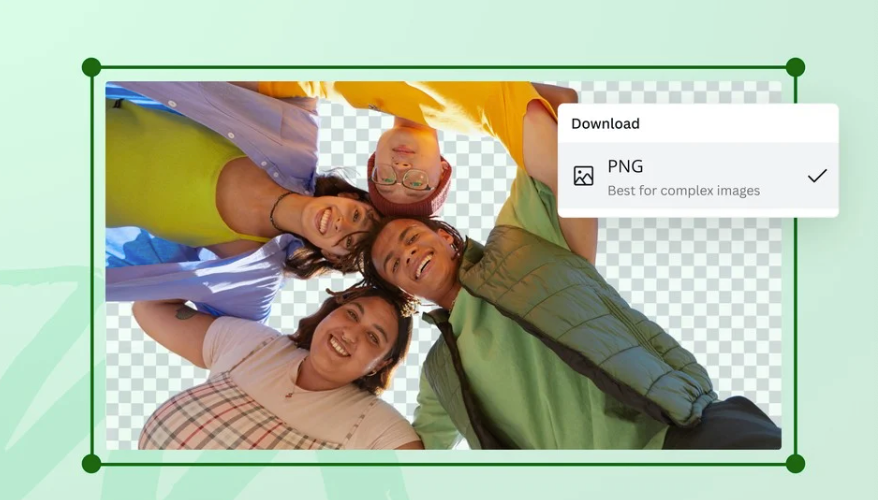
- Export:
- Share → Download → PNG → check Transparent background (Pro feature) → Download.
Quick tip: If you don’t need full transparency, like you just want to place the cutout over a solid color inside Canva, keep editing. You only need transparent PNG when exporting for other tools or websites.
Mobile Steps
I tested on Canva’s iOS app (version current as of Feb 2026) on iPhone 14:
- Create a new design → tap + → Upload your photo.
- Tap the image → tap Edit Photo (or Effects) → Background Remover.
- Pinch-zoom and use Erase/Restore to fix edges. Brush control is smaller on mobile, use two-finger pan + one-finger paint for precision.
- To export with transparency: Share → Download → PNG → Transparent background. If that option is missing, you’re likely not on Pro.
Tiny mobile trick: Turn on “Snap” and “Guides” in the editor so you can center your cutout cleanly when layering on text or shapes. It sounds small, but it makes thumbnails look pro.
Common Problems & Fixes
Hair / Fur Not Removing Cleanly
I tried three images with tricky edges: curly hair, a cat, and a hoodie with motion blur. Here’s what helped the most:
- Start with contrast. Before removing the background, bump Contrast and Clarity slightly (Edit Photo → Adjust). It helps the model find edges.
- Use Restore at 10–20 px brush for hairlines. Tap in, don’t scribble. Short dabs keep the edge natural.
- Feather the edge with Subtle Shadow. After the cutout, add a very light Drop or Glow shadow (Blur ~4–8, Transparency ~80–90%). It hides tiny cut errors without looking fake.
- Fix transparent halos. If you see a faint gray rim, nudge Exposure down a hair and increase Contrast. Or place the subject on a slightly darker background.
- Worst case: Combine tools. Run a first pass in remove.bg, then bring into Canva and use Background Remover’s Restore to bring back lost strands. It sounds odd, but mixing engines can save a shot.
Button Greyed Out (Not Pro?)
If Background Remover is greyed out:
- Check your plan. It’s available in Pro, Teams, Education, and Nonprofits. Free users need a trial or the external workaround. Details here: Canva Pricing.

- Try on desktop. Sometimes the mobile UI hides features if your app isn’t updated.
- Refresh or re-upload. Large HEIC files from iPhone sometimes hiccup, export as JPEG/PNG first.
- Workaround: Use remove.bg or Adobe Express Background Remover, download as PNG, and import. It’s free and quick.
Transparency note: I’m not affiliated with these tools. I tested them on Feb 18–19, 2026 so you don’t burn an evening like I did.
After Removing the Background — Using Your Asset in Video
Adding transparent PNG to a video as overlay or sticker
This is where the fun starts. If you’re experimenting beyond Canva, here’s a breakdown of free AI video tools that work well with transparent PNG overlays and lightweight motion edits.
- Export your cutout as PNG with Transparent background.
- Open a video project (in Canva or your editor of choice).
- Drop the PNG on the timeline above your base footage.
- Scale and position like a sticker, corners for size, rotation handle for tilt.
- Add movement:
- In Canva: select the PNG → Animate → try “Pop,” “Drift,” or “Pan.”
- For simple slide-ins, set it to Fade or Rise at 0.3–0.5s so it feels snappy.
- Add shadow or outline for contrast. In busy footage, a 2–4 px outline or soft shadow keeps the cutout readable.
Practical use cases I’ve shipped:
- Product labels that float next to the item with a tiny “sparkle” animation.
- Talking-head videos where a logo sticker slides on, pauses, then exits.
- Quick tutorials where tools (icons) appear as cutout callouts.
How to animate a cutout character in CrePal
If you want to go beyond simple stickers and make a character move, a transparent PNG is your friend. I tested a basic workflow in CrePal using a full‑body cutout of myself:
- Import your transparent PNG into CrePal.
- Separate parts if needed. If CrePal supports regions/layers, duplicate the PNG and mask sections (head, arms) into separate layers. If not, prep layered PNGs beforehand in Canva by duplicating the page and cropping around each limb.
- Add motion:
- Use keyframes to set start/end positions. A simple walk-in: off-screen left at 0s → center by 1.2s: ease-out for a natural stop.
- For head nods or hand waves, add tiny rotation keyframes (5–8°). Small moves look more human.
- Timing and easing. Most “robotic” looks come from linear timing. Switch to ease-in/ease-out so movements breathe.
- Lip-sync or audio cues (optional). If CrePal offers auto-sync, try short phrases. Otherwise, place a beat marker on the timeline and time gestures to the beat.
- Export as MP4 or MOV, then pull back into Canva if you want subtitles or final layout.
A few tips from my tests:
- Keep motions short (under 2 seconds) and stack them. One long move feels floaty: three small moves feel intentional.
- Add a soft shadow under the character in your video editor (opacity 15–25%, blur 20–40). It grounds the cutout so it doesn’t look like it’s hovering awkwardly.
- If edges flicker, upscale the PNG before import (Canva → Resize page → Export 2x). Higher-res cutouts flicker less when moving.
If you’re curious whether CrePal is right for you, try one tiny scene, a wave or a nod. You’ll know in five minutes if it clicks with your brain or not.
We built CrePal for moments like this — when you’ve already done the cutout work and just want an easy way to add motion without juggling complex software. If you’d like to experiment with your own PNG characters, you can explore it here.
Previous posts: