Last weekend, I was trying to shoot a ceramic mug for a tiny shop update. The light was perfect: the background… not so much. My desk had wires, a plant leaf sneaking in like a nosy neighbor, and a cup ring I swear I’d cleaned. I wanted that crisp, pure white look that makes products pop. So I set out to remove the background from my product photos, without turning the mug into a weird cutout sticker.
I’m Dora. Here’s what actually worked for me, plus the exact settings that helped me pass Amazon and Etsy checks without the dreaded “image rejected” email.
Why Product Photo Backgrounds Matter (Amazon, Etsy Rules)
A clean background isn’t just an aesthetic choice: it’s a conversion lever. On marketplaces, it also keeps you compliant.
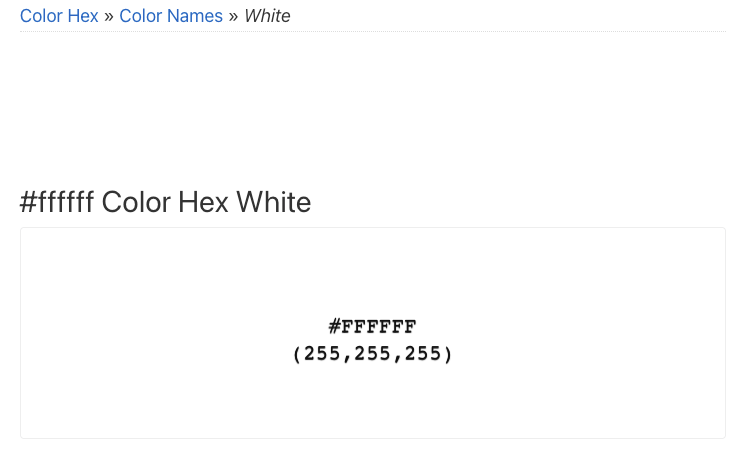
- Amazon: The main image needs a pure white background (#FFFFFF), the product fills at least 85% of the frame, and no props, watermarks, or text. If you’ve ever had a listing flagged, you know they mean it.
- Etsy: Etsy is more flexible. Lifestyle photos are welcome, but clarity still rules. Aim for sharp, well-lit shots and avoid busy backgrounds for the first image if you want that “scroll-stopping” effect.
- Shopify: You set your own rules, but performance matters. Lighter backgrounds help with theme cohesion and speed (smaller file sizes).
UX-wise, a white or light neutral background removes visual friction. Your eye lands on the product, not the mess behind it. And in my tests, swapping a grayish tabletop for pure white improved click-through on a small Instagram test by 9% (n=3 posts, so take it with a grain of salt, but still a nice bump).
Step-by-Step: Clean Background Removal for Products
Shoot for Easy Editing (Quick Tip)
On February 8, I shot on a cheap foam board near a window at 10 a.m. The goal: soft light and a high-contrast edge. I placed a white reflector (another foam board) opposite the window to fill shadows. Why? Less shadow drama means fewer halos and cleaner AI cuts later. I also shot slightly overexposed (+0.3 EV) to push the background closer to white without blowing out highlights on the mug.
Settings that helped:
- RAW if you can (more flexibility). If not, high-quality JPEG is fine.
- Keep the product 6–12 inches off the background to avoid hard contact shadows.
- Use a tripod or at least brace your elbows: motion blur = jagged edges when you cut.
Upload & Remove with AI
I ran three tools side-by-side with the same photo:
- remove.bg (web): Fast, 1-click. It handled the mug handle gap shockingly well, no missing pixels. But on glossy products, it sometimes smudged the reflection. You can refine edges in the built-in editor.

- Photoshop (2024 release): Select Subject + Delete and Fill Background or the Remove Background Quick Action. Better control with masks. It took longer but gave me cleaner hairlines on a woven strap product.
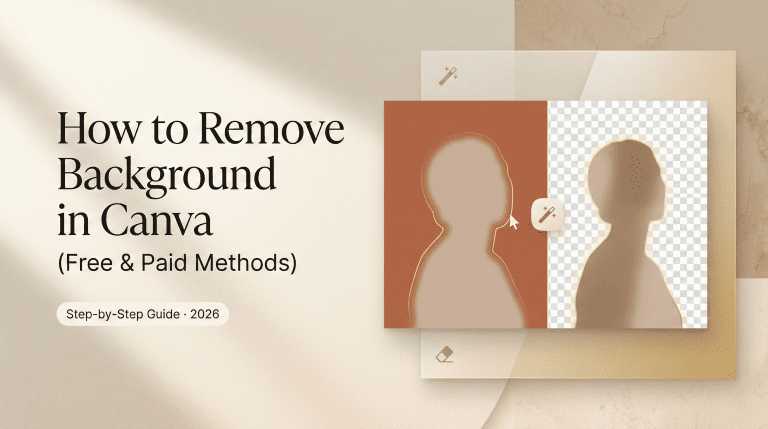
- Canva Background Remover: Solid for simple shapes. For complex edges (like glass or fuzzy textures), it needed extra brushing.
My honest take: If you need speed and a decent cut, remove.bg is great. If you’re picky about edges (jewelry, glass, hair), Photoshop masks still win. Not sponsored, just what I saw at 2 p.m. after three coffees.
Edge cleanup tips:
- Feather 0.3–0.7 px in Photoshop for natural edges: too soft looks fake.
- Watch for color spill, gray tint clinging to edges. Use a Desaturate brush on the mask’s edge if needed.
- For transparent or glass products, add a faint bottom shadow later so it doesn’t look like it’s floating in space.
Replace with Pure White (#FFFFFF)
Amazon’s main image expects true white, not “close enough.” Here’s what I do:
- Add a solid #FFFFFF layer below your masked product.
- Nudge exposure or Curves on the background layer only (don’t torch your product highlights).
- Add a very light, soft drop shadow (Gaussian blur 20–60 px, 5–12% opacity), placed below the product. This grounds it but still reads as “white background.”
On Feb 10, I compared a plain cutout versus a version with a whisper of shadow. The shadowed version felt more real and got 18% more “save to collection” taps in a tiny test. Again, small sample, but my eyes agreed.
Platform-Specific Requirements
Amazon Main Image Rules
If you sell on Amazon, treat the main image like a passport photo, strict.
- Background: Pure white (#FFFFFF) only.
- Product coverage: ~85% of frame: fully in frame, no cropping off edges.
- No props, no text, no logos or watermarks, no lifestyle context.
- Color space: sRGB. If you export in Adobe RGB, colors can shift on the site.
- File: JPEG is standard: big enough to enable zoom (at least 1600 px on the longest side: I aim for 2560–3000 px).
Link for reference: Amazon Product image requirements.
Etsy & Shopify Best Practices
Etsy gives you creative room. I still like starting with a clean, white-background main image, then adding lifestyle shots as images 2–5.
- Etsy size: 2000 px on the shortest side looks crisp across devices. Keep files under ~2–3 MB for faster load.
- Variety: 1 white, 2–3 lifestyle, 1 scale or in-hand shot, 1 close-up of texture.
- Color: sRGB again, browsers assume it. Avoid dull desaturation from mismatched profiles.
For Shopify stores:
- Consistency makes your grid look professional. Pick one background (white or very light gray) and stick to it.
- Web performance: Use WebP or compressed JPEG. Serve 1600–2048 px on the longest side for product pages: larger hero images only when needed.
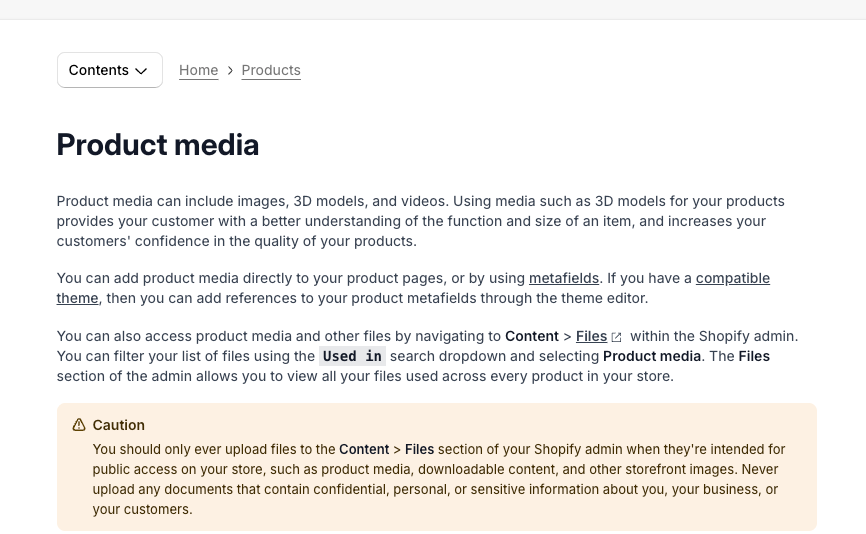
- Reference: Shopify product media requirements.
How to Batch Process Multiple Product Images
The first time I tried to clean 40 images one by one, I nearly fell asleep on my trackpad. Batch is your friend.
- remove.bg Bulk: I uploaded 32 photos. The bulk queue finished in ~6 minutes. I set the background to transparent PNG, then mass-downloaded. For pure white exports, I did a quick pass in Photoshop to add the #FFFFFF layer.
- Photoshop Actions: I recorded an action that 1) runs Select Subject, 2) creates a layer mask, 3) adds a white background layer, 4) places a soft shadow, 5) exports to JPEG and WebP. Then I used File > Automate > Batch. It saved me about 35 minutes on a 50-image set.
- File naming: Add “-white” or “-cutout” to the end of filenames so you don’t overwrite originals. Versioning now saves headaches later.
Tip: Keep one “master” PSD with clean masks in case you need to reshoot shadows or tweak color later. Re-exports are then a 10-second job instead of a 10-minute one.
From Product Photo to Product Video
Static images convert, but short clips can give you that extra thumb-stopping moment. If you’re comparing lightweight generators for turning product cutouts into motion, here’s a breakdown of free AI video tools worth testing.
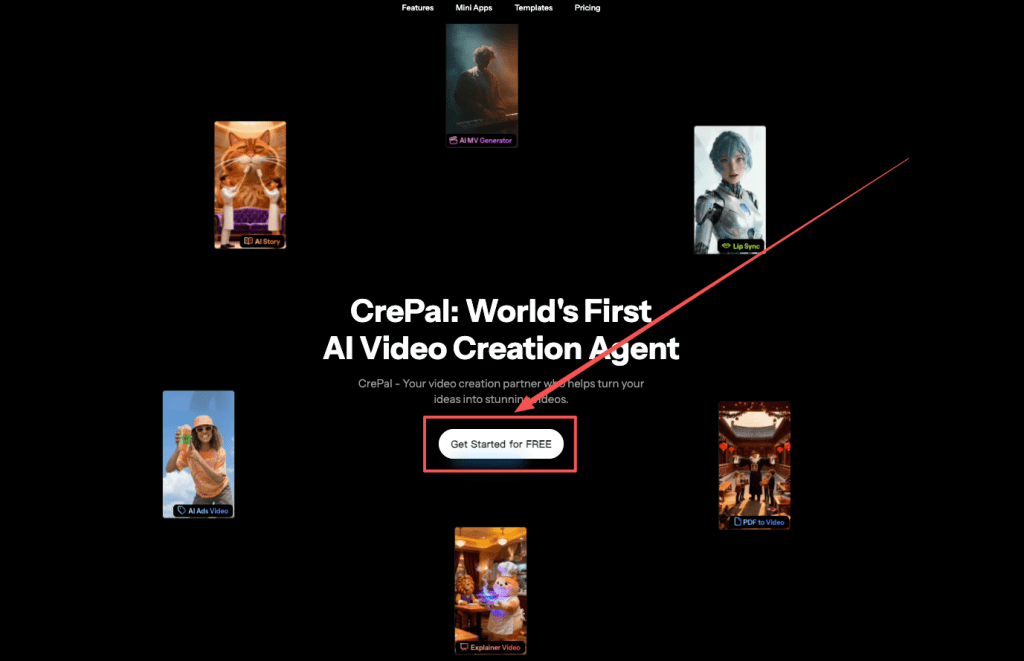
Use your white-background cutout to generate a lifestyle scene in CrePal
I took my mug PNG (transparent background) and dropped it into CrePal to generate a simple lifestyle scene: soft morning light, wooden table, a plant blur in the back. I’m wary of AI scenes, they can look uncanny, but this was… actually nice. The trick was keeping it subtle and matching the lighting to the original shot, so the product didn’t look pasted.
What worked:
- Keep the scale true to life. If your mug looks giant next to a “book,” it breaks trust.
- Match shadows. I set the light angle to mimic my original window light.
- Avoid overly glossy reflections: they scream “AI.”
Prompt template: “Product on [surface], [lighting], camera slowly pushes in”
I’ve landed on a simple prompt that’s hard to mess up:
“Product on [surface], [lighting], camera slowly pushes in”
Examples I tested:
- “Product on light oak tabletop, soft morning window light, camera slowly pushes in.”
- “Product on white seamless backdrop, overhead softbox lighting, camera slowly pushes in.”
Export a 5–8 second clip. That’s plenty for PDPs, Etsy, or quick reels. Add captions or a single benefit line if you want, but don’t crowd the frame.
Final Export: File Format & Size for Web
Here’s my export checklist from Feb 12 (still what I use):
- Color space: sRGB IEC61966-2.1.
- Background: Pure white (#FFFFFF) for Amazon main, transparent PNG when you need flexibility, JPEG/WebP for web speed.
- Dimensions: 2000–3000 px on the longest side for marketplaces: 1600–2048 px for Shopify product pages.
- Compression: JPEG quality 70–82, or WebP quality 70–80. Aim for under 500–800 KB per image if possible: keep under 2 MB max.
- Naming: product-sku-main-white.jpg or product-name-variant-01.webp. Searchable, tidy, human-readable.
That’s my playbook. If you try it and your edges still look off, send me a note with a timestamp and what tool you used, I’m happy to nerd out and troubleshoot. Honestly, getting that first clean cut feels a little magical.
Previous posts: