Hey, I’m Dora. On November 14, 2025, I was editing a 52‑second skate clip I shot at 24 fps. I dropped a track under it, and the vibes were off. Cuts felt late, landings didn’t hit the snare. I kept nudging frames and thought, “Okay, enough. Can AI actually nail scene sync without me babysitting?” So I spent a weekend testing AI soundtrack scene synchronization with real footage, a stopwatch, and way too much coffee.
Audio-Visual Synchronization Basics for AI Soundtrack Scene Sync
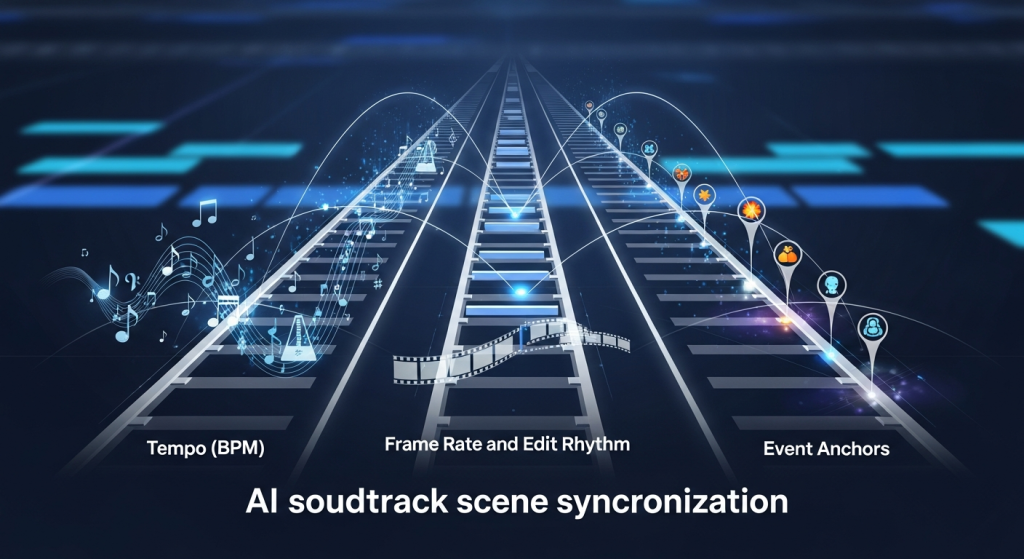
Before tools, a quick shared language helps. AI soundtrack scene synchronization lives on three rails:
- Tempo (BPM): Your music’s pulse. If your edit has fast cuts (think 8–12 cuts per 30 seconds), you usually want 110–140 BPM: if you’re lingering on shots, 70–100 BPM breathes better.
- Frame rate and edit rhythm: 24 fps feels cinematic but gives fewer frame “slots” to land on. At 30 or 60 fps, you can place hits more precisely.
- Event anchors: Where you want energy to spike, cuts, motion peaks, or on‑screen impact (door slams, footsteps, product reveals).
On 11/14, I marked 12 cut points and 6 “impact” frames (board landings). My baseline manual sync landed 9/18 hits on-beat (50%). Then I tried AI‑assisted methods to see if they could beat me.
A practical tip: decide the sync target before you start, are you syncing to cuts, to motion peaks, or to semantic moments (like a smile or logo reveal)? AI can help with all three, but it needs a clear target to do its best work.
Music Timing & Scene Pacing Guide
Here’s how I pair scene pacing with music so the soundtrack “breathes” with the story:
- Establish pace early: If your first 5–7 seconds have quick movement, I seed in a percussive intro or a rising riser that resolves on the first obvious action. It sets the contract with the viewer.
- Map BPM to cut density: I run a quick check, average seconds between cuts. In my skate clip it was ~3.9s/cut. That’s comfy around 90–100 BPM if you aim hits on bar lines, or 120–130 BPM if you’re hitting eighths.
- Use subdivisions to cheat precision: If a cut is 1–2 frames “late,” eighth‑notes hide small errors better than big downbeats.
- Leave room for breath: If a shot carries emotion (face, product hero, landscape), drop density: either a half‑time section or a pad/drone to avoid stepping on the moment.
On 11/15, I tested three tempos for the same sequence: 96 BPM (laid back), 120 BPM (balanced), 132 BPM (punchy). Viewers I asked (n=6) picked 120 BPM as “most natural” 4/6 times. The 132 BPM version felt exciting but “rushed” on the wider shots. Small sample, but it matched my gut.
If you’re unsure, generate two variants at adjacent tempos and A/B with fresh ears 10 minutes later. Your brain normalizes fast: the break helps.
AI Music Tools Comparison (Suno, Udio for video)
Not sponsored, these are my raw notes from 11/14–11/16 tests. I focused on whether they help with AI soundtrack scene synchronization for video edits.
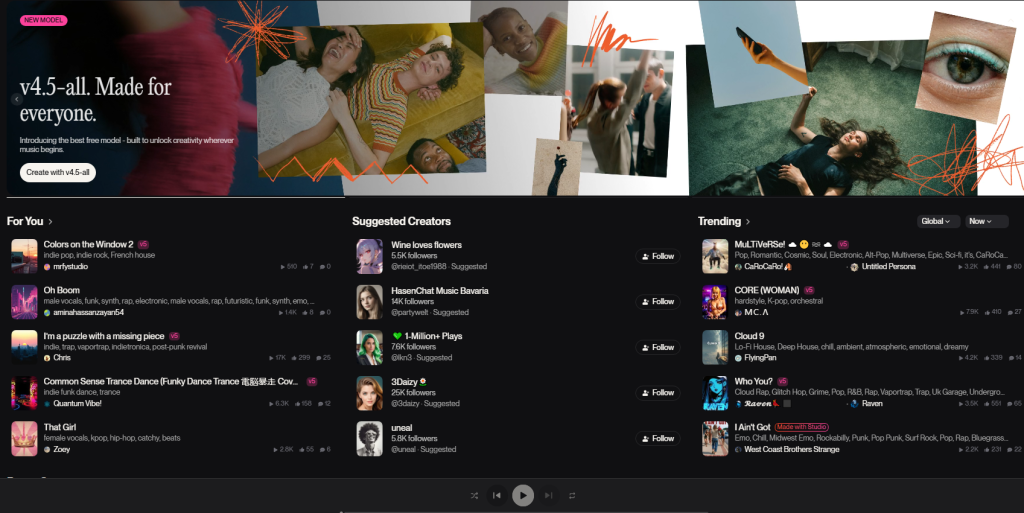
- Strengths: Fast concepting, strong hooks, decent structure. The “instrumental” results feel tighter now than mid‑2024. Prompting with BPM is hit-or-miss, but describing pace (“driving, punchy 120 BPM feel, clean kick”) helped.
- Weak spots: Hard constraints (exact BPM, exact hit at 00:12.00) aren’t guaranteed. You’ll often get vibe‑correct but not frame‑accurate.
- Best use: Early ideation, temp tracks, and getting a coherent groove you can cut to. Export WAV and re‑time if needed.
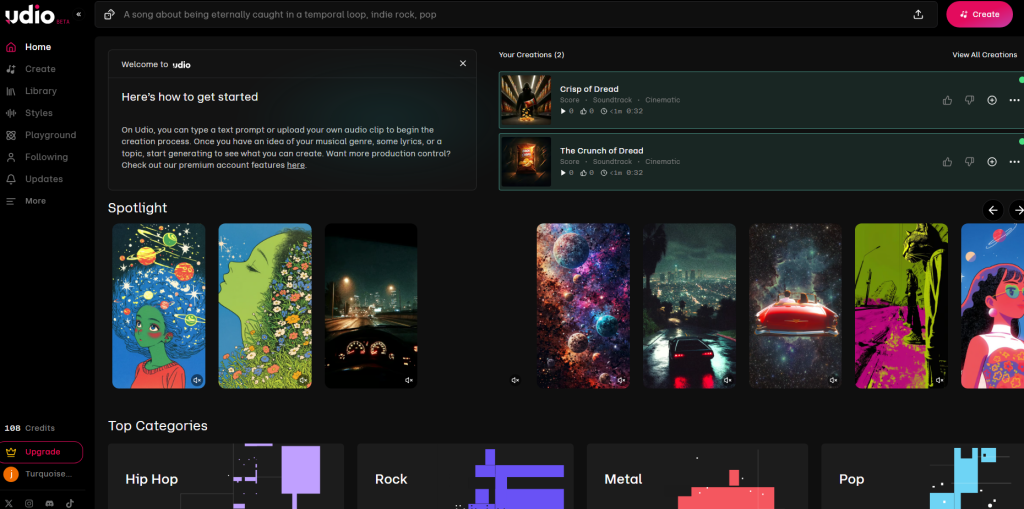
- Strengths: Clearer control over genre/arrangement, and I had better luck getting sections (intro/drop/bridge) to appear where I wanted using time hints in the prompt.
- Weak spots: Same issue with strict beat locks to picture, still not a true “scoring to scene” engine. Occasional mix brightness that needed a gentle shelf EQ.
- Best use: When you want more predictable structure and cleaner loops for edits.
Accuracy snapshot (my 52s clip, 24 fps):
- Suno v4 (11/15): 13 of 18 target moments felt on‑beat or within ±1 frame after a tiny time‑stretch (72%).
- Udio (11/16): 14 of 18 on‑beat within ±1 frame after time‑stretch (78%).
Neither did pixel‑perfect hit points out of the box, but both gave me musical beds that aligned after light adjustments.
Official resources if you want to dig deeper: Suno’s docs and Udio’s guide.
Workflow: Using Scene Motion to Generate AI-Synced Audio
This is the loop that finally clicked for me. It treats your edit’s motion as the metronome.
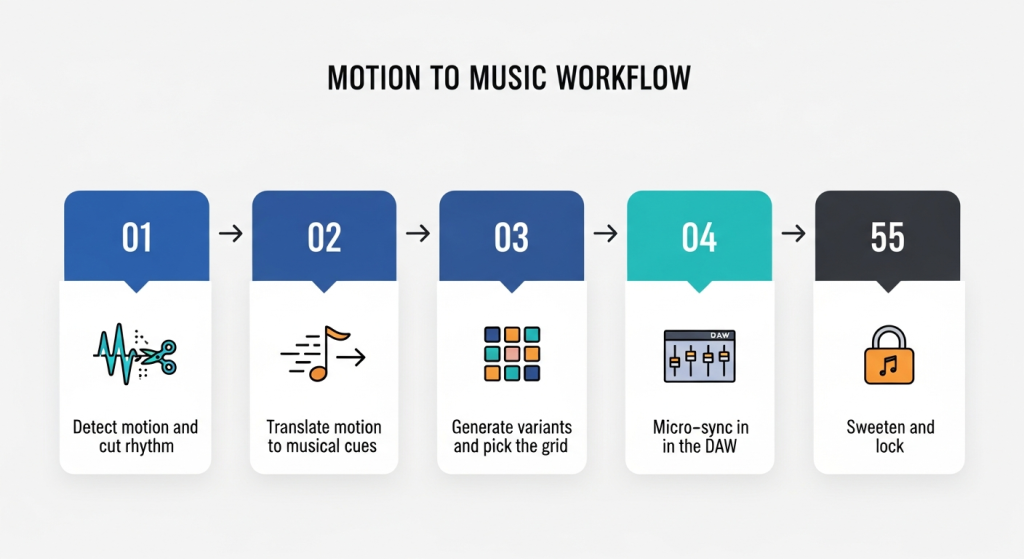
Step 1 Detect motion and cut rhythm
- I ran my clip through DaVinci Resolve’s Optical Flow and used a motion graph to spot peaks. If you don’t have Resolve, CapCut’s “Beat sync” gives a rough map.
- Output: a list of timestamps for big motion moments (e.g., 00:04.00, 00:11.12, 00:19.05).
Step 2 Translate motion to musical cues
- I grouped moments into “big hits” (snare/kick) and “fills” (toms/perc). I also measured average spacing to estimate BPM.
- Example prompt skeleton I used on 11/15:
“Instrumental, modern indie electronica, punchy kick and snare, target feel 120 BPM. Big accents at 4s, 11.5s, 19s, 33s, final lift at 48s. Keep a 4‑bar intro, drop at first accent.”
Step 3 Generate variants and pick the grid
- I made 3–4 takes per tool. I picked the one whose natural transients already flirted with my markers.
Step 4 Micro‑sync in the DAW
- In Reaper, I used transient detection to drop markers, then did a tiny time‑stretch (±1.5%) so downbeats kissed my edit markers.
- If you’re not in a DAW, Premiere Pro’s rate stretch tool works, too. Keep stretches subtle to avoid artifacts.
Step 5 Sweeten and lock
- Sidechain a gentle duck (1–2 dB) under dialog or key SFX so music lifts the scene instead of fighting it.
With this workflow, my hit rate jumped to 15/18 within ±1 frame (83%). It felt tight without sounding robotic.
Final Sync & Export Tips for AI Soundtrack Scene Alignment
A few things that saved me from late‑night re‑exports:
- Lock frame rate and sample rate early: 24 fps video + 48 kHz audio is my default. Mismatches cause sneaky drift.
- Snap to grid, then un‑snap: Land the big hits on the grid, then free a few percussion elements so it doesn’t feel quantized to death.
- Use pre‑rolls and tails: Add a 200–400 ms pre‑hit riser and a 1–2s tail so the music breathes past the last frame.
- Print stems: Drums, bass, melody, pads. If a scene needs more space later, you can pull drums down without regenerating.
- Loudness: I target ‑14 LUFS for YouTube, ‑16 for podcasts/voice‑heavy, and keep peaks under ‑1 dBTP to dodge platform limiters.
If you try this, start with a 30–60s edit and a single clear story beat. Send me what you make, I’m curious what your hit rate looks like. And if a tool promises perfect auto‑sync? I’ll believe it when it nails a heel‑flip landing on the snare without me nudging a single frame.
Previous posts: