Hey, guys, I’m Dora. I finally gave in. I’d seen LTX-2 demos all over my feed, glossy product pans, moody fantasy shots, that kind of thing. Curiosity won. I blocked off an hour after lunch, opened a fresh project, and told myself: “Either this becomes part of my weekly workflow… or it goes into the graveyard of cool-but-forgettable AI toys.” Not sponsored, just honest results from my tests over Jan 7–12, 2026.
Workflow map: what each pipeline does

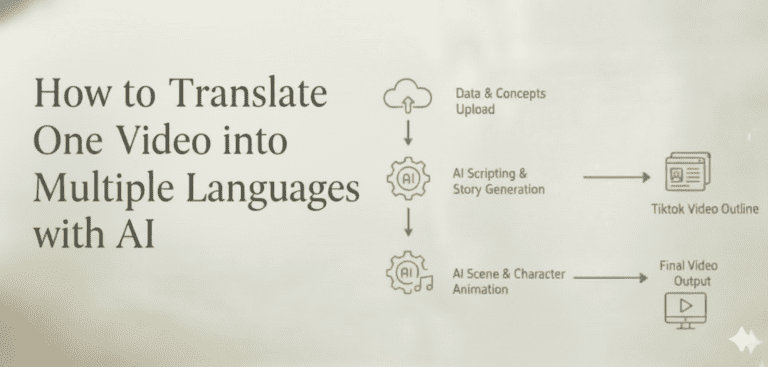
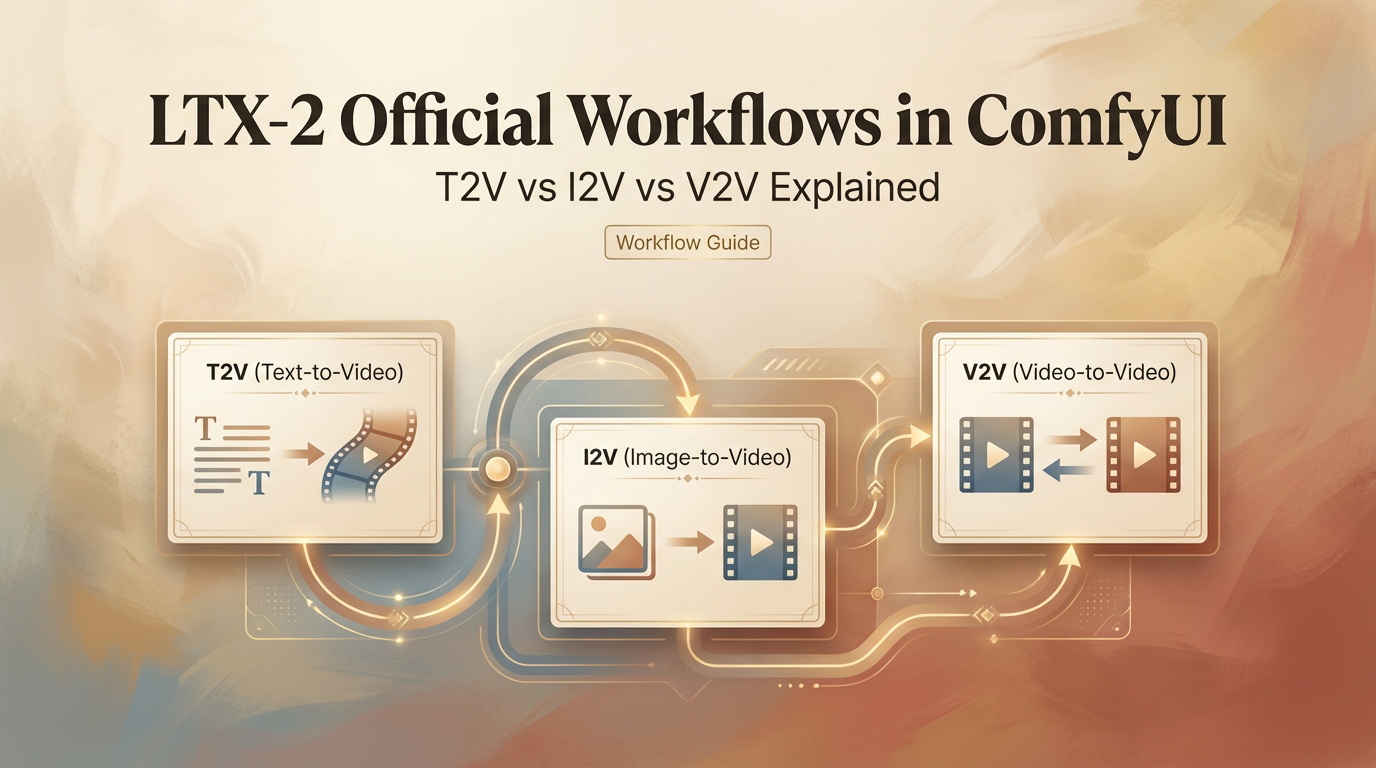
LTX-2 has three main pipelines that basically decide how you even approach your clips before you touch a single knob. Think of them like ingredients: T2V is flour, I2V is butter, V2V is icing—you combine them right, and voila.
- T2V (text-to-video): Start from a prompt, get a video. It’s the fastest way to brainstorm and explore styles. If you need a vibe board or a quick “what could this look like?” pass, this is home base.
- I2V (image-to-video): Feed it a key image and guide motion on top. When you need brand consistency (logos, packaging, character faces), I2V holds the shape better than T2V.
- V2V (video-to-video): Take an existing clip and transform it. Think style transfer, cleanup, or changing mood without re-blocking the whole scene.
In practice, I bounce between them: sketch in T2V, lock visuals in I2V, then refine timing and style in V2V. It feels like moving from a pencil sketch to inks to color. For anyone wanting to explore beyond the UI, ComfyUI LTXVideo is a handy resource for building custom pipelines.
T2V: best for ideation & stylized scenes
My first run on Jan 7 was a 6-second T2V: “golden hour slow dolly through a tiny plant shop, cinematic bloom, soft dust motes.” About 45 seconds to render at 720p—not bad. The result? Surprisingly cohesive light, believable camera drift. Sure, the plants were generic… but honestly, I didn’t care. Mood = nailed.
Where T2V shines
- Fast ideation: I generated five variations in under 10 minutes and picked two to push forward.
- Style-first scenes: dreamy, painterly, anime, cyberpunk, T2V leans into look and lighting.
- Camera language: Prompts like “handheld micro-jitter,” “locked-off tripod,” or “slow crane up” worked more often than I expected.
Where it stumbles
- Consistent subjects: Characters morph, labels wobble. For product or brand work, it’s rarely final.
- Specific text: Any on-screen typography is hit-or-miss. Sometimes clever, often mushy.
Tiny prompt tip
I got better motion control by adding a simple beat: “slow push in for 6 seconds, start wide, end medium.” Also, naming lenses (35mm vs 85mm) shaped depth of field in a way that felt real.
When I clicked the “seed lock” and re-ran with minor prompt changes, I kept composition while exploring lighting. That saved me minutes per iteration.
I2V: best for consistency & product shots
On Jan 9, I tried I2V with a clean PNG of a matte-black bottle… And guess what? The bottle stayed on-model across three renders, label intact. I almost high-fived my laptop. That alone made I2V my go-to for product shots—brand consistency feels so good.
Where I2V shines
- Consistency: Faces, logos, packaging, less drift than T2V.
- Controlled hero shots: Add a tiny rotation or parallax and keep everything else steady.
Where it stumbles
- Overly complex motion: If you push big arcs or whip pans, the base image can smear.
- Background synthesis: Without a clean plate or prompt, the backdrop can feel AI-generic.
Practical setup
- Start with a high-res, well-lit image. Garbage in, garbage out is very real here.
- Use short durations first (3–5s). Lock the look, then extend.
In my tests, 1080p I2V runs took ~60–90s each. Worth it, because I didn’t have to fight brand drift later.
V2V: best for style transfer & edits
On Jan 10, I fed a 7-second iPhone clip of a latte pour (4K, 30fps) into V2V and asked for “soft film stock, grain, gentle halation, 1990s café tone.” The result kept the timing, the foam swirls, and the hand motion, just wrapped it in a nostalgic look. It felt like color grading plus light re-interpretation.
Where V2V shines
- Style transfer without losing timing/blocking.
- Cleanup for social: remove harsh digital edges, add filmic motion blur, unify color.
Where it stumbles
- Heavy scene changes: Asking for “nighttime neon rain” from a sunny clip can break realism.
- Fast text overlays: Titles or captions can get softened unless you mask or composite later.
Best use I found: Take a so-so clip and make it shippable in a few passes. It’s the closest to “AI-as-finisher.”
Which workflow to pick by scenario
- Moodboards or story seeds: T2V. Prompt broad, pick a favorite, then refine. If you’re pitching, it’s magic for quick looks.
- Brand/product spots: I2V. Start with approved art or keyframe renders. Keep the hero on-model and layer gentle motion.
- Social polish or style match: V2V. Bring your own timing and let LTX-2 restyle it.
- Character continuity across scenes: I2V first (lock face), then V2V to match shots into a sequence.
- Rapid experimentation with camera moves: T2V with seed lock, then swap lenses/lighting terms.
Parameter differences across workflows
Every pipeline exposes a similar spine of controls, but they behave a bit differently.
- Guidance/CFG: In T2V, higher means stronger adherence to the prompt but more artifacts. I liked 5–7 for stylized looks, 3–4 for natural scenes. In I2V, higher can warp the subject, keep it conservative (3–5). In V2V, think of it as style force: too high and you’ll erase the original charm.
- Motion strength: T2V uses it to decide how bold the camera/scene movement should be. In I2V, it’s literally “don’t break my subject”, I stayed in the 0.2–0.4 range for product spins. In V2V, 0.4–0.6 added life without jitter.
- Duration & fps: Short clips (3–6s) kept coherence best across all three. 24fps looked most natural. 30fps is fine for phone footage in V2V.
- Seed: Lock it when you like framing. Change it when you’re stuck in a weird local minimum (you’ll know it when you see the same odd face three times in a row).
- Resolution: 720p drafts are fast. 1080p is the sweet spot for previews. If there’s a 4K upscale option, use it at the end rather than generating at 4K from scratch.
I timed a mini workflow on Jan 12: T2V ideation (5 clips, ~40s each), I2V hero (3 clips, ~75s each), V2V polish (2 clips, ~60s each). About 12 minutes total to get a 10–15s sequence ready for a rough cut.
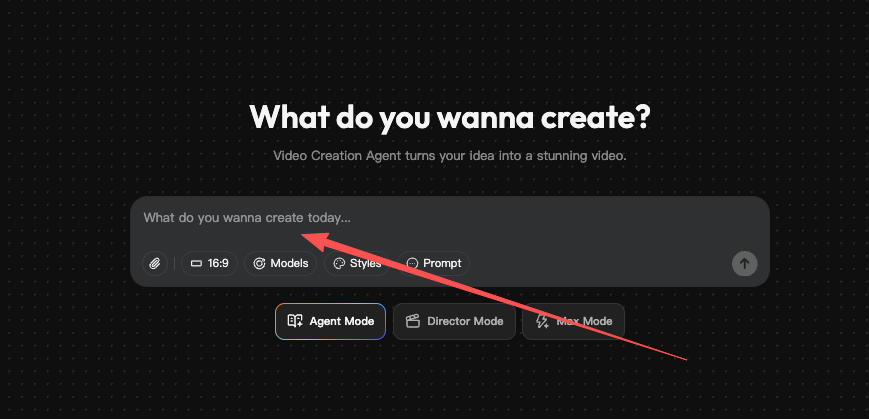
Want to turn these workflow experiments into actual clips without juggling multiple nodes or setups? I personally use CrePal—our own video tool with audio support—so I can generate, refine, and export content fast → click here.
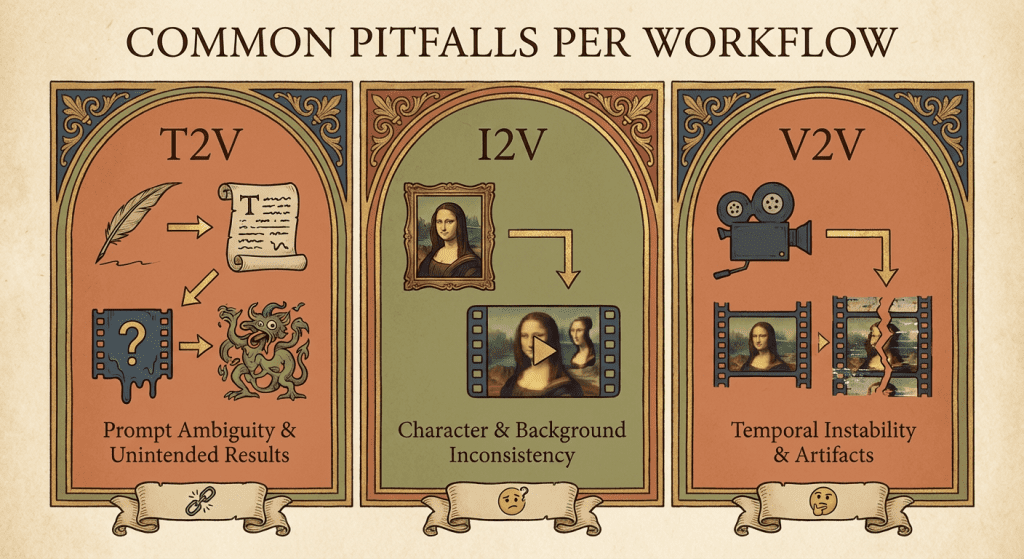
Common pitfalls per workflow
T2V
- Over-stuffed prompts. Long shopping lists confuse the model. Write like a DP: mood, lens, move, light.
- Asking for legible text. If you need clean typography, composite it later.
I2V
- Low-quality source images. Noise in, noise out. Spend an extra 5 minutes cleaning your key image.
- Pushing big camera moves. Keep them subtle or the subject melts.
V2V
- Expecting physical impossibilities. If the source clip has flat lighting, don’t demand dramatic spotlights without re-shooting.
- Crushing details with heavy style force. Dial guidance back until skin, fabric, or foliage textures return.
One more general tip: Save versions. Jan 11, I lost a killer bottle highlight because I overwrote a seed. Rookie mistake, don’t be me.
If you’re curious whether LTX-2 can be a real partner in your workflow: yes, with the right lane for the right job. T2V to spark, I2V to lock, V2V to finish. For deeper dives, check the official LTX Video documentation for tips on workflow, nodes, and settings.
Previous posts: