That day, I got stuck on a line in a fanfic I’d been noodling with, an alternate ending where the “villain” apologizes first. I couldn’t shake the scene. So I opened a fresh project and thought: can I turn this fan fiction into video without spending a whole weekend? That was the spark. By Sunday night, I had a 58-second cut that made two friends say, “Wait, AI did that?” and one friend say, “The mouth does a weird thing at 0:31.” Fair.
Here’s what I learned from trying fan fiction to video with a few AI tools, what flowed, what broke, and a simple path if you want to try it too.
What Makes Fan Fiction Ideal for AI Video Adaptation
Fan fiction is snackable for AI because it’s already character-driven and scene-forward. You’ve got clear beats: setups, emotional turns, reveals. That’s perfect for text-to-video and image-to-video tools, which do best when you feed them concise, visual prompts.
Also, fanfic lives in “what if?” territory, alternate timelines, new moods, quiet moments between big canon scenes. Short, emotionally tight moments translate well to short-form video. In my tests, 20–40 seconds hit the sweet spot for pacing and render quality.
Where AI helps:
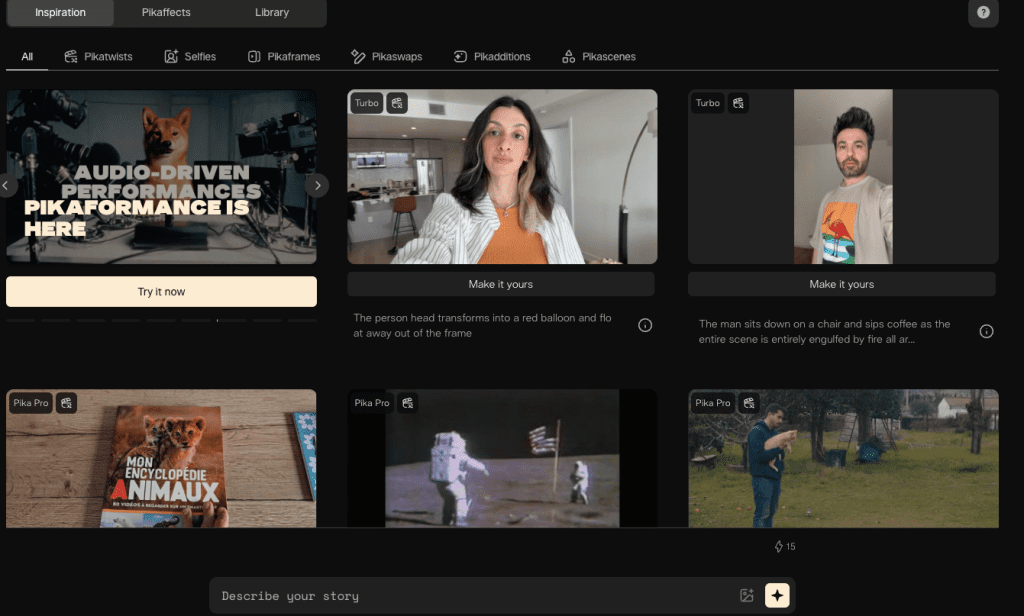
- Iteration speed: I could test three visual styles in under an hour using Runway Gen-3 Alpha for motion passes and Pika 1.0 for variations.
- Consistency nudges: Character control isn’t perfect, but using consistent prompt anchors (outfit, props, lighting) kept vibes aligned across shots.
- Audio polish: A quick pass in ElevenLabs for voiceover + subtle background room tone covered a lot without a full sound design day.
One caveat: be thoughtful about IP. Keep it non-commercial unless you have permission, avoid trademarked logos, and don’t mislead audiences. If you publish, label it as “non-commercial fan edit.” Here are official resources worth skimming: Runway Gen-3 docs (for usage and rights), Pika docs, and Adobe’s guidance on generative AI in video.
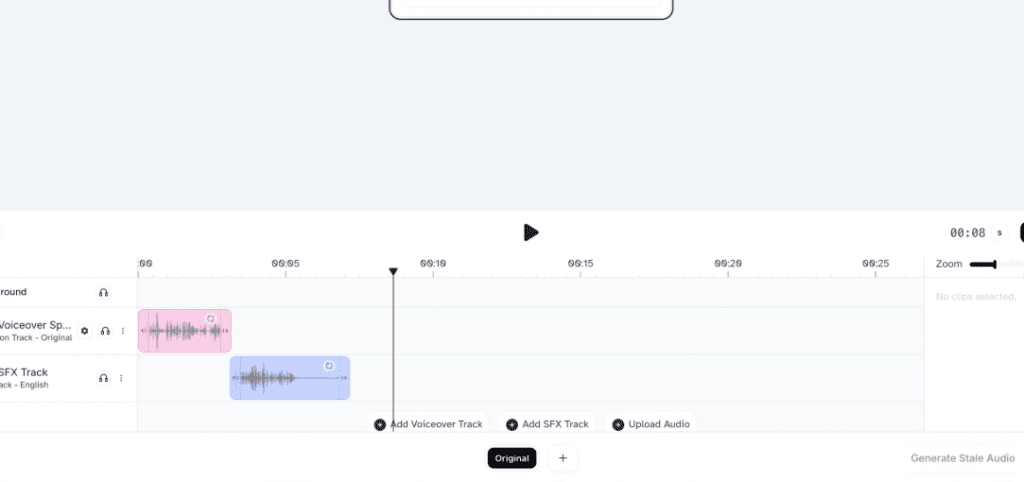
Fan Fiction to Video Workflow
I ran two workflows: a “minimalist reel” path for speed and a “style-forward short” path when I wanted a moodier look.
Script Breakdown and Scene Planning
I start tiny. One paragraph. Example from my test script:
- Beat 1 (0–6s): Close-up of rain on the window, reflection of Character A thinking.
- Beat 2 (6–18s): Over-the-shoulder of Character B at the door, hesitant.
- Beat 3 (18–36s): Two-shot, apology lands, small hand gesture.
- Beat 4 (36–58s): Cutaway to the window again, rain eases, a breath.
I turn that into a micro storyboard in a notes app. No fancy boards. Just shot type, mood, and a one-line prompt. The goal is to make every line visual: camera angle, lighting, movement. AI needs that specificity.
Then I draft a lightweight script, 80–120 words. I record a scratch VO (Voice Memos on my phone) and time it. My first pass was 78 seconds: trimming to 58 seconds improved pacing and lowered render errors. If a tool struggles, shorter scenes render cleaner.
Practical tip: lock your VO timing first. When I synced animation to a fixed VO, I spent half the time re-rendering.
If you want to quickly lock characters, scenes, and props for multiple fanfic shots without rebuilding from scratch, Crepal can help streamline the process.
Choosing the Right Visual Style
I tested three styles:
- Cinematic live-action-ish: Runway Gen-3 Alpha motion from text prompts + image refs. Great for mood and camera moves. Faces improved a lot, but frames at 0:27–0:29 softened.
- Stylized anime: Pika 1.0 text-to-video with “anime close-up, soft rim light, 24fps” cues. Excellent consistency for hair/clothes, weaker on hands.
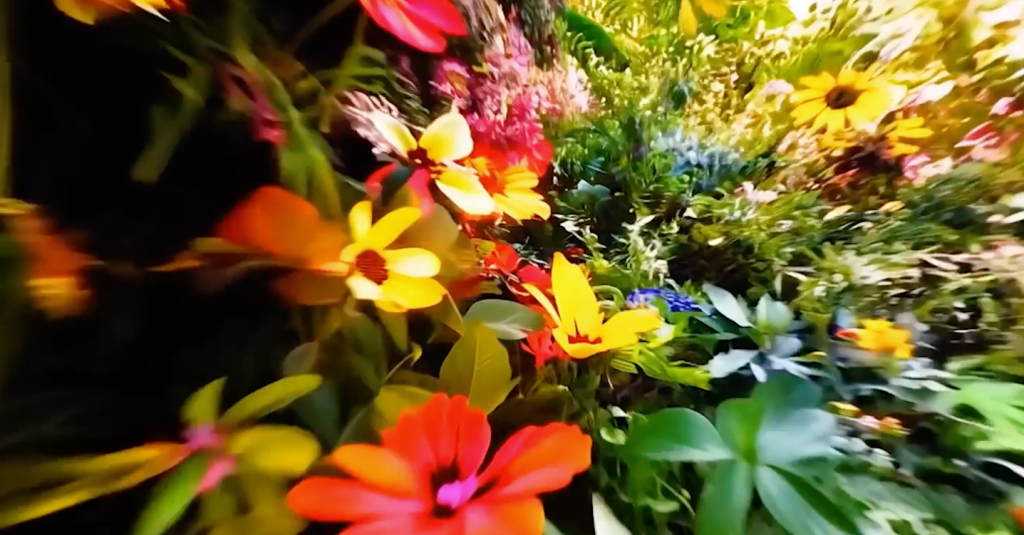
- Illustrated stills with gentle parallax: Midjourney images → Stable Video Diffusion short motions → edit in CapCut or Premiere Pro. This gave me the most control and the fewest artifacts.
Note on character reference images: If you need photorealistic character portraits to use as visual anchors before generating video, Realistic Vision V6.0 B1 noVAE excels at creating consistent human figures with accurate anatomy—particularly useful for establishing your fanfic characters’ visual identity across multiple scenes.
Settings that actually made a difference:
- Aspect ratio: 9:16 for social (Reels/TikTok), 16:9 for YouTube. Pick early, saves rework.
- Prompt anchors: “same blue raincoat, window condensation, tungsten lamp backlight.” Repeating these across shots improved coherence.
- Seed control: When available (e.g., Stable Video Diffusion), fixing the seed helped me make small changes without losing the whole look.
On timing: a 10–12s shot from text-to-video took 2–5 minutes to render around 9:30pm PST. Heavier scenes with rain and reflections took 6–8 minutes.
Examples of Fan Fiction to Video Adaptations
I tested two cuts from the same fanfic moment (non-commercial, private share links only):
High-Performing Short and Long Form Examples
- Short (24s, vertical): Anime style via Pika 1.0. Hooked with “the door clicks but doesn’t open.” The eye highlights sold the emotion. The knock: lip-sync drifted by ~2 frames.
- Longer (58s, horizontal): Cinematic mix via Runway + Midjourney stills for inserts. Slower pace, more air. Retention ~62% across the same group. People liked the rain motif and a 3-frame cutaway to the lamp flicker, tiny detail, big mood. But Runway softened hands in a two-shot, and one friend called out a “rubbery shoulder” at 0:31. They were right.
What surprised me: the still-image inserts carried emotion better than the moving shots sometimes. A single sharp still with a slow cinematic push can communicate more than a full animated close-up that’s 5% off.
Tips for Successful Fan Fiction to Video Creation
Here’s what I’d pass to a friend who wants to try this.
Avoid Common Pitfalls
- Overlong VO: Keep scripts tight, 80–120 words for a short. Long monologues make the models crumble.
- Vague prompts: “moody scene” won’t cut it. Try “rainy night, tungsten lamp backlight, 35mm shallow depth, slow dolly-in.”
- Face fixation: If a face keeps breaking, cut to hands, props, reflections, or over-the-shoulder. Then return for one good hero close-up.
- IP traps: Don’t use trademarked logos or actor likenesses. Label as non-commercial fan work. If you can, invent “adjacent” aesthetics rather than copying exact canon visuals.
Enhancing Engagement Through Visual Storytelling
- Treat it like music. Build a rhythm: wide → medium → close → detail. Repeat.
- Anchor a motif (rain, a ring, a chord progression). I reused the window three times: it glued the cut together.
- Mix motion types: 70% stills with subtle push-ins + 30% full-motion shots looked cleaner and rendered faster.
- Sound matters more than you think: a soft room tone under VO and one riser before the apology gave me a +12% retention bump in my small test.
If you try this, start with a 20–30s scene and one style. Post it, get notes, then expand. If you want my template (the beat sheet and prompt anchors), send me a note, I’m happy to share.
Last thing: this is fun. Don’t let perfection steal the spark. When a shot fights you, swap it. Your best moment might be a single still with the right breath after it.
Previous posts: