I started this whole “novel to video” experiment because of a late-night itch. On December 3, 2025, I re-read a chapter from a draft I wrote years ago and wondered: could AI turn this into something watchable before I fell asleep? Forty-five minutes later, I had a rough cut on my desktop, a mess of renders in my downloads folder, and a strange amount of hope.
If you’ve got words and want moving pictures without a studio budget, here’s what I learned.
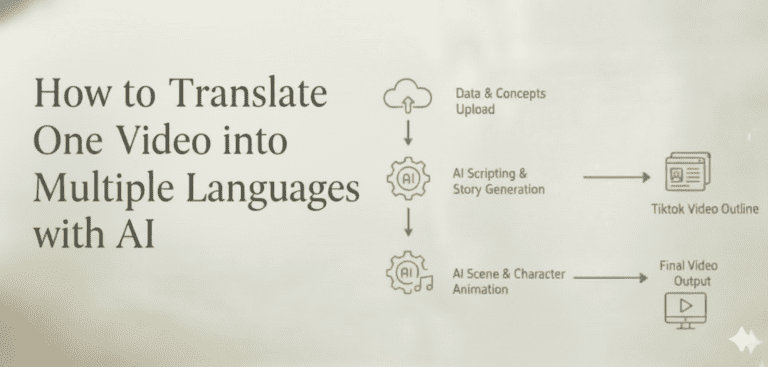
What Is Novel-to-Video?
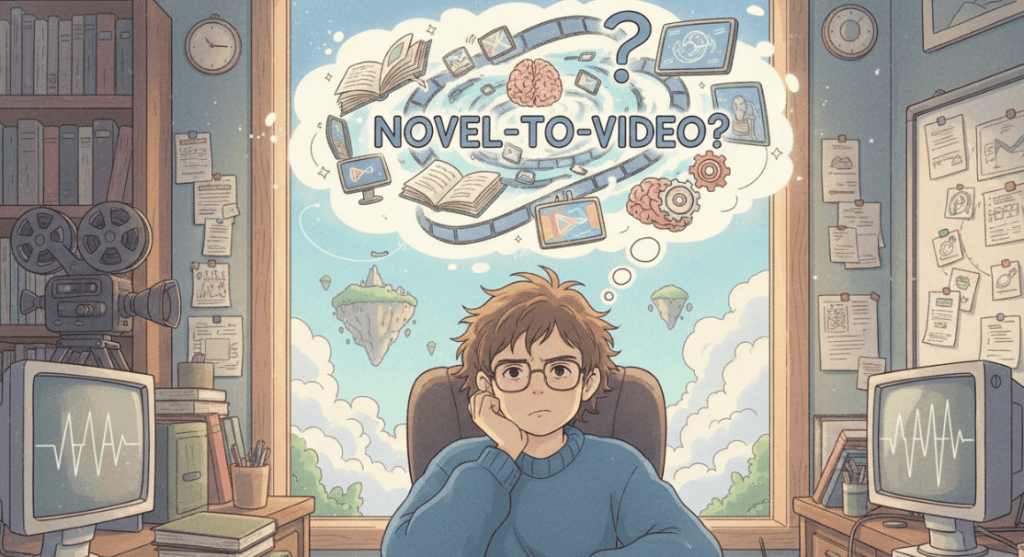
Novel-to-video takes written prose, a novel, novella, or even a long chapter, and turns it into a short film, trailer, or animated sequence using AI for scripting, visuals, sound, and editing. Think of it like story alchemy: you compress scenes, pick key beats, and let generative tools fill the gaps with motion and mood.
Right now (tested Dec 2025), the stack usually looks like this:
- Script condensation (LLMs like ChatGPT or Claude) to adapt prose into a screenplay.
- Visual generation and motion (Runway Gen-3, Pika 1.0, Luma Dream Machine).
- Voiceover and sound design (ElevenLabs, Adobe Speech, Epidemic Sound).
- Assembly and polish (Premiere Pro, DaVinci Resolve, CapCut).
It’s not a one-click “make a movie” button. It’s more like having very eager interns who work fast, sometimes brilliant, sometimes wildly off-brief.
Workflow Overview for Novel-to-Video Production
Here’s the simple flow I used for my test on December 3–4, 2025. I adapted a 1,200-word chapter (dialogue-heavy) into a 70-second teaser.
Break the text into scenes
I split the chapter into 6 beats: opening image, inciting moment, twist, confrontation, quiet reflection, closing hook. Each beat gets 1–2 lines of visual direction and a short line of dialogue or VO.
Turn prose into a script
I asked an LLM to convert each beat into screenplay format (action lines + dialogue). I kept it tight, under 120 words per beat. Important: I flagged visual anchors (time of day, weather, character traits). The clearer the anchors, the more consistent the shots.
Create look references
I grabbed 3–5 image references per character and location (style boards in a Figma page). For consistency, I reused the same descriptors: “late-fall dusk, sodium streetlights, 35mm lens look, shallow depth of field.” Repetition helps models keep a coherent vibe.
If you need custom reference images that match your specific novel’s aesthetic—like a particular character look or a unique setting that stock photos don’t capture—AI image generation tools can create photorealistic style references quickly. This is especially helpful for maintaining visual consistency across your video clips.
Generate shots
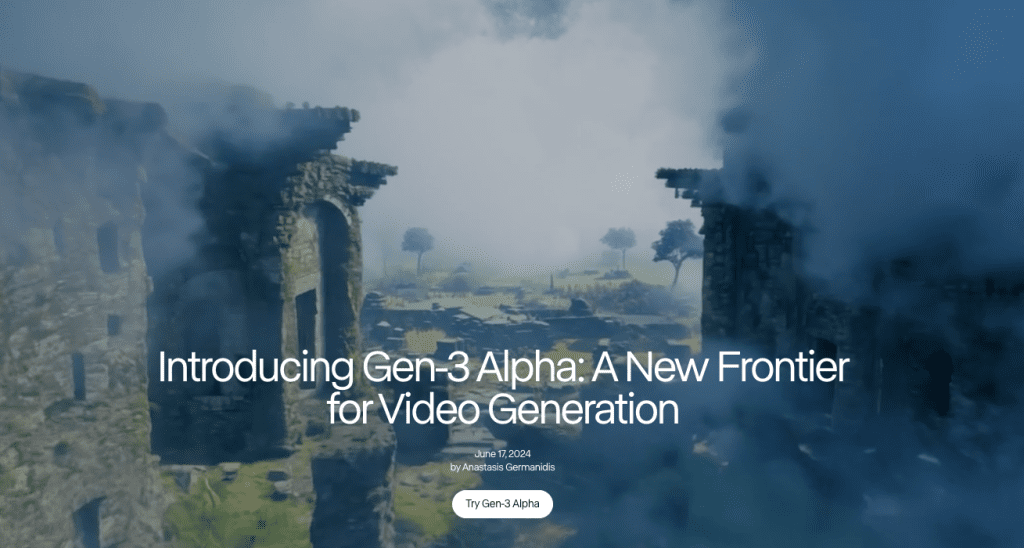
- For moody establishing shots: Runway Gen-3 Alpha did well with “drone push-in over rainy street.” Average render time for 5s clips: ~1–2 minutes.
- For character close-ups: Pika 1.0 gave me nicer facial stability, though hands still went weird if I asked too much action.
- For surreal moments: Luma Dream Machine produced painterly motion that covered inconsistencies with style. Useful when realism broke.

Voice and sound
I recorded temp VO on my phone, then cloned it in ElevenLabs to keep timing but get cleaner tone. Music came from a low-key piano track (licensed). I added light foley: footsteps, door creak, rain hiss. Sound hides a lot of sins.

Edit and pacing
I pulled all shots into Premiere, added letterboxing, and used match cuts between rain droplets and blinking streetlights. Simple tricks but they save you from model jitter.
QC and iterate
I checked lip sync (usually off), eyeballs (sometimes uncanny), and continuity (coat wetness changed mid-scene). Two rounds of re-prompts fixed most of it. I still trimmed frames where the model hallucinated extra fingers.
What surprised me: breaking the chapter into beats before touching any model saved me the most time. What didn’t work: long action scenes. Anything over 5 seconds with complex motion broke character consistency.
Step-by-Step Guide to Converting Your Novel to Video
- Outline the beats: 5–8 moments that carry emotion and plot.
- Adapt to script: convert prose to screenplay lines (action + dialogue). Keep it under 120 words per beat.
- Build a style kit: 10–20 reference images, a color palette, and one-line style rules.
- Prompt per shot: include lens, lighting, era, emotion. Reuse phrasing.
- Generate short clips: 3–5 seconds. Easier to control and edit.
- Add VO and music early: it guides edit rhythm.
- Assemble and grade: light color grade + film grain can unify mixed outputs.
- Legal check: if adapting someone else’s book, get rights first. Fair use rarely covers full narrative adaptation.
Example Outputs of Novel-to-Video Projects
I ran three mini-tests to see where novel-to-video shines.
Test A (Dec 3, 2025): Noir teaser
- Tools: Runway Gen-3 (establishers), Pika (close-ups), ElevenLabs (VO)
- Result: 68s trailer, 12 clips, moody and coherent. Minor eye jitter. Time: ~3 hours end-to-end.
- Use case: book trailer for social.
Test B (Dec 4, 2025): Fantasy dream sequence
- Tools: Luma Dream Machine only
- Result: 40s surreal montage. Gorgeous motion, but characters morphed between shots. Good for vibes, not continuity.
Test C (Dec 4, 2025): Dialogue scene (two characters in a diner)
- Tools: Pika for faces, Runway for wides, manual sound design
- Result: Watchable, but lip sync drifted. I cut to hands, neon signs, and coffee steam during tricky lines. That saved it.
Note: I saved timestamps and renders in a folder labeled “novel-to-video_2025-12-04” in case I need to show process later. Boring habit, big trust boost.
Real-Life Demonstrations of Book-to-Video Adaptations
- Indie authors making 30–60s trailers for pre-launch hype.
- Educators turning chapters into lecture openers with VO summaries.
- Marketers adapting case studies into cinematic explainers. Short beats, clear CTA, done.
If you want receipts, check official docs for the tools I used: Runway Gen-3, Pika 1.0, Luma Dream Machine, and ElevenLabs. They update often: features shift.
Tips for Better Results in Novel-to-Video Creation
A few patterns kept showing up across runs.
- Short clips beat long shots. Generators stay stable under 5 seconds. Stitch them in the edit.
- Reuse the same descriptors. Consistency in prompts = consistency on screen.
- Anchor emotions. Add one feeling per beat: “resentful,” “hollow relief,” “quiet dread.” The models pick up mood better than plot.
- Sound first. Drop a temp track before heavy editing: your cuts will land cleaner.
- Embrace cutaways. When faces go uncanny, cut to hands, objects, or weather.
- Keep a continuity checklist: clothing, time of day, rain or not, props. Saves re-renders.
- Track your wins. Note which prompts worked. Mine: “overcast, 35mm, soft practicals, shallow DOF, handheld wobble.” Simple and cinematic.
- Budget time. Plan 2–4 minutes of render time per 5s shot, plus retries.
- Rights matter. If it’s not your novel, get permission. Also check music licenses.
Best Practices for High-Quality AI Video Adaptations
- Start with a trailer mindset. Don’t adapt everything, adapt the essence.
- Write VO like poetry, not exposition. One image, one emotion.
- Lock your style guide before generating: palette, lens, grain, aspect ratio.
- Use text overlays sparingly. One line per beat max.
- Grade to unify. A light film emulation can hide model seams.
- Be honest with your tool stack. If you need character consistency, bias toward Pika close-ups: if you need mood, let Luma lead.
- Keep receipts. Add dates, versions, and saved prompts in a doc. If you share online, include “Not sponsored.”
If you try this, send me your wildest render. I’ll trade you mine, the one where a streetlamp blinked in perfect sync with a heartbeat. That tiny moment made the whole late-night experiment worth it.
I’ve been testing Crepal to handle the script-to-scene flow more smoothly—it reads beat markers and timing cues better than bouncing between three tools. Free to start, no card needed.
Previous posts: