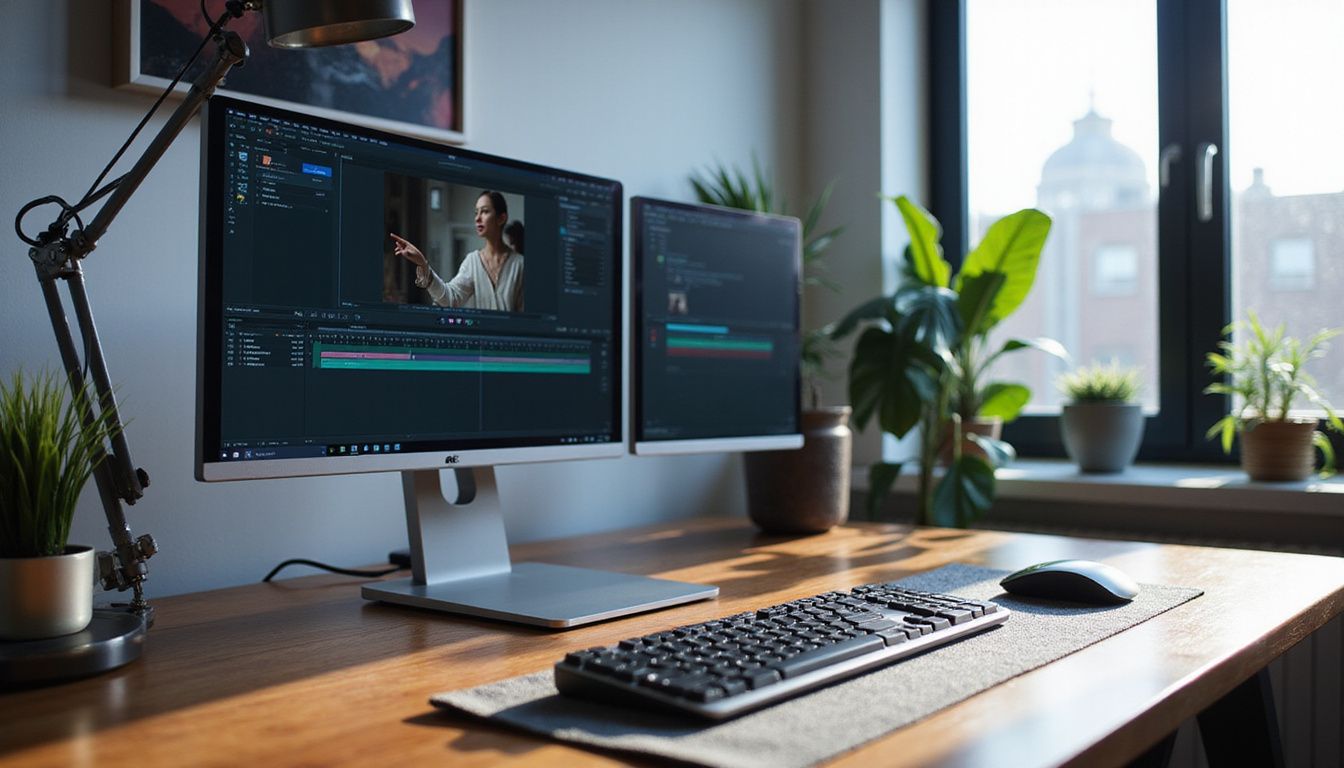
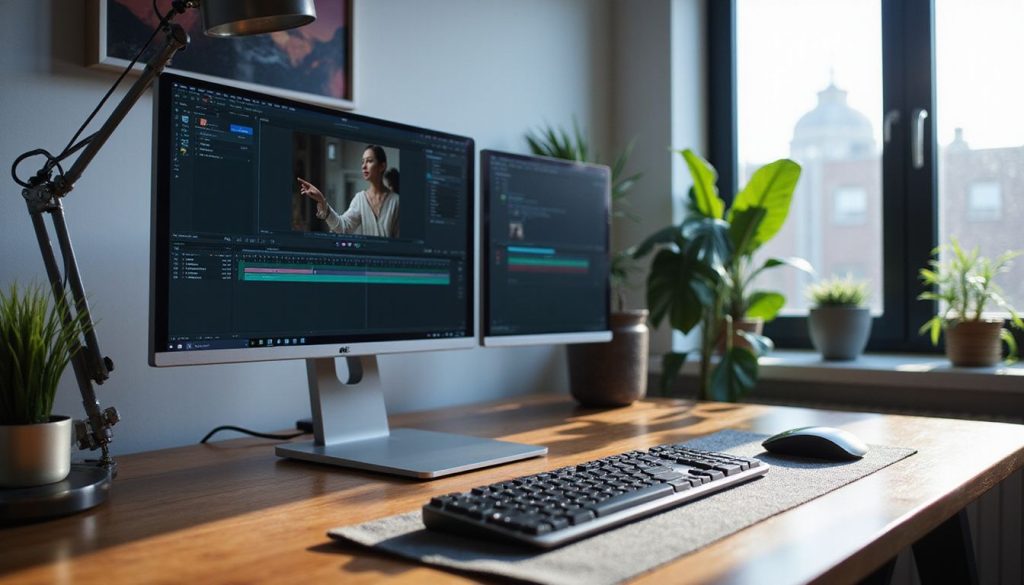
I spent a few days pushing Gen-3 on real mini-projects—short openers, product beats, and 9:16 social cuts. Below is the workflow that consistently improved “cinematic feel”: clean prompts, restrained motion, and just enough control (keyframes + camera) to keep continuity without overfitting the model.
What we’ll cover
- A no-fluff workflow: Text vs Image+Text, when to switch, how to iterate
- Prompt structure that actually steers style and motion
- Keyframes & camera control: what to set, what to ignore
- Extend vs regenerate (and how to keep looks consistent)
- A compact cheat sheet, a mini prompt library, and a realistic troubleshooting section
- A few authoritative references (model family & controls)
Before you start: how Gen-3 behaves (quick context)
Gen-3 is a family of text-/image-to-video models with better motion fidelity and temporal consistency than Gen-2. Gen-3 Alpha arrived with a new training stack aimed at world-simulation style behavior; later Turbo variants traded some flexibility for speed and cost efficiency. In practice, that means: fast concepting with Turbo, higher control fidelity with Alpha in some workflows. (Runway)
Gen-3’s control features are model-dependent. For example, the Keyframes and Camera Control capabilities differ between Alpha and Turbo (Turbo commonly supports more granular keyframe positions; Camera Control on Turbo pairs best with an input image). Always double-check the Help Center notes in your UI build. (help.runwayml.com)
A practical workflow (Step-by-Step)
Step 1 — Pick a workflow: Text-only vs Image+Text
- Start Text-only for fast ideation. Keep the prompt short, concrete, and film-literate (lighting, lens, motion).
- Switch to Image+Text once you like a frame but need steadier styling or character continuity (use a clean reference still; avoid busy collages).
Reality check: Turbo needs an input image for some controls. If you want Camera Control with Turbo, bring a reference frame.
Step 2 — Write prompts that steer cinematic choices
Use this simple prompt formula and stay literal:
[Subject] + [Action] + [Environment] + [Lighting/Time] + [Lens/Camera Move] + [Mood/Texture]
Example (text-only)
“a lone runner splashing through a rainy alley at night, tungsten pools and neon accents, shallow depth of field, slow dolly-in, subtle film grain, restrained motion”
Example (image+text add-on)
“match reference color palette and wardrobe, keep hairstyle and jacket, maintain wet pavement reflections, cinematic backlight, gentle lens flare, no logos”
Negative prompts (use sparingly)no jitter, no warped faces, avoid over-saturation, reduce flicker, stable lighting
Why it works: Gen-3 responds well to lighting, lens, and motion vocabulary. If you’re not specific about those, you’ll get floaty blocking and generic contrast.
For deeper prompt patterns, the official guide lists workable structures—cross-check against your UI version.
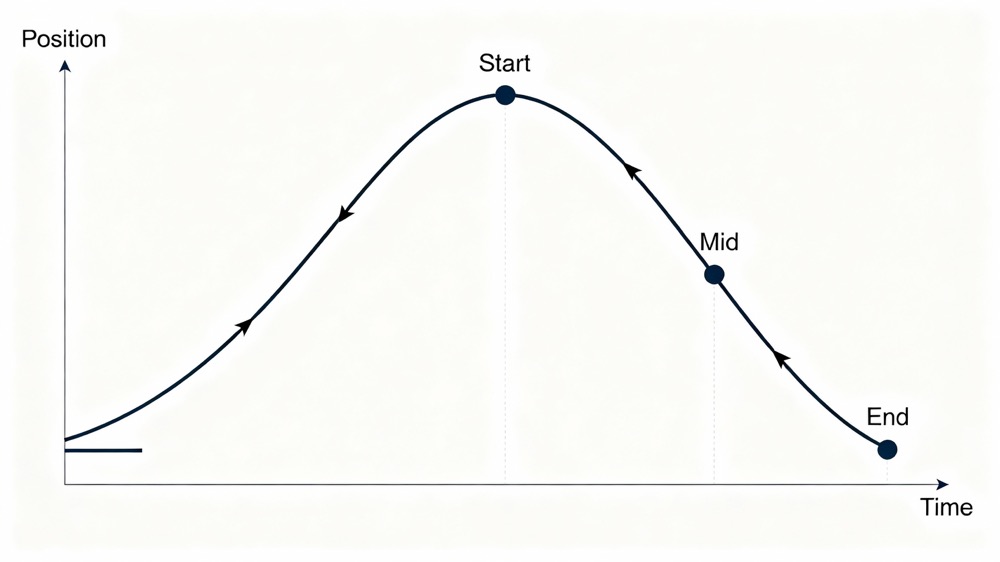
Step 3 — Add Keyframes to make motion believable
Use keyframes to stage motion, not to micromanage every beat.
- Mark rhythm points (start / middle / end).
- Use ease-in / ease-out for moves that feel operated, not robotic.
- Keep direction consistent across adjacent shots (e.g., left→right throughout a sequence).
- If your model build only supports first/last keyframes, compensate with a simpler path and stronger camera cues in the prompt.
The Help Center details what each Gen-3 variant supports (Alpha vs Turbo) and how to place keyframes in that build. It’s worth a quick scan before a complex shot.
Step 4 — Guide the camera (just enough)
Treat camera instructions like you would on set:
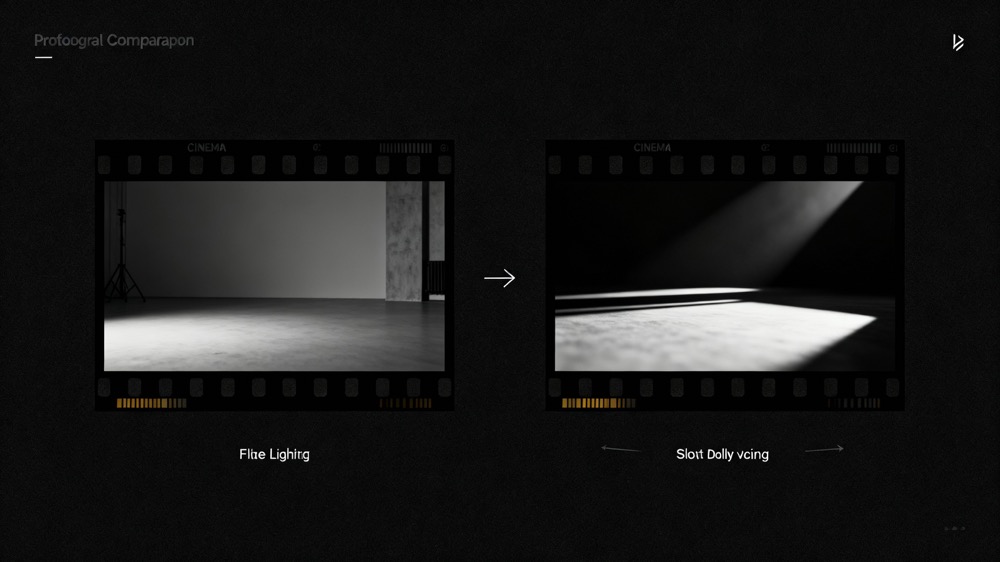
- Shot size: establish (wide) → medium → close, or invert for reveals.
- Move type: slow dolly-in or track-left; avoid stacking moves (pan+tilt+roll) unless you want stylization.
- Speed: keep it constant within a shot; change speed at cuts.
If you’re on a Turbo build and using Camera Control, pair it with an input image and prompt the direction and intensity—the control is most predictable with a clear reference frame.
Step 5 — Generate → Evaluate → Extend or Regenerate
Extend when:
- Look & motion are on-brand, and you just need more runtime.
- You can export a crisp frame as a reference to carry color/wardrobe forward.
Regenerate when:
- Motion drifts (weird parallax, rubber faces) or lighting collapses.
- You changed the story beat (different action or framing philosophy).
A good loop is: Generate 6–8 s → Save a hero frame → Extend in small chunks (6–10 s) while re-anchoring style with that saved frame. If a shot breaks, don’t “fight it” with heavier prompts—regenerate with simpler camera cues and a cleaner reference.
Cheat sheet — fast settings that usually help
| Scenario | FPS | Camera move | Easing | Aspect | Notes |
|---|---|---|---|---|---|
| Narrative/film look | 24 | slow dolly or gentle track | ease-in/out | 16:9 | add light film grain language in prompt |
| Vertical social teaser | 30 | minimal move, stronger cuts | mostly linear | 9:16 | hook in first 2–3 s; boost subtitle contrast |
| Product beat | 30 | controlled orbit or track | ease-in → linear | 16:9 | watch speculars; prompt “soft reflections” |
| Explainer/edu | 25/30 | micro-moves only | ease-in/out | 16:9 | prioritize legibility; stable lighting |
Note: Gen-3 Turbo trades control depth for speed (e.g., cheaper, faster runs; camera control paired with input image). If you need finer beats, test Alpha for that specific shot. (Venturebeat)
Mini cinematic prompt library (copy/paste and tweak)
Moody alley opener (wide → mid)
“a rain-soaked alley at night with neon signage, lone runner enters frame left to right, shallow depth of field, slow dolly-in, cinematic tungsten backlight, gentle haze, restrained motion, subtle film grain”
Warm product macro
“close-up of a brushed metal wearable on a wood desk, soft window light, controlled reflections, 50mm look, gentle push-in, studio cleanliness, no fingerprints, no logos”
Daylight city reveal
“morning city skyline through a high-rise window, soft backlight, tilt-up from table to skyline, light lens flare, natural contrast, documentary vibe, steady handheld feel (no jitter)”
Vertical teaser (9:16)
“portrait framing of a dancer in an empty warehouse, golden hour shafts, slow track-left, low camera height, high contrast silhouette, subtle dust motes, no roll”
Quiet classroom explainer
“teacher pointing at a clean whiteboard, neutral key light, soft fill, micro-pan, high subtitle legibility, calm tone, no flicker”
Combining Image+Text for look-locking
When you like 1–2 frames, export stills and re-feed them with text to lock wardrobe, color, and hair shape. In the prompt, be explicit:
- “keep jacket color and texture; keep hairstyle; match teal-orange palette; maintain shallow DOF; no logo; stable lighting.”
- Avoid stacking multiple style refs. One strong frame beats a moodboard collage.
If you lean on Camera Control, bring that input image—the model expects it for predictable results on some Turbo routes.
Extend vs regenerate: a simple decision tree
- Is the look consistent?
Yes → Extend 6–10 s.
No → Regenerate with simpler move and clearer lighting words. - Is motion smooth with believable inertia?
Yes → Extend and add a mid keyframe for rhythm.
No → Regenerate; reduce compound moves; add ease-in/out. - Does the new beat change story or perspective?
Yes → Regenerate a fresh shot (don’t force an extend).
No → Extend with the saved hero frame as reference.
Troubleshooting (what actually fixes common issues)
- Temporal wobble / jelly faces → Reduce motion complexity; set one axis only (track-left or dolly-in). Add
no jitter, stable lighting. - Harsh, plasticky lighting → Prompt “soft key, lifted shadows, natural contrast”; avoid “hyper-sharp, glossy” unless you want speculars.
- Style drift on extension → Export a hero frame and re-feed; explicitly name palette/wardrobe.
- Over-energetic camera → Add easing at start/end; keep speed constant inside a shot; shift energy to cut rhythm instead.
- Vertical crop issues → Compose in 16:9, safe-center action, then crop to 9:16; avoid edge-heavy blocking.
Industry-level context (a few high-signal reads)
- Official Gen-3 announcement (model family + intent). Useful for understanding why motion looks more “physical” than Gen-2. (Runway)
- Help Center: Keyframes & Camera Control (the UI changes; this is your source of truth for which model supports which control).
- Turbo notes (why fast/cheap routes exist and when they help). (Venturebeat)
- Mainstream overview (why Gen-3 mattered in 2024–2025 filmmaking conversations). (TIME)
FAQs
1) Do I need keyframes for a “cinematic” look?
Not always—but a single mid keyframe with gentle ease-in/out often fixes robotic motion and gives shots human-operated inertia. Details differ by model variant.
2) When should I switch to Image+Text?
As soon as you like a frame but can’t keep styling consistent on new runs. Export that frame and use it to anchor color and wardrobe; keep your text concise. (Camera Control on some Turbo routes expects an input image.)
3) What aspect ratio should I start with?
For flexibility, block in 16:9 and keep action center-safe; crop to 9:16 later for social. That avoids losing key subject matter.
4) How long should each generation be?
I iterate in 6–8 s chunks. If it’s working, extend another 6–10 s with the saved hero frame. If it breaks, regenerate a fresh shot rather than fighting the extend.
5) Where can I learn the “official” prompt patterns?
The Help Center has a concise prompting guide with example structures. Use it as a sanity check against your own style.
Quick recap (what actually moved the needle)
- Use film language in prompts (lighting, lens, motion).
- One clear camera move per shot + easing.
- Save a hero frame and extend in short chunks.
- When motion/lighting break, regenerate—don’t fight it.
- Re-check model-specific controls in the Help Center when the UI changes (Keyframes & Camera Control behaviors have varied across Gen-3 variants).