
Hey! I’m Dora. I recorded a scratch voice memo on my phone at 1:12 a.m. last week, whispering in the kitchen so I wouldn’t wake my neighbor. It was for a short explainer I built in Runway Gen-4. The visuals looked slick, but the voiceover? It sounded like I was narrating from inside a pillow. That’s the moment I decided to really test how far I could push voiceover inside Runway Gen-4, clean audio in, tight timing, natural pacing, the works. Not sponsored, just honest results from my own workflow.
I ran these tests on November 12–15, 2025, on a MacBook Pro (M2 Max, 32GB RAM). I tried three setups: a USB mic (Shure MV7), a clean iPhone mic in Voice Memos with a blanket fort (don’t judge me), and an AI-generated voice imported as WAV. Here’s what actually worked, what didn’t, and the shortcuts I’m keeping.
Runway Gen-4 Voiceover Setup Guide
Initial Setup for Runway Gen-4 Voiceover
Here’s the fast path I wish I knew first:
- Create your Gen-4 project and lock a rough cut of visuals. Don’t chase tiny edits yet, get the sequence blocked.
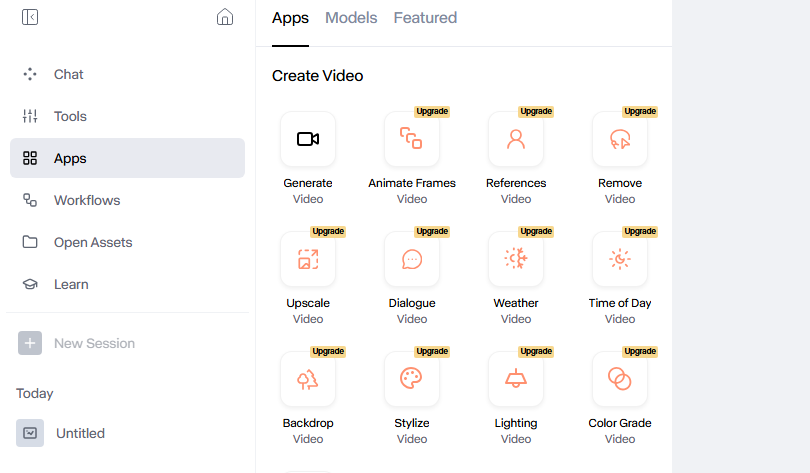
- In the editor, open the timeline and enable the audio track. If you don’t see it, click the timeline expander at the bottom.
- Prepare your voiceover as a single clean file: 48 kHz, 24-bit WAV, peaks around −6 dB, target loudness around −16 LUFS (podcast standard). This keeps it broadcast-safe and gives headroom for music.
- Import your file via the Assets panel and drag it onto the timeline.
I tested direct recording into Runway versus recording in a DAW (I used Audacity and Logic). Direct recording is fine for quick drafts, but I consistently got cleaner results recording outside Runway, less room noise, better gain control, and faster fixes with a high‑pass filter (~80 Hz), light compression (3:1), and a gentle de‑esser. Then import. Fewer headaches.
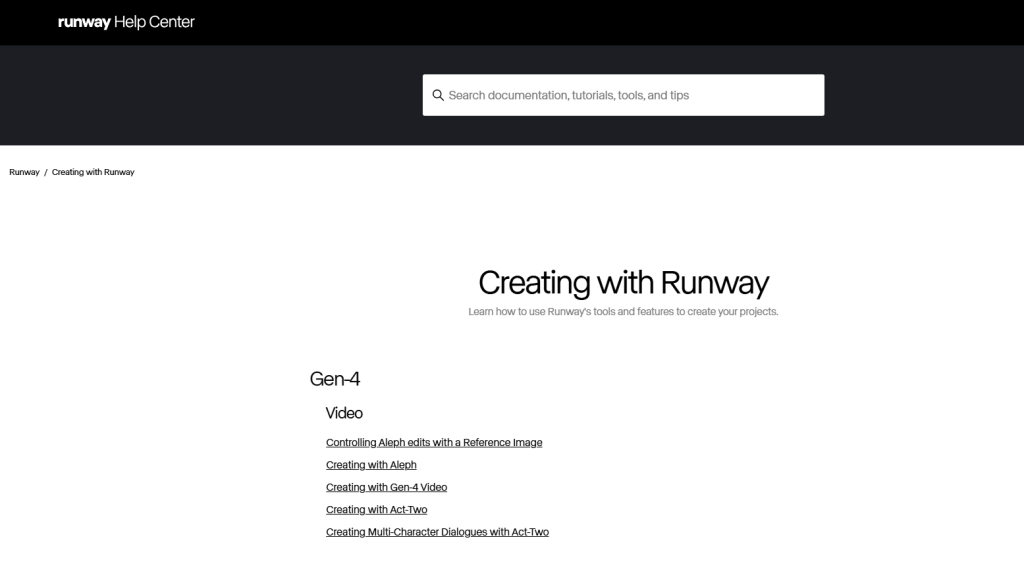
If you’re hunting for docs, Runway’s Help Center pages on the timeline and audio tracks are the most useful starting points.
Optimized Runway Gen-4 Voiceover Workflow
Step-by-Step Voiceover Process
This is the loop that gave me the best balance of speed and control:
- Script first, shots second. I wrote a tight 160-word script (about 60–70 seconds at a natural pace) and split it into 5 beats. Each beat mapped to one scene in Gen-4.
- Generate visuals to match beats. I used simple text prompts for each beat and kept camera moves slow. Fewer frantic edits later.
- Record or generate VO. I did one clean take in a quiet room and one AI voice take to compare.
- Import and place VO on the timeline. Align the first word to the first visual cue. Don’t worry about perfection yet.
- Rough timing pass. Use cut (B) and ripple edits to nudge visuals to the VO, not the other way around. Talking dictates timing.
- Add music and auto-duck under VO. Keep music at −24 to −20 LUFS during speech: let it breathe between lines.
- Polish: tighten breaths, add 4–6 frame handles before lines, and crossfade at sentence joints.
- Export a review cut (ProRes LT if you can). Listen on bad speakers (laptop) and good ones (headphones). If it holds up on both, you’re close.
On my tests, a 60–75 second piece took ~22 minutes end-to-end once I had a script and scenes. Rendering a 1080p export averaged 1–2 minutes.
Importing Scripts and Adjusting Timings
I like having the script visible while cutting. I drop the script into a Notes layer or keep it in split view and add markers at key words: hook, turn, CTA. Runway’s timeline markers (press M) help you chase beats without scrubbing forever.
Micro-timing matters. Most lines sound better if visuals lead by 4–8 frames before a word starts. It gives the brain a pre-roll. Also, leave a tiny breath (150–250 ms) between sentences: it makes AI voices feel less robotic and human voices less rushed.
Ensuring High-Quality Runway Gen-4 Voiceovers

Tips for Achieving Natural-Sounding AI Voice
If you’re using AI TTS and importing the WAV, these tweaks made a big difference:
- Pacing: Generate at 0.9–1.0 speed for explainers. Faster reads (1.05+) start to feel like an airport announcement.
- Pauses: Manually insert commas/periods and even [pause 200ms] tags if your TTS supports it. Natural breathing sells it.
- Emphasis: Use italics or SSML emphasis tags when available. Too much emphasis reads like a parody, so highlight only 1–2 words per sentence.
- Warmth: Roll off a touch of low end (high-pass ~80–100 Hz) and add a tiny presence boost around 3–4 kHz. Subtle is key.
For recorded human VO, get closer to the mic than you think (a fist away), talk slightly off-axis to avoid plosives, and record at a conservative gain. On Nov 13, my best take peaked at −8.2 dB with no clipping, zero retakes.
Voice Customization and Expression Controls
Runway Gen-4 doesn’t try to be a full DAW, and that’s fine. Treat it as the timing brain, not the voice factory. Do your voice shaping upstream (in your TTS or DAW), then:
- Use clip gain instead of EQ for small fixes. If one word dips, cut the clip, raise 1–2 dB, crossfade.
- Layer a room tone or low-noise bed under stitched takes to hide edits.
- Keep your dynamic range consistent. Aim for −16 LUFS for spoken content, −14 LUFS max if it’s a social short.
If you need deep voice cloning or emotional controls, generate outside, then import. It keeps your Runway timeline clean and predictable.
Runway Gen-4 Voiceover Production Tips
Best Practices for Efficient Workflow
- Script in beats. I literally number lines 1–5 and label shots to match. My Nov 15 run cut my timing pass from 12 minutes to 6.
- Record once, comp twice. Do one full read, then a punch-in pass for only the shaky sentences. Don’t chase perfection.
- Lock your music key and tempo early if the piece is rhythmic. It saves hours of micro-fixes around VO.
- Name clips. “VO_01_hook.wav” beats “final_final3.wav.” Future you will thank you.
- Version fast. Export a 540p proof for quick reviews: it renders in seconds and catches pacing issues.
Common Mistakes to Avoid
- Mixing in the red. If your master bus kisses 0 dB, your export will sound crunchy on phones.
- Editing visuals to music first. Then you fight your own VO. Voice first, then music, then polish.
- Over-processing AI voices. Heavy de-essers make them lispy: big EQ swings make them uncanny.
- Monotone reads. Add a smile on positive lines: drop pitch slightly for “but here’s the catch.” It translates, even in TTS if you tweak punctuation.
- Long cold opens. If your VO doesn’t speak within 2–3 seconds, people scroll.
Final Verdict on Runway Gen-4 Voiceover
Pros and Cons for Different Use Cases
After a few late-night sprints, here’s where I landed.
Pros
- Fast timing workflow: The timeline plus markers makes syncing painless.
- Good enough audio handling: Clean imports, easy clip edits, quick exports.
- Creator-friendly: For short explainers, product demos, and social cuts, it’s quick and light.
Cons
- Not a full audio suite: Heavy mixing, ADR-level cleanup, or emotional voice shaping still belongs in a DAW or dedicated TTS.
- Limited batch tools: If you’re pushing hundreds of lines, you’ll want script-aware automation outside Runway.
My take: For 60–90 second videos, Runway Gen-4 plus a decent mic (or a solid TTS) is a sweet spot. I wouldn’t mix a podcast here, but for content that lives on timelines, YouTube Shorts, LinkedIn explainers, product teasers, it’s absolutely fast enough and clean enough.
If you want my exact chain: record in a quiet room, light EQ/comp/de-ess in your DAW, export 48 kHz WAV, import to Runway, align with markers, music last, export, listen once on laptop speakers, then ship. If you try a different flow and it beats my timing, tell me, I love being proven wrong.
Not sponsored, no affiliate links, just what worked for me this week. If you’re stuck on a line read, DM me the waveform: I’ll happily nerd out for a minute.
Previous posts: