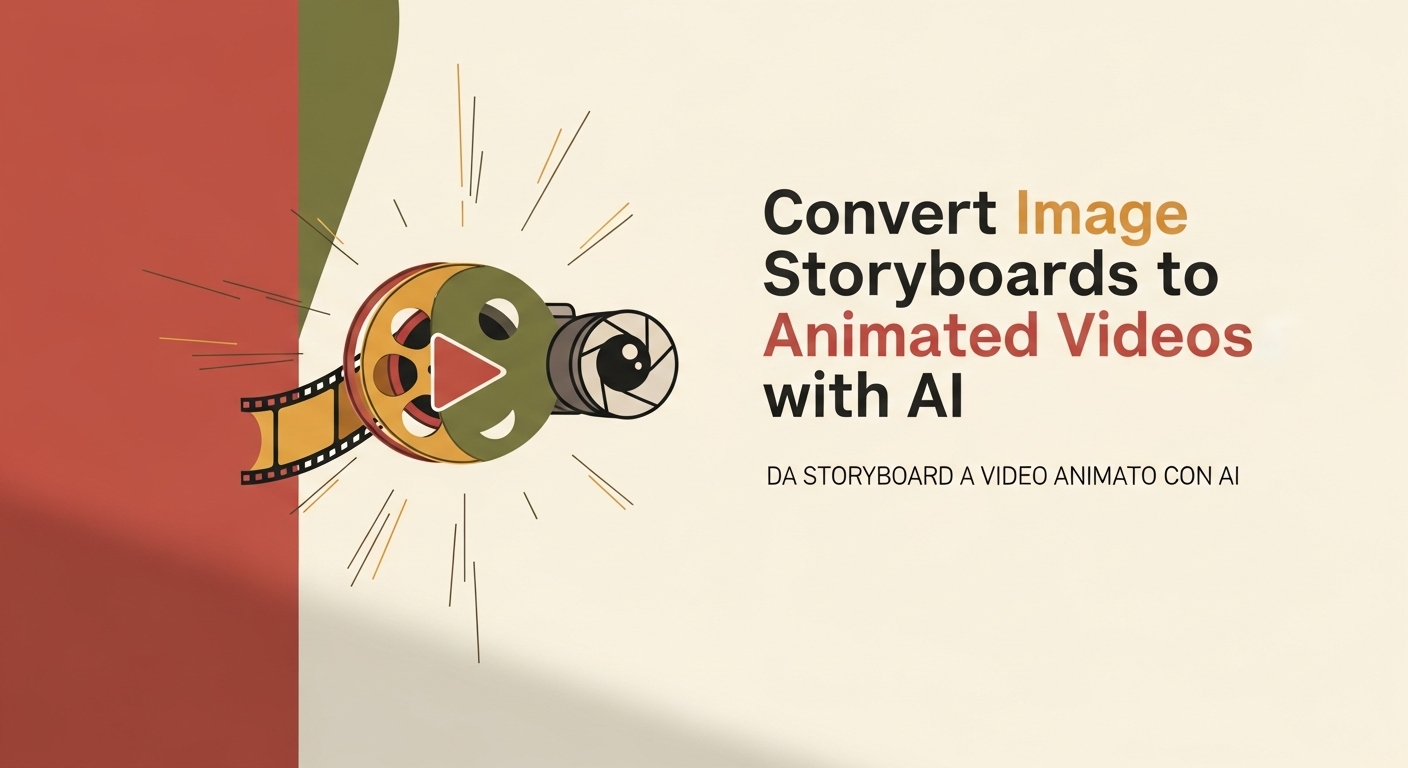
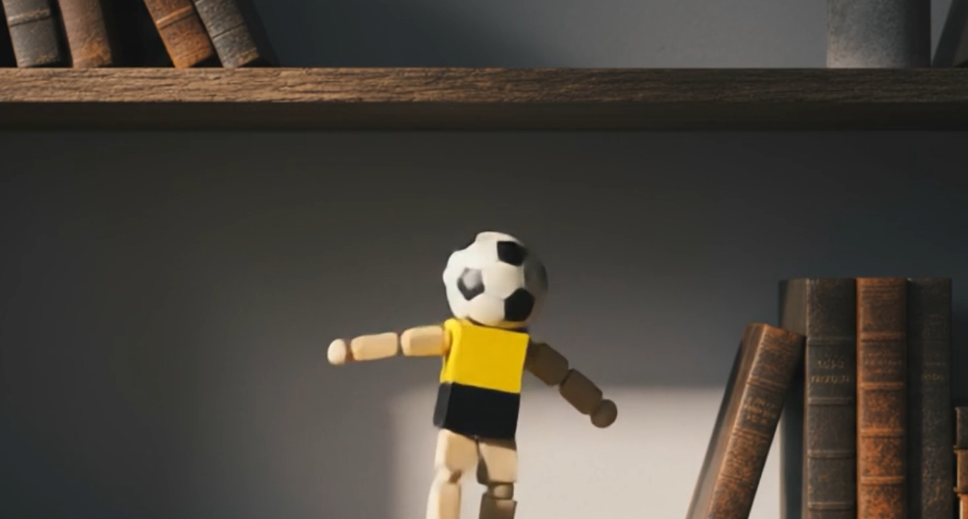
Hey, Dora is here. I was staring at a folder of static frames on 11/12/2025, thinking, “These deserve to move.” Not in a Marvel VFX way, just enough motion to sell the story. So I spent the week turning a simple storyboard into short animated beats, testing a few AI tools to see what actually helps and what’s just noise. These are my field notes, what worked, what tripped me up, and the tiny settings that made a big difference. Not sponsored, just honest results.
Storyboard Format Preparation
If your boards are messy, your animations will be messier. I learned that the hard way on 11/14/2025 when a mislabeled frame threw off my timing by a full beat.
Here’s the setup that saved me time:
- Resolution: I export each frame at 1920×1080 (or 2048×1152 if I want extra headroom). Bigger images give AI tools more detail to work with and reduce mushy edges.
- File naming: 01_wide_establishing.png, 02_closeup_key.png, 03_reveal.png… The leading zeros matter for sorting. Boring, but future-you will thank you.
- Layered PSDs for key shots: If I think I’ll nudge elements later (like a character’s hand or a UI element), I keep a layered version. Even if the AI tool doesn’t ingest PSDs, I can re-export a tweaked PNG fast.
- Consistent style anchors: I drop a small swatch strip at the bottom of each frame (skin tone, brand color, background hue). It’s my low-tech way to keep color consistent when tools hallucinate saturation.
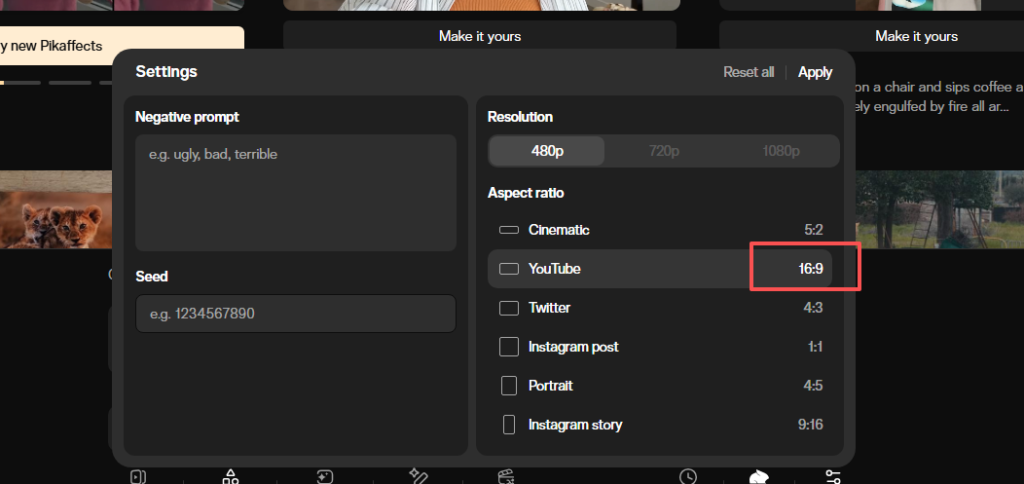
Quick note on aspect ratio: locking 16:9 kept my exports predictable across Pika, Runway, and Luma. Square and vertical also worked, but I hit fewer black-bar surprises with 16:9.
Bonus: I keep a simple “look sheet” in the folder, 5–7 reference thumbnails that define lighting, texture, and motion feel. When the AI drifts, I pull it back with those references.
Sequencing & Timing Decisions
I sketch a timing map before I animate anything. It’s literally a list like:
- 01: 3s (hold for context)
- 02: 2s (eye track left to right)
- 03: 4s (reveal + slight push-in)
For most explainer or social pieces, 2–4 seconds per beat works. If there’s text on screen, I bump to 5 seconds so it’s readable without pausing.
Frame rate: I default to 24 fps for that film-ish feel. Tools will render but they want, but I assemble everything in a 24 fps timeline so the motion feels cohesive.
Micro-movements win. A 3–5% zoom, a gentle parallax, or a hair of camera sway sells life without screaming “AI did this.” If I can feel the motion more than I can see it, I’m in the sweet spot.
One more trick: I put a dot or arrow in my notes showing where I want the viewer’s eye to land. Every motion decision serves that dot, otherwise you end up animating for the sake of animating.
Best AI Tools for Image Storyboard Animation
I rotated between three tools from 11/15/2025 to 11/19/2025. Each has a flavor.
Pika
Pika surprised me for quick image-to-video tests. I fed a 1920×1080 PNG with a prompt like: “gentle camera push-in, soft lighting, keep character face intact.” Renders were fast, about 30–90 seconds for 3–4 second clips in my tests. The control is “cozy”: fewer dials, but the outputs looked clean for subtle moves. Faces held up better than I expected, especially with short durations. But, Pika sometimes over-smooths textures, wood grain turned plasticky in two shots.
Good for: quick camera moves, slight parallax, social-ready loops. If you don’t want to wrestle settings, start here.
Runway
Runway‘s Gen-3 gave me the most directional control, especially with motion prompts like “slow dolly left, maintain composition.” It respected my composition more consistently than the others. Render time was about 40–70 seconds for a 4-second clip on 11/16/2025. I liked the seed locking for iteration; small prompt tweaks didn’t wreck the scene. Downsides: occasional edge warping on UI elements and typography. For shots with text, I often layered the final text in Premiere after the fact.
Good for: shots where framing really matters, or when you want consistent variants.
Luma
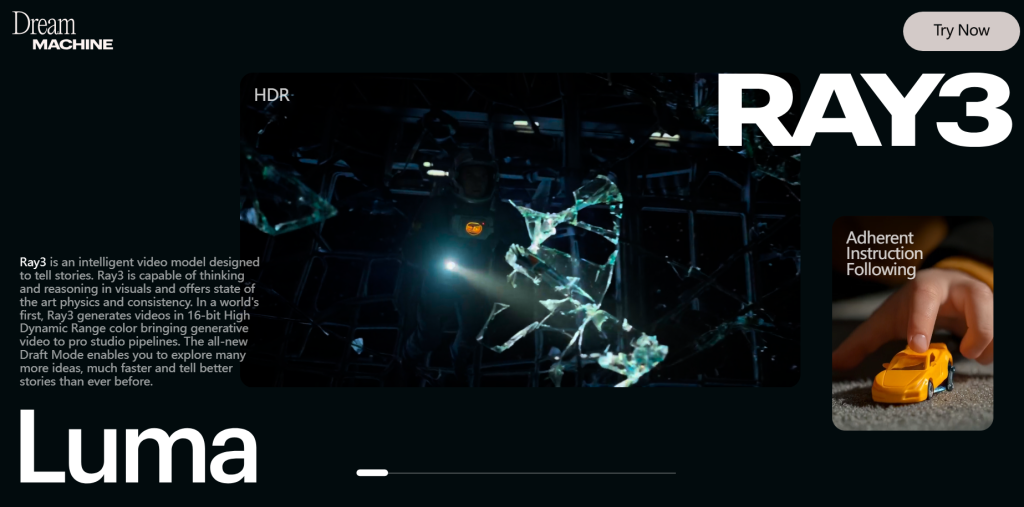
Luma’s Dream Machine felt artsier in a good way. It added lovely micro-shadows and ambient motion I didn’t ask for, but often liked. Longer queue times in my runs (2–4 minutes per clip on 11/18/2025). With people, it’s a bit temperamental: tiny changes in prompt could shift expressions. For product shots and environments, though, it’s gorgeous.
Good for: mood pieces, environmental shots, and when you’re okay with a bit of AI interpretation.
If you’re choosing just one: Runway for control, Pika for speed, Luma for vibe. I ended up mixing: Pika for simple beats, Runway for key story moments, Luma for atmospheric transitions.
Step-by-Step Conversion Workflow (5 Stages)
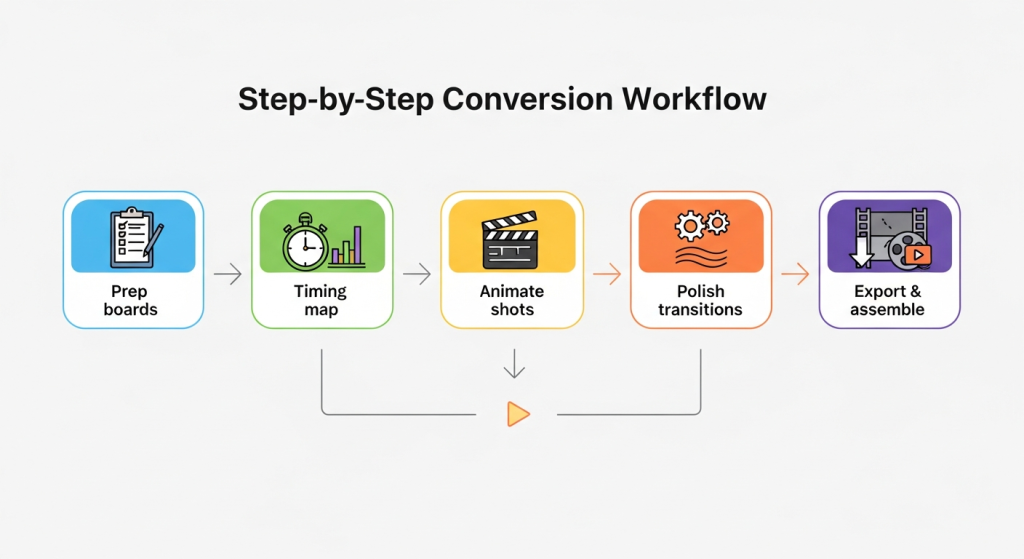
Here’s the exact flow I used on a 9-shot storyboard on 11/19/2025.
- Prep boards
- Export PNGs at 1920×1080, name with leading zeros, stash a color swatch strip.
- Note the intended motion (zoom, dolly, parallax) in the filename suffix if helpful: 03_reveal_zoom3.png.
- Timing map
- Assign 2–5 seconds per shot: mark any beats with on-screen text to be longer.
- Decide frame rate (I used 24 fps across the board).
- Animate shots (tool by tool)
- Pika for quick pushes and tilts. Keep prompts short and specific: duration 3–4s.
- Runway for framing-critical shots. Lock seed: describe motion in one line.
- Luma for ambient movement. Expect a longer queue: test two variants.
- Polish transitions
- If a cut feels harsh, I generate a 1–2s “bridge” clip in Luma: soft camera pan over a neutral texture or background element.
- For typography and UI, I composite clean layers in Premiere to avoid AI wobble.
- Export & assemble
- Export clips at 1080p ProRes or high-bitrate H.264. Assemble in a 24 fps timeline.
- Loudness target for quick social posts: around -14 LUFS, peaks under -1 dB. Keeps mixes sane across platforms.
Time math: The full pass for 9 shots took me ~1.5 hours end-to-end, including re-renders (Pika 25m, Runway 35m, Luma 30m, edits 20m).
Smooth Transitions Between Frames
Two kinds of smooth: visual and narrative.
Visual
- Match motion direction. If Shot 03 dollies are left, start Shot 04 with a leftward drift. Your brain reads it as one move.
- Keep exposure and color steady. I use a basic LUT on the whole timeline, then nudge clips as needed.
- Add a 3–5% push-in across the entire sequence. It ties the piece together like a subtle score.
Narrative
- Use micro-bridges: a 1–2s texture pass (light through leaves, a gradient on brand colors) between scenes. Luma excels here.
- Land each shot on a clear “rest” frame before cutting. If there’s no rest, your cut feels jumpy.
If a feature isn’t helping, I skip it. Example: depth control gimmicks sometimes create weird halos. I turned them off and got cleaner motion.
If you want my project files or prompts, I can share a cleaned sample. Ping me, happy to swap notes. And if you try this workflow, please send me your favorite shot: I love seeing the small wins.
Previous posts: