Hey, buddy. Dora here. That day, I was doomscrolling past yet another flashy motion graphic on X and thought, could I whip up something like that without opening After Effects? I already live inside Replit most days, so I spent the afternoon seeing how far I could push it for quick animations and MP4 exports. Not sponsored, just honest results.
If you’re curious about how to create animated videos in Replit, here’s exactly how I did it, what worked, what got on my nerves, and a few shortcuts I wish I knew an hour earlier.
Before You Start
Free tier, no install
I tested this on Replit’s free tier in Chrome on a MacBook Air (M2). No desktop installs. For simple 10–30 second animations, free is fine. If you start exporting 4K videos or piling on heavy libraries, you’ll feel the RAM ceiling. In that case, consider a Boosted Repl, but don’t overthink it upfront.
A quick heads-up: rendering to MP4 uses CPU and disk. Keep an eye on your project’s storage and clean old renders if you iterate a lot.
Works in browser
Everything runs in the browser. You can preview animations instantly in the right-side webview. When you’re ready to export, you can either capture in-browser (for quick drafts) or use server-side tools (for stable, consistent renders). I’ll show both.
Step 1 — Starting Animation Mode
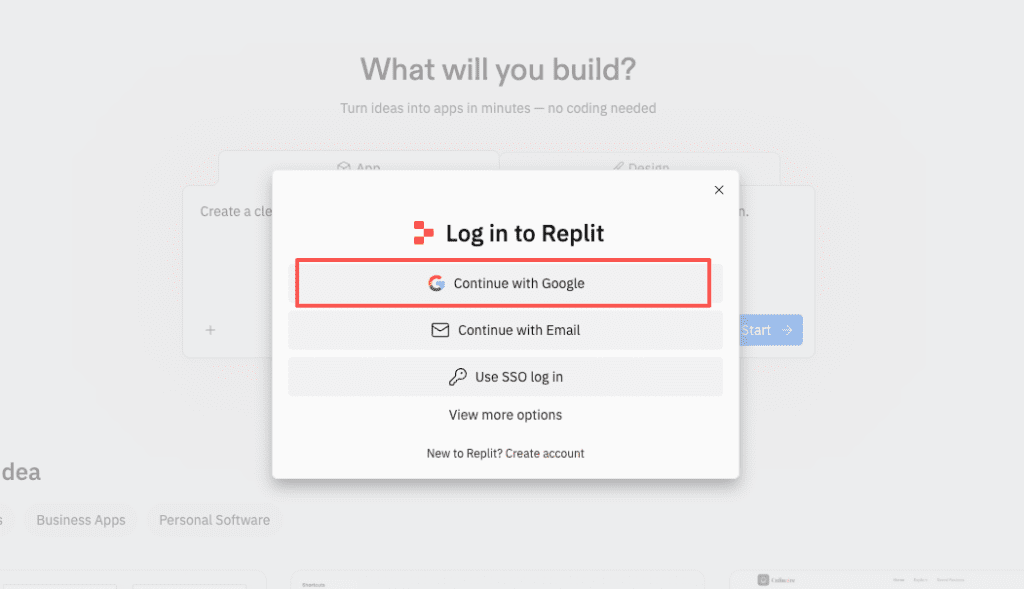
Prompt method
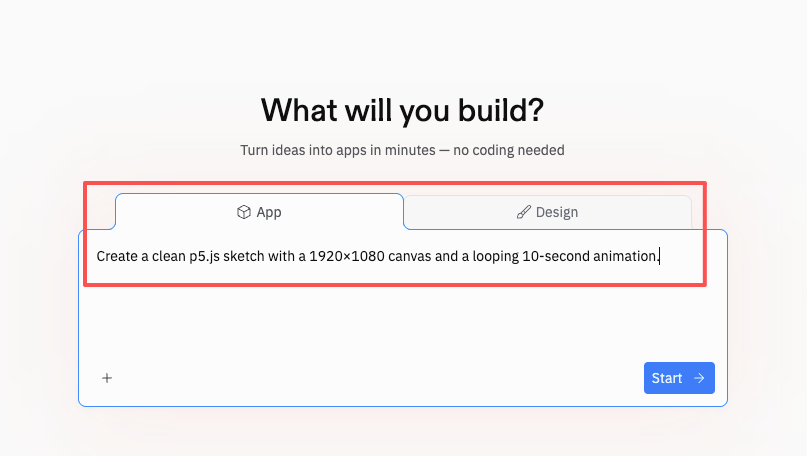
I started by opening the Replit AI panel (right sidebar) and literally typed: “Create a clean p5.js sketch with a 1920×1080 canvas and a looping 10-second animation.” It generated a tidy scaffold with setup() and draw() plus a basic easing function. I didn’t expect much, but it surprised me by adding comments and a sensible frame count target.
That first pass gave me a working loop with scene timing I could tweak. If you prefer CSS/JS animations over canvas, try “Give me a pure CSS keyframe animation that reveals a headline and fades in a logo.” The AI will scaffold an HTML/CSS/JS trio you can run instantly.
Dropdown method
If you don’t want to prompt, use the template route:
- Click “Create Repl”.
- Choose the p5.js template (or HTML/CSS/JS if you’re doing DOM animations).
- Hit “Run” and you’ll get a live preview.
I tried manim (Python) as well, but on free resources I found browser-based (p5.js) faster to iterate. Manim is fantastic for math/diagram animations, just expect slower renders. If you’re new, p5.js is the friendlier on-ramp.
Step 2 — Writing a Prompt That Works
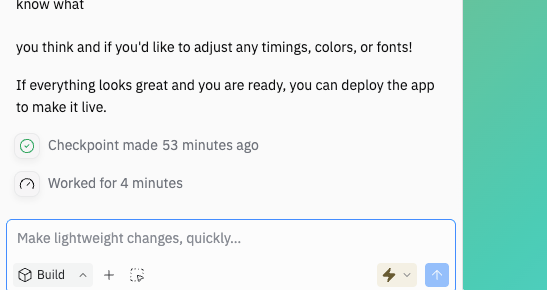
Enhance Prompt button
Small thing, big win: in the AI panel, there’s an Enhance Prompt option (the little sparkle/plus icon). On March 1, 2026, I tested it by pasting a messy idea, “I want soft blobs, pastel colors, slow float, 10s loop”, then clicked Enhance. It rephrased my thoughts into constraints: exact canvas size, duration, palette, and a note to make frame 0 and frame N identical for a seamless loop. The output code was cleaner, and the loop was actually… looped.
If you already write detailed prompts, you might not need this. But if you’re moving fast, Enhance saved me a few back-and-forths.
Example prompts
Here are three prompts that gave me reliable results:
- “Create a 1920×1080 p5.js animation that loops every 10 seconds (600 frames at 60 fps). Use a calm pastel palette (mint, lilac, oatmeal). Animate 6 organic blob shapes with Perlin noise. Ensure frame 0 and frame 600 match for a seamless loop.”
- “Build an HTML/CSS keyframe animation: a bold headline rises from 0% to 100% opacity with a subtle y-translate over 1.2s, then a logo fades in with a mask reveal. Include prefers-reduced-motion support.”
- “In p5.js, animate a line grid that transitions through three color schemes (dawn, noon, dusk). Crossfade each scene over 2 seconds. Add a gentle zoom (1.03×) so there’s parallax.”
Note the specifics: resolution, duration, palette, transitions. The AI responds way better to constraints than vibes.
Step 3 — Iterating Through Conversation
Adjusting transitions
The first draft of my blob animation looked… fine. But the transitions felt linear. I asked: “Swap to easeInOutCubic and add a 300ms overshoot on scene changes.” The AI updated the timing functions and added a brief overshoot that made the motion feel more alive.
If you’re not sure what easing to use, ask the AI for 3 options and a one-sentence reason for each. On my test, it suggested cubic for smooth loops, quint for sharper snaps, and sine for soft breathing. I kept cubic.
Changing color schemes
Color is where animations go from “okay” to “I want to watch this again.” I asked for HSL-based palettes so I could tweak hue/brightness live: “Convert colors to HSL and expose a PALETTE object so I can swap themes.” Then I tried:
- Dawn: hsl(18, 60%, 95%), hsl(270, 30%, 80%), hsl(200, 35%, 70%)
- Dusk: hsl(260, 45%, 20%), hsl(300, 35%, 30%), hsl(200, 30%, 25%)
The change took seconds, and the whole vibe shifted. For brand work, I pasted hex codes from a style guide and asked the AI to balance contrast for accessibility.
Adding logo reveals
For a logo bumper, I dragged a transparent PNG into the repl’s files (I named it assets/logo.png). Then I asked: “Add a 1.2s circular mask reveal for assets/logo.png at the end. The logo should end at 85% opacity.” The AI used a p5 mask approach and timed it with the loop. Nice touch.
One caveat: vector logos (SVG) stay crisp at any resolution. If you have an SVG, ask the AI to render it via createGraphics() or inline SVG in HTML mode. PNGs can look soft at 4K.
Step 4 — Exporting Your MP4
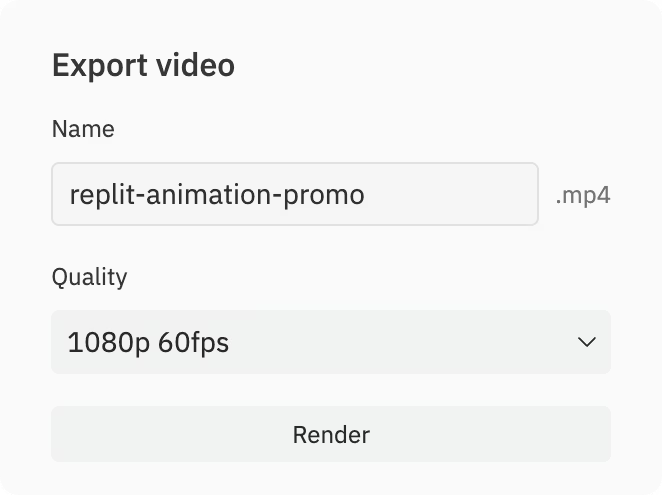
Resolution and frame rate options
Preview is fun, but you’ll eventually want an MP4. I tested two paths:
- Quick capture (browser):
- Use the Canvas Capture Stream API + MediaRecorder. The AI can scaffold this if you ask: “Add a Record button that captures 1920×1080 at 30 fps for 10 seconds and downloads an MP4 or WebM.”
- Pros: Fast, simple. Great for drafts.
- Cons: Timing can drift on slow laptops, and codecs vary per browser.
- Frame-by-frame + FFmpeg (server-side):
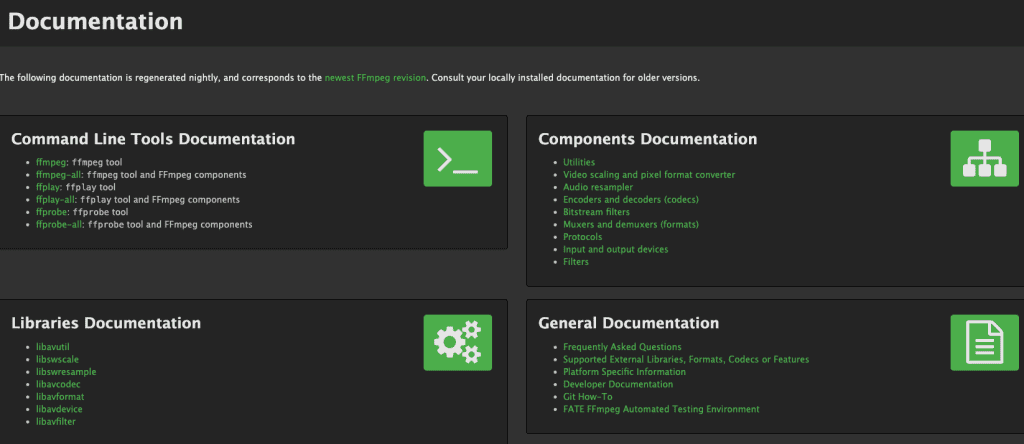
- Ask the AI to export each frame as PNGs to a frames/ folder: frames/00001.png, frames/00002.png, etc.
- Then, in the Shell, run:
ffmpeg -r 30 -i frames/%05d.png -c:v libx264 -pix_fmt yuv420p -crf 18 -vf “scale=1920:1080:flags=lanczos” out.mp4
- Pros: Deterministic timing, consistent quality, stable across machines.
- Cons: Renders take longer and use storage.
My timings (free tier, 1920×1080, 300 frames at 30 fps, PNG export + FFmpeg):
- Frame export: ~2.1s per frame (total ~10.5 min)
- FFmpeg encode: ~1.8 min
- Total: ~12.3 min for a clean 10s 1080p MP4
If you need 4K, budget 4–6× time depending on complexity. For social, 1080p at 30 fps is usually plenty.
Server-side render explained
When I say “server-side,” I mean you’re letting Replit’s container do the heavy lifting. Instead of relying on your laptop’s CPU and browser, Replit runs the frame generation and FFmpeg inside the repl. This matters because:
- Performance is consistent, even if your laptop is a toaster.
- You can close the preview tab and just watch the console logs.
- Your timing is frame-perfect. A 10-second loop is 300 frames at 30 fps, no dropped frames, no jitter.
If you hit resource limits, use smaller batches (e.g., render 150 frames twice) or consider a Boosted Repl. Also, clean the frames/ folder between takes. It fills up fast.
Common Beginner Mistakes
Prompts too vague
“Make it cool and vibey” is how you get a generic, forgettable loop. Instead, include:
- Exact canvas size (e.g., 1920×1080)
- Duration and frame rate (e.g., 10s at 30 fps)
- Style constraints (e.g., pastel palette, organic blobs, soft grain)
- Loop requirements (frame 0 equals last frame)
The difference in output quality is night and day. The AI can be your co-animator, but it needs a director.
Accepting first output without iterating
My first try looked like a nice screensaver. Usable, but not memorable. The magic came after three iterations: better easing, a slightly slower camera drift, and a color palette that actually matched my brand. Ask for small changes, test, then lock it. Two or three tight loops of feedback beats one giant rewrite.
If you post to social, you’ll also want alternate crops (1:1, 9:16). Ask the AI to re-center elements and regenerate at 1080×1350 or 1080×1920 before encoding. It’s faster than fixing crops in post.
Last thought for creators: if this becomes part of your weekly workflow (intros, bumpers, ad hooks), save your best prompts in the repo README and keep a render script handy. Future-you will be grateful.
I’ll keep tinkering and share more builds if people want them. If you try this, DM me what you made, I love seeing strange blobs dance.
Previous post: