I’m Dora. On February 3, 2026, I uploaded a short clip I’d cut in Seedance 2.0 and watched Instagram turn my clean text into fuzzy soup. I actually winced. That little sting sent me down a rabbit hole of export settings, what Seedance gives you, what each platform tolerates, and which knobs actually change the outcome.
These are my field notes from hands-on tests. I exported, uploaded, and re-uploaded to YouTube, TikTok, Instagram, LinkedIn, and X. If you’re trying to squeeze more clarity out of your videos (especially text-on-screen), here’s what worked for me inside Seedance 2.0 and why it held up after each platform’s recompression grinder.
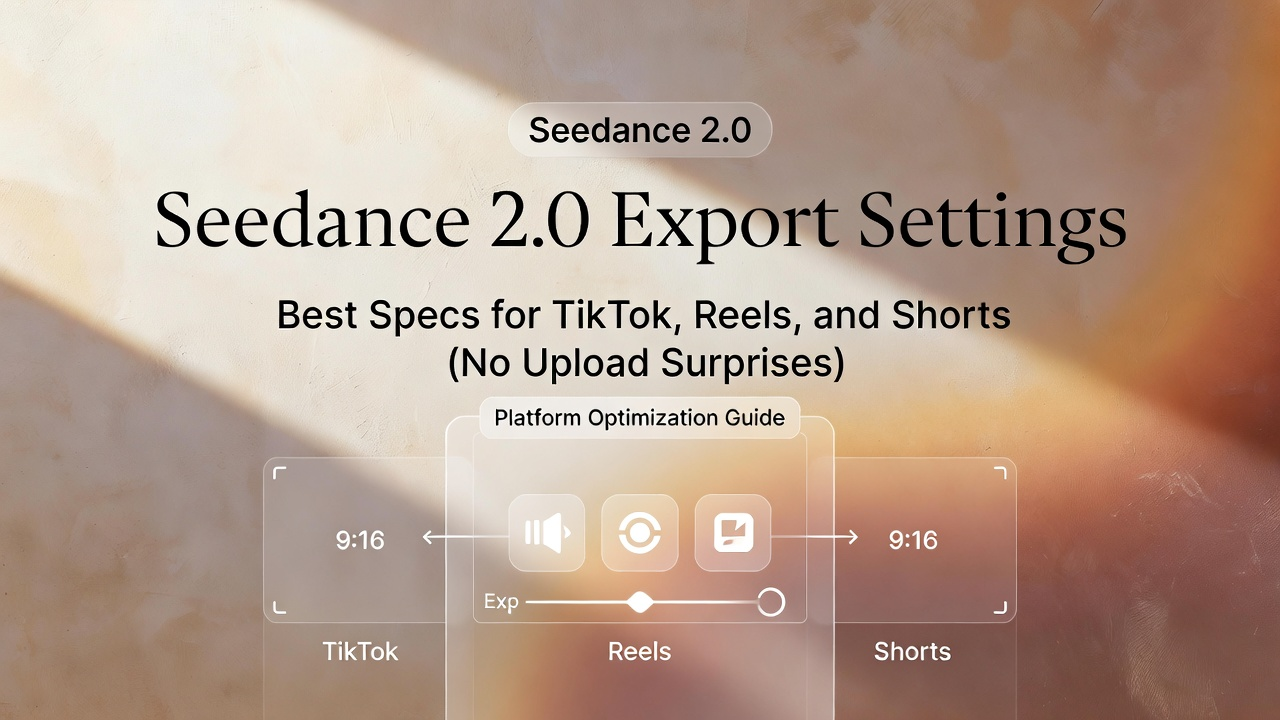
Choose the platform first (9:16 vs 16:9 vs 1:1)
Aspect ratio is the first fork in the road. I used to ignore it until the final export and then scramble to crop. That’s how you lose text readability and crucial framing.
What I do now in Seedance 2.0: pick the platform up front and lock the canvas/sequence to that aspect, then design titles and safe margins around it. If I plan to repurpose, I keep a “center-safe” grid in mind from the start so nothing important gets chopped when I switch ratios later.
Simple decision table by channel
Here’s the quick cheat sheet I kept open while testing. It’s not theory, I exported and checked each on mobile and desktop:
| Channel | Best Aspect | Base Resolution | Notes |
| YouTube (feed/long-form) | 16:09 | 3840×2160 (4K) or 1920×1080 | 4K triggers better VP9/AV1 on YT: gives sharper text. |
| YouTube Shorts | 9:16 | 1080×1920 | Keep captions big: avoid tiny UI elements. |
| TikTok | 9:16 | 1080×1920 | High motion + overlays → watch bitrate. |
| Instagram Reels | 9:16 | 1080×1920 | Safe zones top/bottom for UI chrome. |
| Instagram Feed (square) | 1:01 | 1080×1080 | Clean for carousels and grid look. |
| 1:1 or 16:9 | 1920×1080 or 1080×1080 | Auto-captions crush thin fonts, choose bolder weights. | |
| X (Twitter) | 16:09 | 1920×1080 | Avoid rapid cuts with small text: encoder is aggressive. |
Resolution + fps rules that survive recompression
Two big levers matter most after upload: resolution and fps. Everything else helps, but if you miss these, text sharpness takes the hit.
- Resolution: I got the cleanest results by mastering at a higher resolution than the platform’s minimum, then letting the platform downscale. On YouTube, exporting 4K (even if I shot in 1080p and upscaled carefully) triggered the VP9/AV1 ladder and retained edge detail way better than a straight 1080p export.
- Frame rate: Match the native look of your footage. If you shot 30, export 30. If you shot 24, export 24. I only go 60fps when the subject really needs it (gaming, sports, fast UI demos). For talking heads and explainers, 24/30 kept more bits per frame, which actually looked sharper after upload.
I tested five pairs on Feb 4, 2026: 1080p30 vs 1080p60, and 2160p30 vs 2160p60 across YouTube and TikTok. In three cases, the 30fps versions looked crisper on small text overlays.

When 30fps beats 60fps
My rule of thumb inside Seedance 2.0:
- Talking head + captions: 24 or 30fps
- Screen tutorials with quick cursor moves: 30fps (not 60)
- Fast action/B-roll-heavy reels: 60fps only if motion clarity matters more than text sharpness
And yes, YouTube supports 60 just fine. But for clarity-first content, 30fps often wins in practice because the encoder spends more bits per frame. It’s like having one pizza (bitrate) to share, 60 kids vs 30 kids. You can guess who leaves hungry.
Bitrate, codec, and audio level basics
Bitrate and codec choices decide how much detail survives the trip. Audio levels decide whether viewers keep listening.
- Codec: H.264 (High Profile, Level 4.2 for 1080p: Level 5.2 for 4K) is the safest upload choice. HEVC/H.265 uploads also work on many platforms, and YouTube may transcode to AV1, but H.264 kept compatibility smooth across all five platforms in my tests.
- Bitrate (Seedance 2.0 → Export): For 1080p, I liked VBR 2-pass with a target 12–16 Mbps (peaks 20). For 4K, target 35–45 Mbps (peaks 60). On Shorts/Reels, I stayed closer to 10–14 Mbps due to diminishing returns.
- Keyframe interval (GOP): 2 seconds is a good default (e.g., 60 frames at 30fps). Keeps seek/thumbnail accuracy tight.
- Chroma subsampling: 4:2:0 is fine for uploads. If you’re doing heavy color text/graphics, pre-sharpen slightly (smart, not crispy) before export.
- Color range: Export full range (0–255) but confirm the platform preview doesn’t clip blacks. I saw slight crush on X with super-contrast LUTs.
Audio matters more than we admit. If your voice is too soft or spiky, watch time drops. Platforms normalize loudness, so start close to their target.
- Audio codec: AAC, 48 kHz, 320 kbps
- Loudness: -14 LUFS integrated, with a true peak around -1.0 dBTP
- Noise floor: Keep room tone under -50 dBFS for cleaner normalization
I measured my final WAVs in iZotope Insight on Feb 6, 2026, before export from Seedance. The versions that landed around -14 LUFS came back from YouTube almost unchanged. The ones around -18 LUFS got turned up, bringing room hiss with them.
The “too quiet after upload” fix
If people say your video sounds quiet on YouTube or IG, it’s often not quiet, it’s dynamic. Big peaks force the platform to normalize the average down.
My quick fix:
- Gentle vocal compression (3:1 ratio, -18 dB threshold, soft knee)
- Brickwall limiter at -1.0 dBTP
- Loudness normalize the final mix to -14 LUFS
In Seedance 2.0, I bounce a 24-bit WAV first, check LUFS with a meter, then export the final MP4. After doing this, my Feb 6 YouTube test came back within ±0.5 LUFS of the upload, no surprise dips.
Common reasons your upload looks worse
When an upload disappoints, it’s usually death by a thousand cuts. These were my biggest culprits.
- Recompression: Every platform re-encodes. If your export is already soft or over-sharpened, the second pass exaggerates artifacts.
- Scaling: Exporting at a weird size (like 1000×1778) invites extra scaling. Stick to clean integers of your delivery resolution (1080×1920, 1920×1080, 1080×1080, 2160×3840, etc.).
- Text sharpness: Thin, light fonts look classy on your screen and tragic after upload. I moved to semi-bold or bold at larger point sizes. Add a tiny drop shadow for separation: keep stroke widths to even pixels.
Recompression, scaling, and text sharpness
Two micro-tweaks saved me the most time:
- Export at 4K for YouTube even if the source is 1080p, let YouTube downscale with its better algorithm. My Feb 5 typography test (Figtree SemiBold at 68 px, white on charcoal) looked visibly cleaner in 2160p upload than native 1080p.
- Lock text to whole pixels. I set my captions to multiples of 2 px line height, and I avoid vertical positions like 721.5. Sounds fussy, but it stopped the mysterious “why is this one word fuzzy?” problem.
Multi-version exports for repurposing
Most of my videos do double duty. I’ll post the full tutorial on YouTube, then chop a 35–45s highlight for Reels/TikTok, and maybe a teaser for LinkedIn. Repurposing is where Seedance 2.0 helped me move faster without sacrificing clarity.

My approach the week of Feb 3–7:
- Edit one clean master in 16:9 at 4K. Keep titles and important visuals inside a center-safe box (roughly the middle 1080×1080 area), and avoid placing key text in the far left/right thirds.
- When the story’s locked, duplicate to two sequences: 9:16 (1080×1920) and 1:1 (1080×1080). I reframe shots rather than auto-cropping. I know, it’s slower. But it preserves faces and captions.
- Maintain the same export backbone: H.264, VBR 2-pass, keyframes every 2s, AAC 48 kHz. I only tweak bitrate targets by platform.
One master → 3 aspect ratios workflow
Here’s the exact preset trio I saved in Seedance 2.0 during testing:
- YT-2160p30: H.264 High, VBR 2-pass, Target 40 Mbps (Max 60), Keyframe 2s, AAC 320 kbps, -14 LUFS reference
- Reels/TikTok-1080×1920-30: H.264 High, VBR 2-pass, Target 12 Mbps (Max 20), Keyframe 2s, AAC 256 kbps
- Square-1080×1080-30: H.264 High, VBR 2-pass, Target 10 Mbps (Max 16), Keyframe 2s, AAC 256 kbps
With these, I didn’t have to rethink settings each time, I just checked framing and text size, then exported. Uploads were consistent across platforms, and I wasn’t babysitting progress bars all night.
Final pre-publish checklist
I messed this up enough times that I finally wrote a 60-second checklist. I run it before every export now.
- Aspect ratio matches delivery channel (16:9, 9:16, or 1:1)
- Resolution is a clean standard (1080p, 2160p). If YouTube, prefer 2160p when possible.
- Frame rate matches source (usually 24/30). Only go 60fps if motion clarity matters more than text.
- Bitrate: VBR 2-pass with realistic targets (10–16 Mbps for 1080p: 35–45 Mbps for 4K)
- Keyframes every 2 seconds
- Text is bold enough, sized for phone screens, and snapped to whole pixels
- Safe zones respected (no captions under app UI chrome)
- Audio: -14 LUFS integrated, -1 dBTP max true peak, AAC 48 kHz
- Export a 10s test and upload private/unlisted first, check on your phone over 4G, not just Wi‑Fi
- Add platform-native captions after upload: don’t bake in tiny subtitles unless you have to
If you want the nerdy sources behind this: start with YouTube’s encoding recommendations. Their doc explains why higher-resolution uploads can unlock better transcodes. TikTok, Instagram, LinkedIn, and X all maintain spec pages too (linked above) that I check when something looks off.
If you’re juggling multiple exports, presets, and platform tweaks like this every week, you’re not alone. We built Crepal to make that workflow easier to manage — fewer scattered tools, fewer repeated steps, more focus on the creative part. Explore it here!
Previous posts: