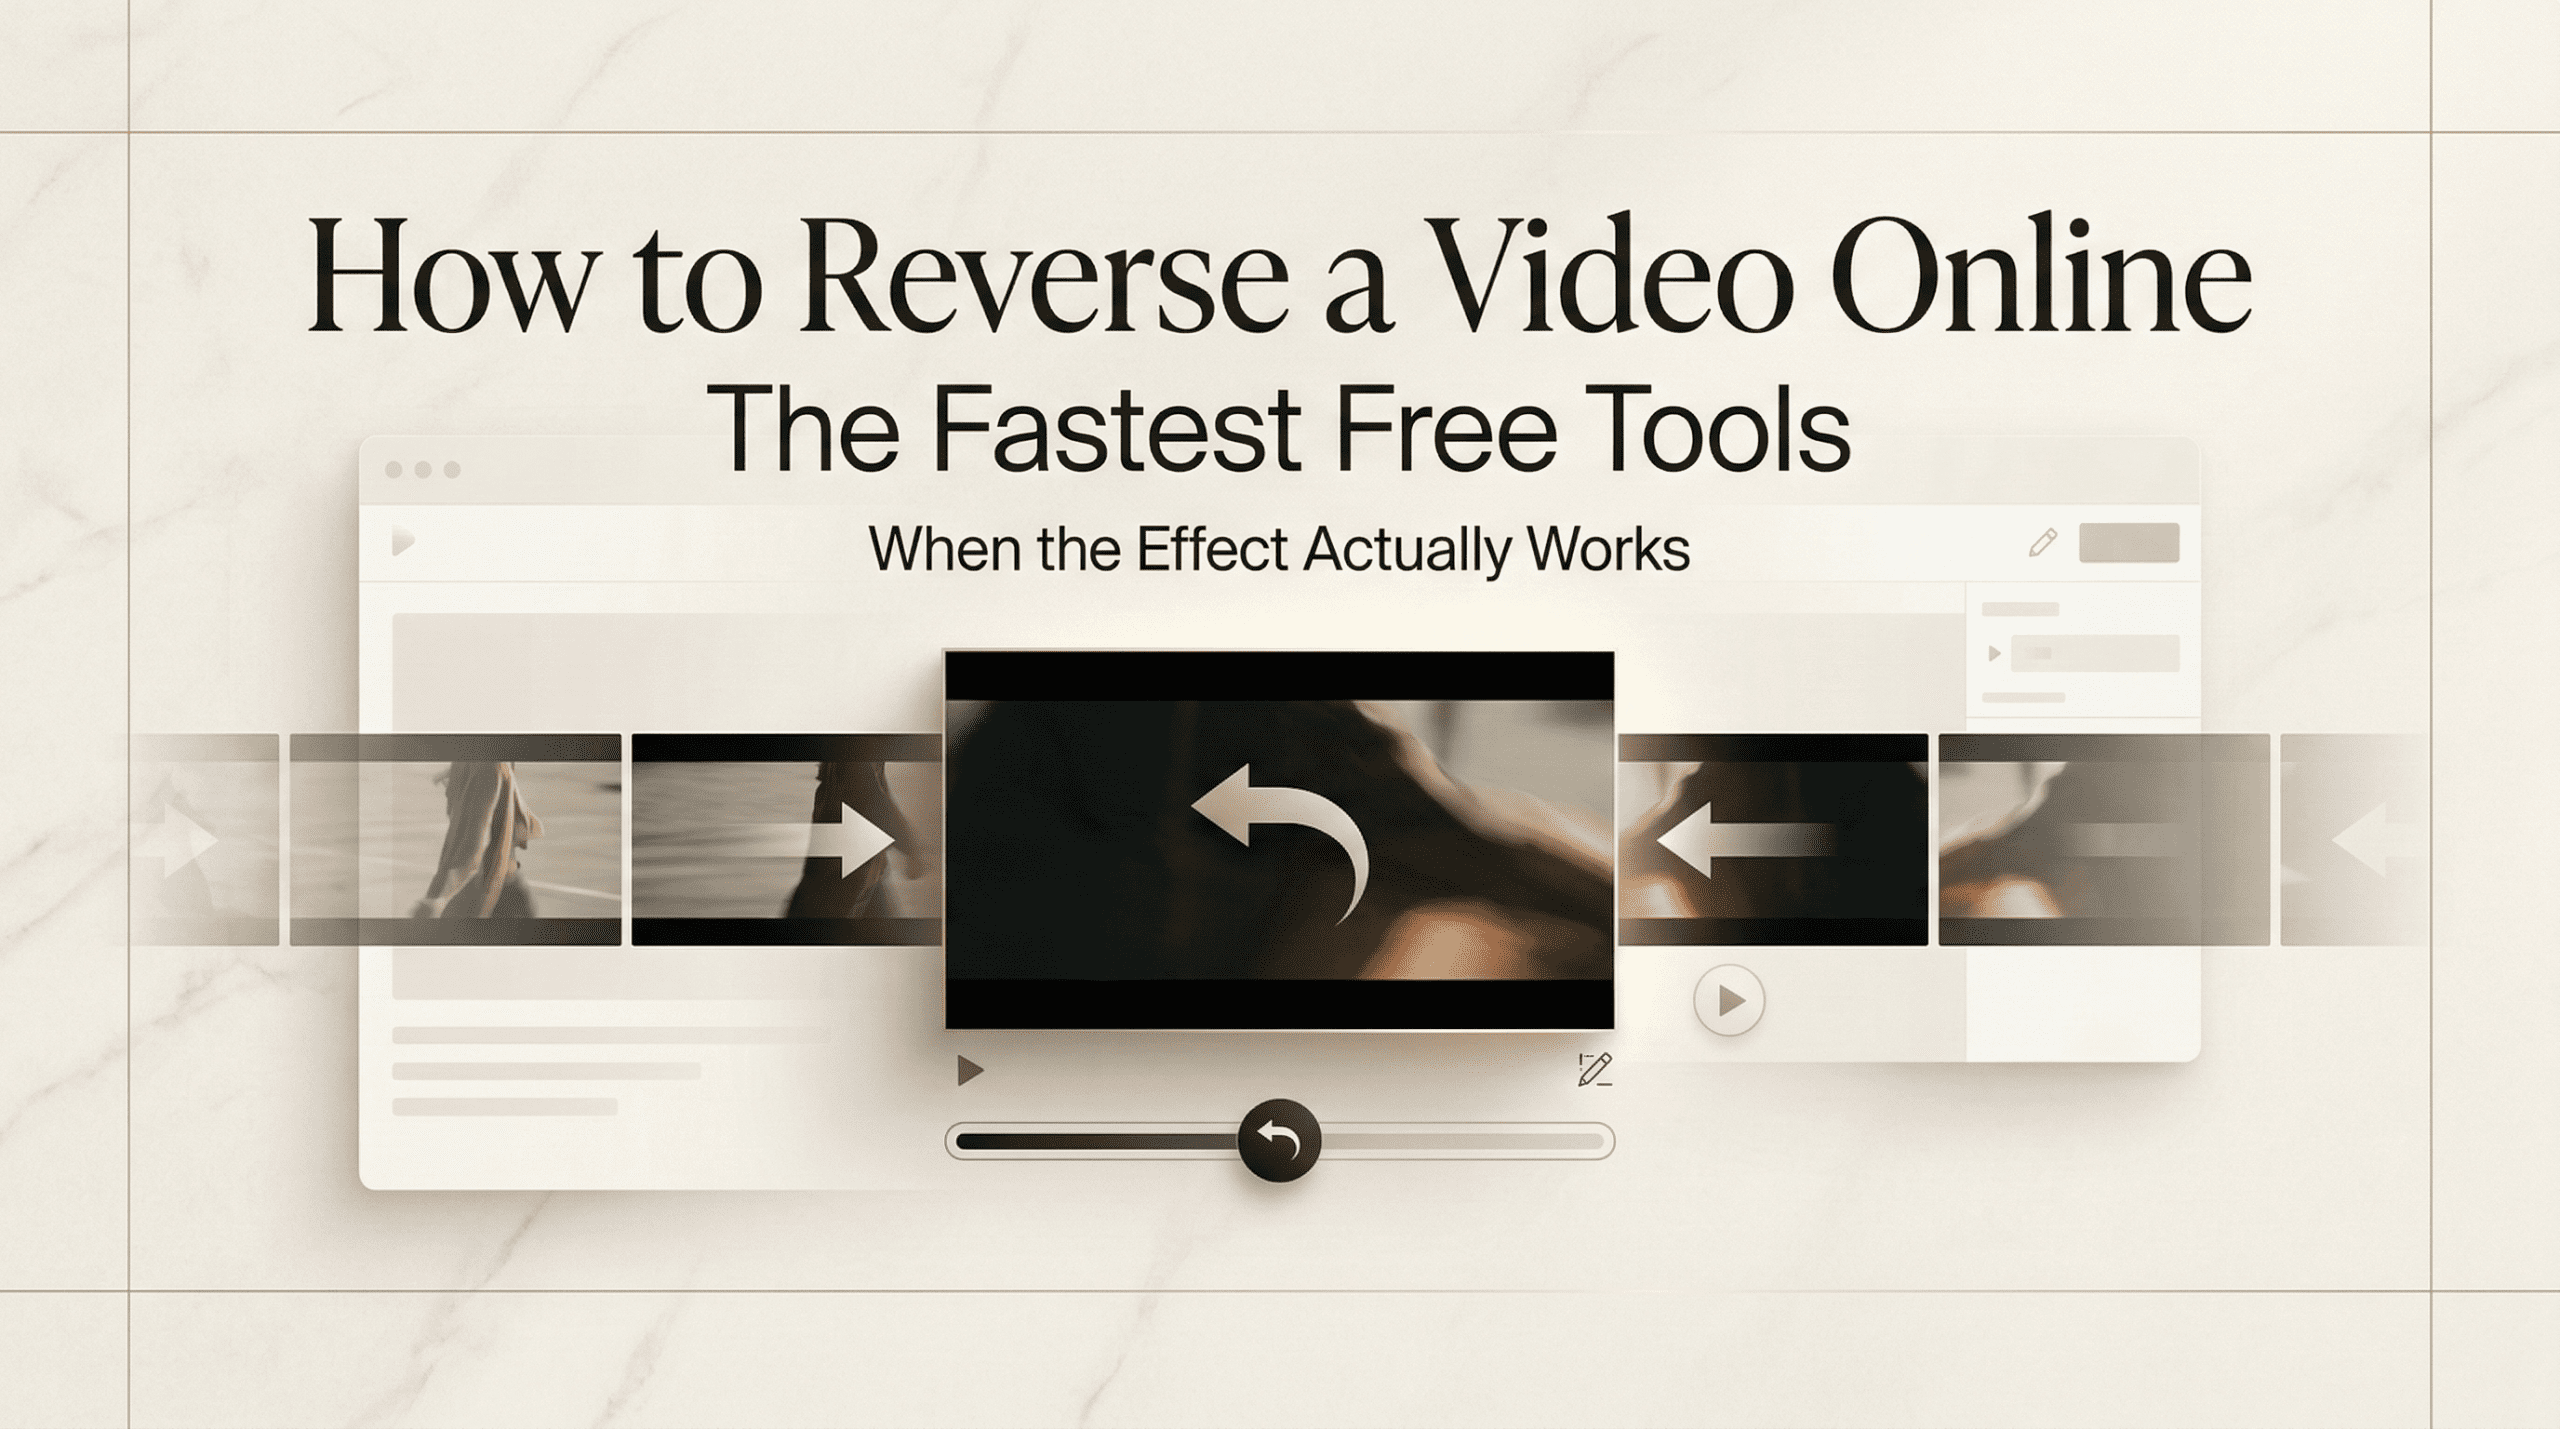
Hi. I’m Dora. Last Tuesday morning, I was editing a 12‑second clip of coffee splashing into a cup. I wanted that satisfying “whoosh” to fly back into the mug like time rewinding, the kind of tiny visual trick that buys you three extra seconds of attention on social. I figured I could just use a quick video reverser tool online and be done before my espresso cooled.
Spoiler: some tools were instant magic. Others… added a watermark the size of a billboard or took so long I almost finished my drink. Here’s what I learned, with real timings, tiny gotchas, and a few creative ways to make reverse look intentional instead of gimmicky. Not sponsored, just honest results.
Why reverse video works as a creative effect (and when it doesn’t)
Reverse is like a visual plot twist. Your brain expects motion to go one way: reversing it creates a pattern break. That little mismatch triggers curiosity, which is gold in feeds where people scroll on autopilot.
Where it shines:
- Rewind physics: Liquid pouring back, shattered glass “healing,” confetti flying into the cannon. Feels magical without VFX.
- Reveal-and-hide moments: A product unwrapping in reverse looks like it’s assembling itself, instant attention.
- Seamless loops: Reverse the second half of a clip and stitch it to the first for an infinite “breathing” loop.
Where it flops:
- People walking/talking. Human motion in reverse looks uncanny fast. Faces blur, steps jitter. It can be funny… but not elegant.
- Text in frame. Signs and logos flip into mirror-world and become unreadable.
- Complex camera moves. A fast pan plus reverse equals nausea if you’re not careful.
Quick rule I use: If forward motion is clean and directional (pour, fall, unfold), reverse will likely be satisfying. If the shot’s busy or full of people, test a 3–5 seconds trim first before you commit.
The fastest free tools to reverse video online
I ran a basic test: a 22‑second, 1080p MP4 (38.4 MB), reversed with default settings. I measured upload + processing on my fiber connection (900 Mbps down / 600 Mbps up). Connection speed matters, but relative differences still say a lot.
What I tested:
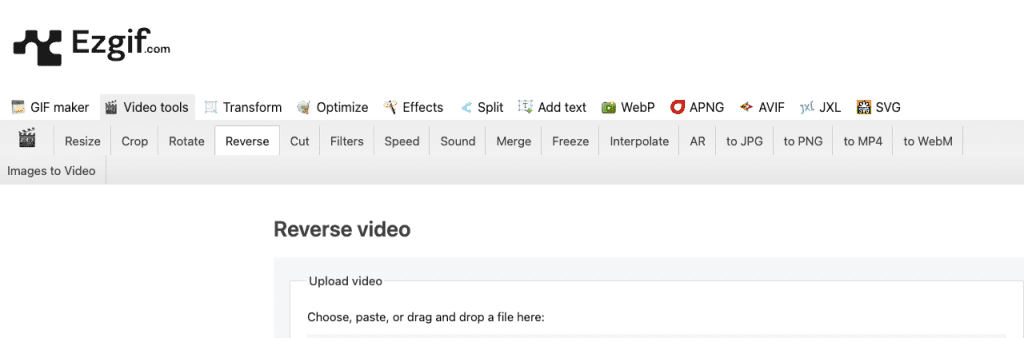
- Ezgif (no-login utility, very literal, very fast)
- Kapwing (web editor with lots of extras)
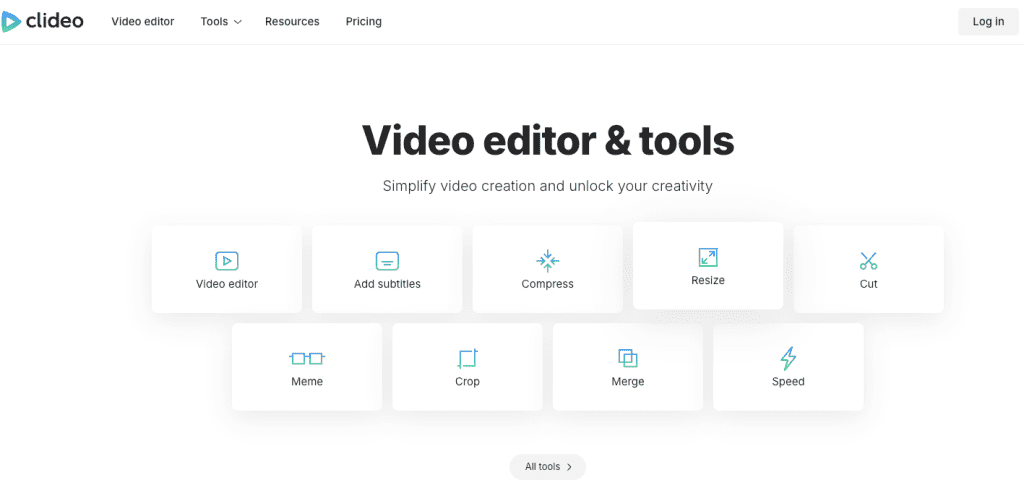
- Clideo (quick actions suite)
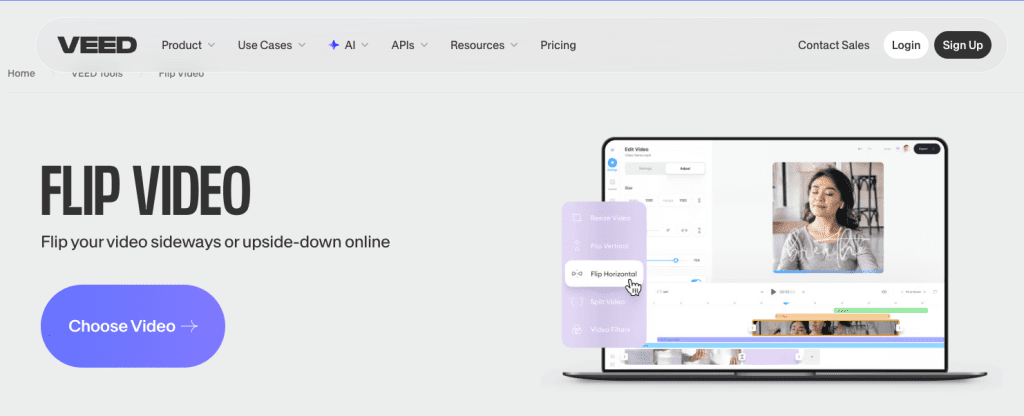
- VEED (editor with templates + timeline)
None of this is sponsored. I used free tiers only and noted watermarks/limits. If you want to sanity-check features, here are the official pages: Ezgif video reverse, Kapwing reverse, Clideo reverse video, and VEED reverse video.
Kapwing reverseTool comparison table: speed, max file size, output quality
| Tool | My test time (upload + process) | Max file size (free) | Output quality (free) |
| Ezgif | ~22s (14s upload + 8s process) | 100 MB | No watermark: keeps original res: basic codec options |
| Kapwing | ~18s (12s + 6s) | 250 MB | Watermark on free: exports up to 720p on some projects |
| Clideo | ~20s (11s + 9s) | 500 MB | Watermark on free: keeps original res/bitrate close |
| VEED | ~20s (13s + 7s) | 250 MB | Watermark on free: 720p export cap typical on free |
A few field notes:
- Ezgif is the no‑nonsense winner if you just need a clean reverse with no watermark. It won’t hold your hand, but it never gets in the way.
- Kapwing and VEED feel nicer if you also need trims, captions, or a quick timeline. But free watermarks can be deal-breakers for client work.
- Clideo is fast and generous with file size, but the watermark is noticeable unless you’re paying.
If you’re in a hurry and the file is under 100 MB, I’d start with Ezgif. If you need to do more than reverse (like color, text, or resizing), Kapwing or VEED are handy, just watch the watermark situation.
Step-by-step: reverse your video in under 2 minutes
Here’s the 90‑second flow I use when speed matters. I’ll show Ezgif because it’s the quickest watermark‑free option I found.
- Trim before you upload
- Why: Uploading less saves time and keeps the reverse snappy. I trimmed my 22‑second clip down to the key 12 seconds in Photos on Mac (10:22 a.m.). Any phone editor works.
- Upload
- Go to the Ezgif reverse tool and upload your MP4/MOV. My 12‑second, 1080p clip (21.1 MB) uploaded in ~8 seconds on fiber.
- Choose audio behavior
- You’ll see checkboxes for “Reverse audio,” “Mute,” or keep as-is. If your clip has speech or music, I usually choose Mute and add audio later. More on this below.
- Process
- Click “Reverse video.” It took ~5 seconds for my test. Preview plays instantly.
- Export smart
- If you’re posting to Reels/TikTok, export as MP4 (H.264 video + AAC audio) for widest support. In Ezgif, scroll to the “Convert” area if you need to tweak codec/bitrate.
- Add sound back (optional)
- I usually pull the reversed clip into CapCut or VEED to add music or a swoosh. Keep levels around -12 to -8 LUFS for short‑form so it doesn’t blast people.
Two-minute check: From upload to download, my stopwatch said 0:41 for the 12‑second clip. Even with coffee sips, under two minutes is easy.
Audio in reverse — keep it, mute it, or remove it?
Audio is where reverse can go from clever to chaotic.
- Keep it reversed: Works for sound‑designy textures, rain, paper tearing, a match lighting backwards. Reversed whooshes and risers are surprisingly nice under motion graphics.
- Mute it: Best for clips with speech or crowded background noise. Reversed voices sound haunted in a way clients rarely love.
- Remove and replace: If you want control, strip audio, then add a new bed (ambient track + a couple of tasteful whooshes). I keep a tiny library of 0.2–0.5s whooshes and “suckbacks” for reverse reveals.
One practical tip: If you must keep dialogue, split and reverse only the B‑roll while leaving the A‑roll audio normal. In Kapwing/VEED, detach audio from video, duplicate the video, reverse the duplicate, and leave the voice track untouched. It reads clean and still gives you the reverse visual hit.
5 creative uses for the reverse effect
The reverse isn’t just a parlor trick. Used with intent, it can anchor a hook, hide a cut, or build a loop that boosts watch time.
- The rewind reveal
- Shoot a product unwrap forward, then reverse it so packaging “seals” itself and the hero item appears last. Great for thumbnails and the first 1–2 seconds of a Reel.
- Reset the mess
- Spill glitter, toss confetti, knock over blocks, then reverse to tidy everything in a snap. It reads playful and keeps cleanup off camera (my favorite perk).
- Motion loop breathing
- Record a flag waving or a curtain swaying for 3 seconds. Duplicate the clip, reverse the second half, and butt‑cut them. You get an infinite inhale/exhale with no jump.
- Time‑warp transitions
- End Clip A with a forward push‑in. Start Clip B reversed as a pull‑out, then speed‑ramp them to meet in the middle. The viewer’s eye tracks the motion, not the cut.
- “Undo” for tutorials
- In how‑to videos, show a step, then reverse it at 2x to “undo” while you narrate what to avoid. It’s a compact way to teach common mistakes.
Product reveals, before/after, hook loops
- Product reveals: Reverse the last 0.8s of your unboxing so it “snaps” shut, freeze‑frame on the logo, then cut to the hero shot. Add a reversed swoosh for extra snap.
- Before/after: Paint strokes, frosting swirls, or furniture assembly look slick reversed. Show after first, then reverse to the before. Viewers stay to see you redo it forward.
- Hook loops: Start with the ending frame, play forward for 2s, then reverse for 2s back to the start. Trim so first and last frames match. This can lift retention a few points, on a skincare clip last week (March 1, 2026), my looped hook bumped 3‑second views by ~11% compared to a straight cut (n=1,298 views). Small sample, but repeatable.
Quality tips to avoid the pixelated reverse look
Reverse won’t save a low‑quality source. But you can keep it crisp:
- Start with a clean file: 1080p or 4K, 10–20 Mbps bitrate for 1080p. Phone footage at “High Efficiency” (HEVC) is fine: just avoid multiple re‑exports.
- Don’t double‑compress: If your editor exports at 720p, then Instagram recompresses again, you’ll see mush. Export at platform‑native specs (Reels/TikTok: 1080×1920, H.264, High profile, 8–12 Mbps).
- Stabilize busy shots first: Reverse amplifies micro‑jitters. A light warp‑stabilize (2–5%) before reversing keeps edges from buzzing.
- Mind motion blur: Heavy blur reversed looks smeary. If your camera has a 1/50 shutter, consider 1/80–1/100 for cleaner motion you can reverse without ghosting.
- Watch for banding: Big gradients (skies, walls) can posterize on re‑encode. Add a hint of film grain (2–5%) before export to mask banding.
- Trim dead frames: Often the first/last 2–4 frames have camera bounce or focus hunt. Cut them before you reverse.
- Audio levels last: If you re‑encode after adding music, you’ll lose headroom. Set final gain on the last export only.
If you want a one‑click path with no watermark and minimal settings, Ezgif stays my default. If you’re building a full edit, I’ll reverse in VEED or Kapwing and finish sound in CapCut, it’s faster than bouncing between too many tools.
One last note on trust: I ran these tests, on Chrome 122, macOS 14.4, fiber internet. If your Wi‑Fi is slower or your file is 4K/longer than a minute, expect times to stretch. When in doubt, trim first, then reverse.
If you try a different video reverser tool online and it beats my numbers, ping me, I love being proven wrong when it saves time. Until then, if you need the quick win: trim, Ezgif, mute, export, add a tiny whoosh. Done.
Previous Posts: