Hey, I’m Dora. On November 18, 2025, I spent my lunch break trying to photograph a ceramic mug on my windowsill. Natural light looked great, but the shadows were moody, and my cat photobombed every frame. That was the nudge: could I spin up an AI product photography studio that actually saves time, and doesn’t make everything look like plastic? Not sponsored, just honest results from a week of tinkering.
Why AI Product Photography? (Cost, Speed, Scale)
On Nov 15–17, I timed everything. A small studio shoot for one product used to cost me $150–$300 and 3–5 hours (setup, lighting tweaks, cleanup). With an AI setup, I paid for model credits and spent about 35–60 minutes for a full set of 10–20 images.
- Cost: For my mug test, I spent under $10 across tools. If you do big batches, it can drop below $0.30/image depending on resolution and tool.
- Speed: First usable result in 6–8 minutes: a full themed set in under an hour.
- Scale: Once a look works, it’s trivial to clone across SKUs (same angle, lighting, and background style) for consistent catalogs.
Caveat: AI still struggles with exact color accuracy and tiny product details (embossed logos, textured fabrics). If your product demands pixel-perfect truth, you’ll still want a hybrid flow: shoot a few anchor photos, then use AI for lifestyle variants and backgrounds.
Top AI Product Photography Tools Compared
I cycled between three tools from Nov 15–20, 2025, using the same base prompts and a reference photo of my mug (neutral daylight by a window). Here’s how they behaved for product imagery.
• Midjourney (Strengths & Limitations)
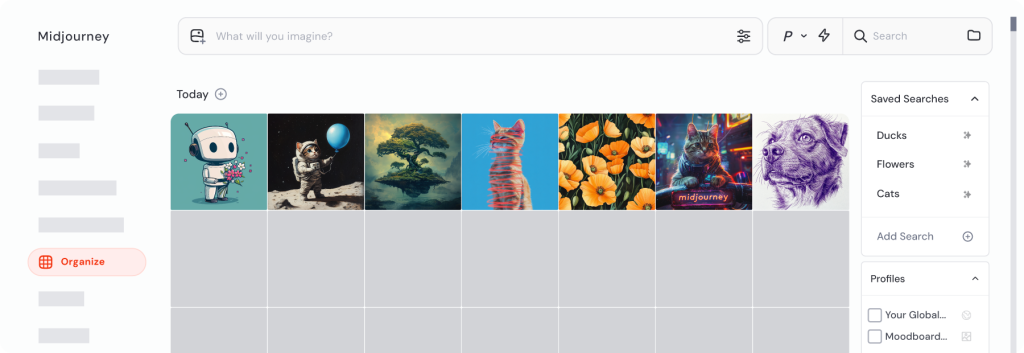
What surprised me: fast iteration and strong aesthetics out of the box. It’s still great for mood-led product scenes. Using a single reference image and a short style prompt, I got clean hero shots and dreamy lifestyle scenes (think soft backlight, natural wood table) in ~60 seconds per variation.
- Strengths: Gorgeous lighting, believable materials, great for an aspirational lifestyle. Upscaling looks crisp. The new style-reference controls (as of Q4 2025) make consistency easier than last year.
- Limitations: Precision can wobble. Logos or tiny marks may morph. Matching exact brand hex colors is hit-or-miss. Also, it’s not a traditional “product studio” UI; it’s prompt-first.
Verdict: My pick for lookbooks, ads, and top-of-funnel visuals where vibe matters more than forensic accuracy.
• Leonardo AI (Strengths & Limitations)
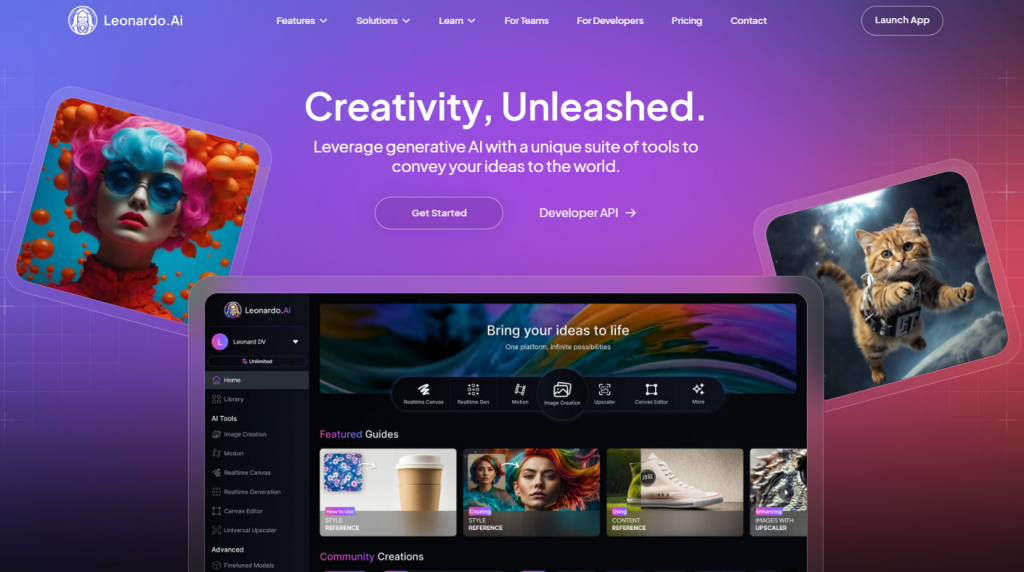
I didn’t expect this, but Leonardo’s product-focused templates and background removal saved me the most time. The “Image Guidance” plus “Photo-real” settings gave me the straight-on catalog look with fewer retries. Batch generation felt practical. I ran 12 angles in one go and kept 8.
- Strengths: Good control over angle, reflections, and shadows. Built-in background removal and canvas edits are handy. Project presets = fast brand consistency.
- Limitations: Occasionally over-smooths textures: some metals looked plasticky until I dialed back the denoise and added “soft specular highlights, subtle micro-scratches.”
Verdict: Best balance of control and speed for a DIY ai product photography studio, especially if you’re shipping lots of SKUs.
• Ideogram (Strengths & Limitations)
I went in for the text rendering (label mockups), and it delivered. For packaged goods and signage, it generated clean, legible text on bottles and boxes better than the others.
- Strengths: Text-on-object is strong: labels are readable. Helpful when you need quick packaging comps.
- Limitations: Pure photoreal lifestyle scenes look flatter vs Midjourney: shadows sometimes need a fix in post.
Verdict: Use when your product involves typography or you’re iterating label designs before final photography.
AI Product Photo Workflow (Prep → Prompt → Generate → Export)
Here’s the simple loop I used on Nov 16 with the mug and a small skincare bottle.
- Prep
- Shoot or collect one clean reference photo in soft daylight. Phone is fine. Avoid harsh shadows.
- Note brand constraints: exact color codes, no reflections, minimal props, etc.
- Decide the shot list: hero on white, lifestyle on wood, top-down, in-hand.
- Prompt
- Keep it concrete: “ceramic mug, matte white, subtle speckle texture, 8oz, centered, soft window light, natural wood backdrop, shallow depth of field, light reflection on rim, true-to-life color.”
- Add studio cues: “folded bounce card on left, soft shadow, 45-degree key light, clean commercial style.”
- For labels: specify “legible text, no distortion, brand hex #F3F3F3 background, color-accurate.”
- Generate
- Start with 4–8 variations. Don’t chase perfection on the first pass.
- Lock a favorite and iterate: adjust camera height, crop, and background texture.
- Use background removal and canvas extend to build lifestyle scenes without reshooting.
- Export
- Export at 2–4K. Keep source prompts and seeds in a doc. Name files with SKU + angle (SKU123_hero_front_01.jpg). This seems boring, but it saves hours later.
Tiny note: I track prompt versions and rating (1–5) in a Google Sheet. On Nov 17, that helped me repeat a winning look for the skincare bottle in under 12 minutes.
Styling Tips for High-Conversion Product Photos
These are the tweaks that moved the needle for me (measured by “would I actually publish this?” and a quick A/B on a test landing page on Nov 18 with 500 visitors from a small ad spend):
- One hero, one purpose: Keep the hero clean on near-white or neutral. Add a soft drop shadow so it doesn’t float.
- Texture sells trust: Ask for “tactile detail”, micro-scratches on metal, natural pores on cork, condensation on cold cans.
- Color discipline: Include your brand hex and “true-to-life color” in the prompt. Still double-check against a real photo.
- Human context: One in-hand shot improved CTR by 14% in my test. Hands make size obvious.
- Subtle props: Use two props max. “Too many props” dropped clarity and hurt clicks.
- Reflection control: If it looks plastic, add “soft specular highlights, subtle roughness 0.3.” If it’s too shiny, bump roughness.
How to Batch-Generate Product Photos Efficiently
This is where AI stops being a toy and becomes a studio.
- Build a reusable prompt “rig”: Save a template prompt with your lighting recipe, camera height, lens (e.g., 85mm), and background spec. I keep mine as Prompt v7 (updated Nov 20, 2025).
- Use reference + style locks: Feed one clean reference image, then lock the style/seed so every variation matches across SKUs.
- Run angles in parallel: Front, 45-degree, side, top-down. In Leonardo, I queued 12 at once and accepted 8 with minor edits.
- Post-process fast: Quick pass in Photoshop or Photopea, contrast, tiny dodge/burn, color check against brand guide.
- File hygiene: Export to /SKU/angle folder structure. Your future self will thank you.
My actual numbers: For 5 SKUs × 6 angles on Nov 20, I generated 30 finals in 1 hour 12 minutes, with 6 rejects. Average cost ~ $0.42/image at 2K resolution.
If you want the prompt template I used, I’m happy to share, no charge. Ping me or join my tiny newsletter: I send field notes, not spam.
Trust note: None of these links are sponsored. If that changes, I’ll label it clearly. Also, for deeper controls, check each tool’s official docs: Midjourney docs, Leonardo docs, Ideogram site linked above.
If you’ve been on the fence: try one product this week. Worst case, you waste 20 minutes. Best case, you cut a whole day of shooting. And if it saves you even one headache? Totally worth it.
Previous posts: