It’s Leo. Last month I dug out a 480p clip from an old phone for a client’s “founder origin story” cut. Grainy, soft, slightly green, the kind of file that makes you wince on a 4K timeline. Reshooting wasn’t on the table. So I ran it through three tools to see which one could rescue the shot — and that messy little test is basically why I’m writing this. If you’re hunting for the best AI video enhancer software in 2026, here’s the short version up front: there’s no single winner. There’s only the right tool for the specific thing that’s wrong with your footage.
Quick answer for the people in a hurry — Topaz for natural, high-end cleanup; AVCLabs for color and anime; DaVinci Resolve if you want the strongest free starting point. The rest of this is the why, plus the traps I’ve walked into so you don’t have to.
Enhance vs Upscale: Decision Criteria
People throw around “enhance” and “upscale” like they’re the same word. They’re not, and mixing them up is the fastest way to pick the wrong tool and waste an evening of render time.
Upscaling is about resolution — taking 720p to 4K by predicting pixels that were never recorded. Enhancement is about cleanup — denoise, deblur, color, stabilization, artifact removal — and it can happen without changing the resolution at all. NVIDIA’s engineers explain this distinction better than most marketing pages do, in their breakdown of AI de-artifacting and upscaling: a sane pipeline strips compression junk before it enlarges anything. Skip that order and you just upscale the mess into a bigger, sharper mess.
When you need cleanup instead of resolution
Here’s the rule I use. If the footage is already big enough for delivery but looks bad — noisy, soft, washed-out, shaky — you need an enhancer, not an upscaler. I’ve watched people throw a 4K upscale at a clip that was already 1080p, hoping it would fix grain. It doesn’t. It sharpens the grain and hands you a crisper version of the same problem. Match the tool to the actual defect, not to the resolution number you wish you had. Noise is a denoise job. Softness is a deblur job. Both can live at the resolution you already have.
Top AI Video Enhancers
These are the tools I keep coming back to on real jobs. Treat this as a top AI video enhancer shortlist sorted by the problem each one solves best — not by who shouts loudest.
Best for noise and blur
Topaz Video AI is the tool most pros mean when they say “AI cleanup.” It runs locally on your machine through a stack of specialized models — denoise, motion deblur, stabilization — and crucially, it’s temporally aware. That means it tries to keep frame-to-frame consistency instead of sharpening a face one way in frame one and a slightly different way in frame two, which is exactly what makes cheaper tools flicker. Skim almost any topaz video enhance ai review from this year and you’ll hit the same two themes: the output is genuinely good, and the software is hungry. Without a decent GPU you’ll be staring at a progress bar for a long time. The official Topaz Video page leans into those temporally-aware models, and that “temporal” word is the whole reason it beats a generic sharpener on moving, noisy footage.
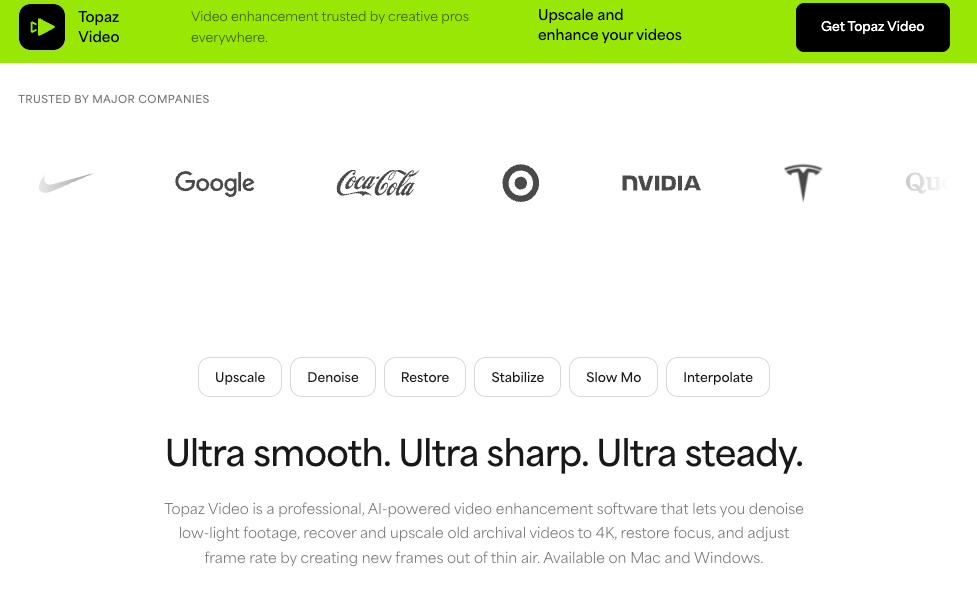
The grey area, to be fair: on a weak machine the render times are brutal, and there’s no built-in editor. It cleans, it doesn’t cut.
Best for color and lighting
For color, faded footage, and black-and-white restoration, AVCLabs Video Enhancer AI is the one I reach for. Its colorization is context-aware — it tries to read what an object is before deciding what color it should be — and the desktop app keeps adding to that side. Per the official AVCLabs Video Enhancer AI listing, a recent update brought a Premium colorization model plus SDR-to-HDR conversion. Any honest avclabs video enhancer ai review lands where I did: it’s strong on color and anime, and it’s hit-or-miss on live-action faces, where it sometimes drifts into a waxy, oil-painting look. So I love it for reviving old color home video and animation, and I get cautious the moment a real human face fills the frame.
Best for old footage restoration
Restoration is where this gets fun, because the two big tools actually split the labor. Topaz’s generative Starlight models are built for heavily degraded clips — old DV transfers, archival SD, footage nobody can reshoot. AVCLabs earns its place here for two specific chores: deinterlacing old broadcast and VHS-style footage, and colorizing black-and-white. When I’m handed a damaged historical reel, my instinct is to denoise and deinterlace first, get a clean progressive image, then decide whether colorization is worth it. Do it in the wrong order and you colorize the noise. Think of it less like a magic button and more like triage — stop the bleeding before you worry about the makeup.
Topaz vs AVCLabs
This is the matchup everyone actually opens the article for, so let me skip the diplomacy.
Practical differences for creators and small teams
Output character first. Topaz tends to look more natural on live action — faces, skin, hair hold up better. AVCLabs is the stronger pick for anime, line art, and colorization, but its face model can look artificial on real people. Both are GPU-heavy. Both ship a watermarked free trial, which is exactly why you should test on your footage and not on the vendor’s cherry-picked demo reel.
Speed and hardware are the quiet dealbreakers. Neither tool is “drop it in, grab a coffee, done” on an entry-level laptop — multi-frame and higher-quality models lean hard on the GPU, and old machines crawl. Budget for processing time the same way you’d budget for the license.
Pricing is the bigger divergence in 2026, and it’s a moving target. Topaz left its old one-time license behind and shifted to subscription-and-credit tiers, and those numbers have changed more than once in the last year — so check the Topaz pricing page directly rather than trusting any blog’s quoted figure, mine included. AVCLabs offers subscription or perpetual options. The honest takeaway: never choose on sticker price alone. Weigh render time, your GPU, and whether that watermark-free trial actually clears your kind of footage.
For a small team shipping weekly, I lean Topaz for live-action client work and keep AVCLabs in the kit for colorize and anime jobs. “One less tool” is a nice slogan, but sometimes the right two tools beat one mediocre everything-app — and they cost you fewer redo rounds.
Best Free Option
What free enhancers usually handle well
If you’re not ready to pay, DaVinci Resolve is the strongest free starting point — but read the fine print before you get excited. The free edition of DaVinci Resolve is a genuinely full editor with real color tools and basic noise reduction. But the AI Neural Engine features — Super Scale upscaling, the heavier AI noise reduction — live in the paid Studio version, which is a one-time upgrade rather than a subscription. So “free” here gets you solid editing, color, and light cleanup; it does not get you true AI super-resolution.
Free web enhancers exist too, and a pattern showed up across 2026 worth flagging: several “forever free” online tools quietly added watermarks or pushed 1080p exports behind a paywall. Whatever you pick, test the export step before you trust a real project to it. As a rule, free tools handle light denoise, modest sharpening, and color correction well — and fall apart on heavy restoration. That’s the line.
Comparison Table
Enhancement type, ease of use, speed, and export quality
I left hard prices out on purpose — they shift too often to print responsibly. The official pages linked above are the source of truth on cost.
| Tool | Best for | Enhancement type | Ease of use | Speed | Export quality |
| Topaz Video AI | Natural live-action cleanup and restoration | Denoise, deblur, stabilize, upscale, Starlight restore | Moderate | Slow without a strong GPU | High, natural-looking |
| AVCLabs Video Enhancer AI | Color, colorization, anime | Denoise, color, SDR-to-HDR, deinterlace, upscale | Beginner-friendly | Slow on weak hardware | Good; variable on faces |
| DaVinci Resolve (Free / Studio) | Editing plus color, basic cleanup | Color, basic noise reduction; AI Super Scale in Studio | Steep learning curve | Fast, well-optimized engine | High for color; AI upscale is Studio-only |
How to Choose
Pick by footage problem, not tool popularity
Forget “what’s the best video enhancer ai overall.” That question has no answer. Ask what’s actually wrong with the clip in front of you, then work backward.
- Grainy or noisy → a denoise-first tool (Topaz).
- Faded, or black-and-white you want in color → colorization (AVCLabs).
- Small and soft for a big timeline → upscale, then enhance, in that order.
- Just need color and a light clean with no budget → DaVinci Resolve free.
Then run three sanity checks before you pay for any best AI video enhancer software: does your GPU survive the render, does the watermark-free trial clear your footage and not just the demo, and does the tool save you a revision round or remove a second app from your workflow? If the answer to that last one is no, the feature list doesn’t matter. A tool that doesn’t cut a step or a redo isn’t earning its spot on your rig.
FAQ
How long does it typically take to enhance a 5-minute video with these tools?
Render times vary wildly by hardware and settings. On a good GPU (RTX 4070 or better), Topaz or AVCLabs might take 10–40 minutes for a 5-minute clip at high quality. On weaker hardware or cloud tools, it can stretch to hours. Always test a short segment first — many users underestimate processing time on longer or complex footage.
Do these AI enhancers work well on smartphone footage from 2024–2025?
Yes, especially for noise reduction and color correction. Modern phone clips are usually clean enough that tools like Topaz or DaVinci Resolve can noticeably improve sharpness and dynamic range. However, heavy motion blur or low-light grain still challenges even the best models.
Can AI video enhancers fix shaky or blurry footage effectively?
They can help significantly with stabilization and deblur, especially Topaz’s motion models. However, severe shake or out-of-focus shots still have limits — the AI can’t invent perfect motion that wasn’t captured. Best results come from combining AI enhancement with manual stabilization in DaVinci Resolve or Premiere.
What should I watch out for when using AI enhancers on client footage?
Always work on copies, never originals. Check for facial artifacts or unnatural skin textures before delivery. Get client approval on a short test clip first, because some “improvements” (especially over-sharpening or color shifts) can change the intended look. Document your process for transparency.
At the end of the day, the best AI video enhancer software is just the one that fixes your specific problem with the fewest steps. So what would I actually do with that green 480p clip? Denoise and color-correct first, upscale only as far as the timeline truly needs, then stop fiddling the second it’s good enough to ship. That’s the whole game. If you’re testing these this week, push your worst clip through the free trials before spending a cent — and come tell me which one saved your shot.
Previous posts: