Hello! This is Dora, always on the way sharing. I kept seeing little moving photos show up in my feed and, honestly, I was skeptical. The other day, I sat down with three different workflows to see whether “animate picture AI” was a gimmick or a useful hack for creators. What follows are my field notes, what surprised me, what I learned the hard way, and the exact free ways you can try this yourself without accidentally paying for credits.
What “Animate a Picture” Actually Means (3 Different Things)
The phrase “animate picture AI” gets tossed around a lot, but it hides three distinct capabilities. I learned early on that mixing them up causes a lot of frustration (and wasted uploads). Here’s how I break it down.
Subtle parallax / zoom motion
This is the simplest effect: think slow zooms, a slight 3D parallax where foreground and background shift, or a gentle camera move. It’s what you see when someone turns a single image into a short looping clip with depth.
These tools usually don’t change the subject’s expressions, they just make them still feel alive. I used this on a landscape photo and it added mood without altering the person in frame.
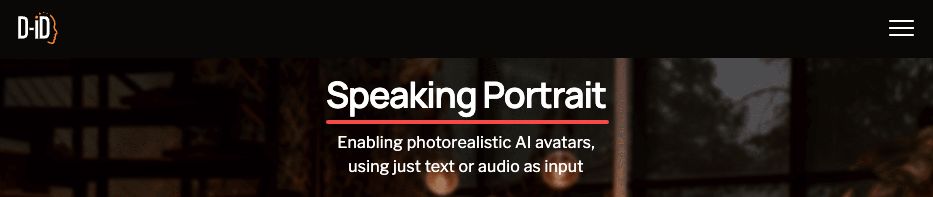
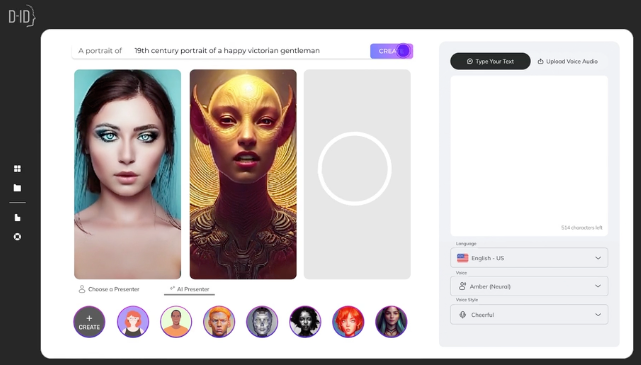
Face animation (talking, blinking portrait)
This category is portrait-focused. The model maps facial motion (blink, smile, lip movement) onto a static headshot so it looks like the person is speaking or reacting. Think deepfakes-lite: convincing when the source is clean, uncanny when it isn’t. I tried a family portrait: the blinking and small mouth movements looked charming, but full speech required a separate driving audio file.
Full image-to-video generation
This is the heavy artillery: you give an image and a text prompt or motion guide and the model generates new frames that can dramatically change the scene, a static street photo becomes a rainy night with cars passing. These systems attempt to synthesize new content and motion across the whole frame. Results vary wildly depending on the model and the input image quality. When it works, it feels magical: when it fails, it introduces artifacts and weird warps.
What Makes a Photo Easy or Hard to Animate
Not all photos are equal. From my experiments, three factors reliably predict success.
Resolution, subject position, background complexity
High resolution helps because models can extract cleaner features. Centered subjects with clear facial visibility are easiest for face animation tools. Busy backgrounds or overlapping subjects confuse depth estimations for parallax and full video generation. I used to run the same parallax prompt on a 12MP portrait and a 2MP screenshot, the 12MP version preserved hair details and edges: the screenshot smeared.
Photos that consistently fail
Here are categories I’d avoid if you want a clean result:
- Low-resolution or heavily compressed images (social-media screenshots).
- Side profiles where the face is occluded by hair or hands.
- Images with strong motion blur.
- Photos with reflective surfaces (glasses, shiny helmets), reflections tend to flicker or split across frames.
If you must use a difficult photo, try simplifying: crop to the subject, upscale using an enhancement tool first, or choose a less ambitious animation (parallax rather than full scene generation).
How to Animate a Picture with AI Free (Step-by-Step)
I tested three practical, free workflows. Each targets one of the three categories above.
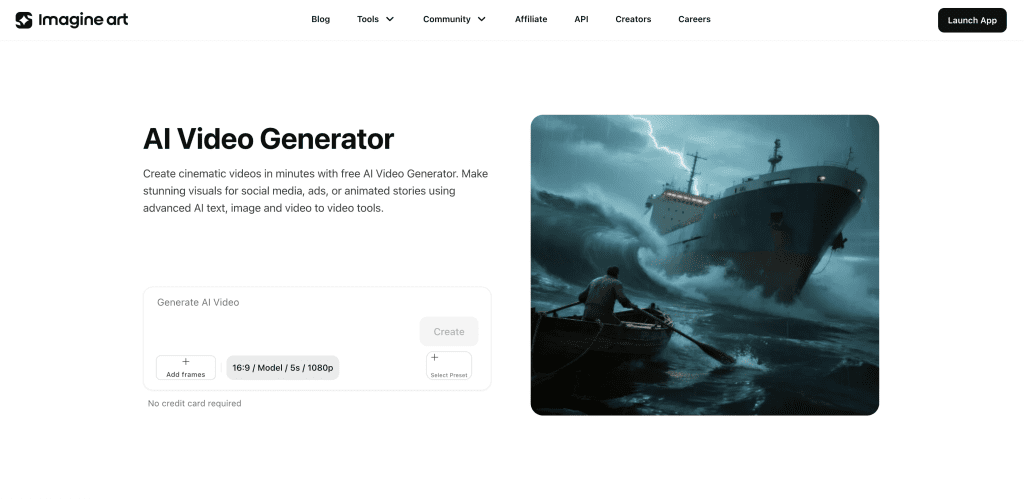
Method 1, Image-to-video model (general scenes)
- Choose a model that supports image-conditioned generation.
- Upscale the image if it’s under 2MP.
- Supply a short motion prompt (e.g., “slow camera pan left, soft rain”), set 12–15 frames for a 1–1.5s clip.
- Generate at low resolution first to check artifacts, then re-run at higher quality if the preview looks good.
Notes: full-scene generators are powerful but fragile. Expect wavy edges or fluctuating textures: consider stabilizing with a denoising or temporal smoothing step in post.
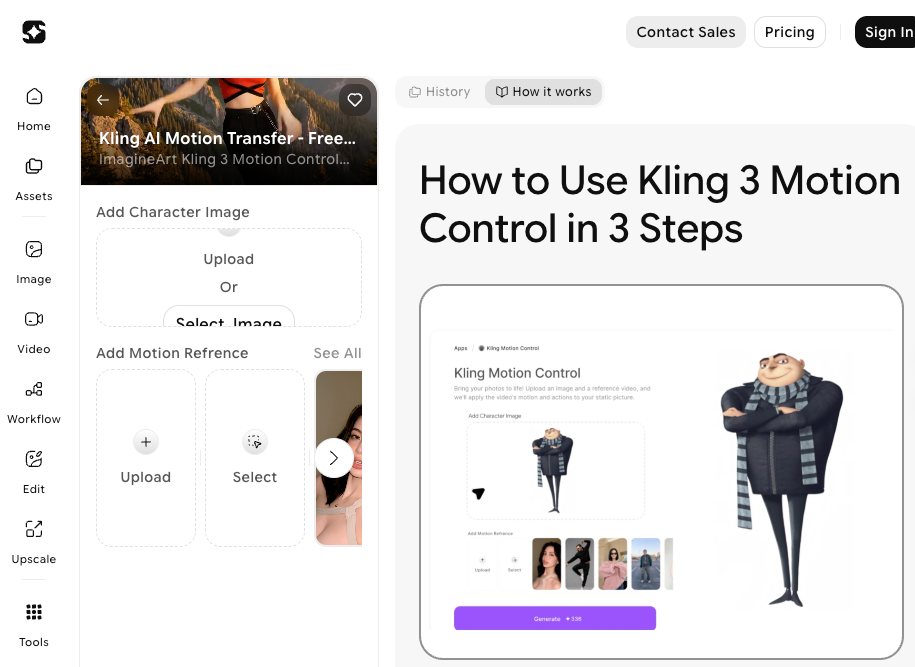
Method 2, Face animation tools (portraits only)
- Use a portrait with the face facing the camera and eyes visible.
- Pick a driving source: either a short audio file for speech or a reference video for expressions.
- Start with subtle settings (less head rotation, small mouth motion). I found dialing down extremes reduced distortion.
Notes: These tools often require a registration step. For testing, use a short, neutral audio and a 1–3 second driving clip. If you care about lip-sync quality, provide clear, recorded audio rather than synthetic TTS.
Method 3, Loop / parallax tools (minimal motion)
- Separate foreground and background if possible (some auto-segment tools).
- Create layered depth maps or use automatic depth estimation.
- Apply a slow camera move and add gentle parallax shifts between layers.
- Loop by easing the motion in and out to avoid a jump.
Notes: This method is the safest for low-risk results. If the subject has complex edges (hair, fur), expect some haloing: refine masks manually where you can.
Free Access Path for Each Method
If you want to try without paying, here’s the practical access map I used during testing.
Signup required? Credits? Watermark?
- Image-to-video models: Many demo platforms offer a free tier but limit resolution and add a watermark. Sign-up is usually required. I used a free demo on March 16 that allowed one watermark-free low-res render.
- Face animation tools: Several popular services let you run 1–3 free trials after email signup. They often watermark exports unless you upgrade. If privacy matters, read the TOS, some retain uploads for research.
- Loop / parallax tools: Quite a few smartphone apps and web services have free features with no sign-up: but, desktop-grade parallax (layer editing) typically requires a free trial of paid software.
Practical tip: If you want to experiment seriously, keep a throwaway email for signup tests and always check whether your images are stored or shared. I noted storage terms on March 12 and deleted test uploads where that option was available.
When Results Look Wrong: Common Failures and Fixes
I ran into all of these, sometimes multiple times in a single session.
Unnatural motion, flickering, face distortion
Symptoms: jittery limbs, flicker across frames, mouths that bend strangely.
Quick fixes:
- Reduce motion amplitude. Less is more for believable results.
- Use temporal smoothing: many tools let you increase frame consistency or add a temporal denoise.
- Re-crop to a tighter subject frame so the model focuses on fewer pixels.
- For face distortions, switch to a portrait-specific tool and provide a higher-quality input.
If nothing helps, try a different method. For example, switch from full image-to-video to parallax, it often gives a more controlled, less artifact-prone result.
Which Method Is Right for You? (Decision Table)
I prefer a simple decision approach when I’m choosing which method to use. Below is a compact guide I used during testing.
| Goal / Image Type | Recommended Method | Why I’d pick it |
| Subtle movement for social posts | Loop / parallax | Fast, low-risk, looks professional with minimal effort |
| Make a portrait talk or blink | Face animation | Optimized for faces, better lip-sync and expression control |
| Create a dramatic scene change | Image-to-video generation | Can synthesize new motion and weather, but more fragile |
Use this as a cheat sheet. If you’re unsure, try parallax first, it’s the lowest-cost path to a polished clip.
FAQ
Q: Are these tools safe to use with personal photos?
A: Generally yes, but read each service’s privacy policy. During my tests I flagged services that retained uploads for research, I avoided those for personal family photos.
Q: Can I animate copyrighted images?
A: Technically you can, but you should have the right to modify and publish the image. If it’s not yours, proceed cautiously.
Q: Do results look real enough for professional use?
A: It depends. Parallax often passes on social media. Face animation can be compelling for short clips, but avoid it for anything requiring perfect realism: artifacts show up under scrutiny.
Q: Where can I learn more about model limitations?
A: Check the official docs of the tool you’re using. Most vendors publish guides and safety notes, I linked to a few in my notes while testing (see vendor docs).
Verdict
Here’s the honest takeaway from my sessions in March 2026: “animate picture AI” is not one thing, it’s three. If you want a quick, low-risk way to make images feel alive, parallax and loop tools are your best bet. For portraits, face animation is delightfully effective when you feed it the right input. Full image-to-video generation is the most creative but also the most temperamental, save it for when you’re willing to iterate.
Not sponsored, just my field results. If you want to try one of these paths and want my exact prompts or the tool list I used, say the word and I’ll send them over. Quick thought before I go: start small, keep your expectations modest, and savor the little surprise when a still actually smiles back at you.
Previous Posts: