Editor’s & Video Post-Production Note:
Transparency & Ground Truth Disclosure: This guide compares two specific camera re-angling tools: Luma Multi-Angle Shot Coverage and Pika Camera Director. Both tools take an existing video take and synthesize alternate camera perspectives. This comparison focuses strictly on source requirements, angle controls, and timeline verification for a single missing B-roll shot. It does not rank general platform video quality or compare full platform feature sets. All uploaded video assets and product packaging require verified ownership or explicit commercial usage rights. This article does not constitute legal, copyright, or licensing advice.
Source Verification & Official Interfaces:
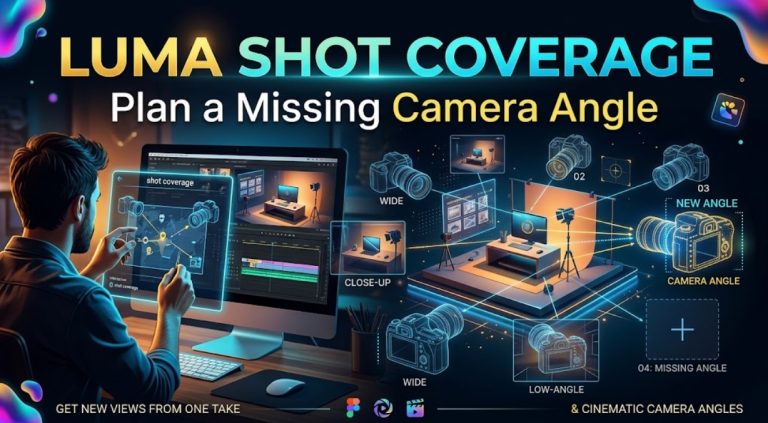
Luma Shot Coverage Specifications: Verified via Luma’s official feature interface at Luma Shot Coverage Solution. The app takes one 4–15-second source clip and lets users select up to three coverage types (Performance-led, Action-led, Spatial-led), with optional generated audio toggles (including dialogue re-voiced).
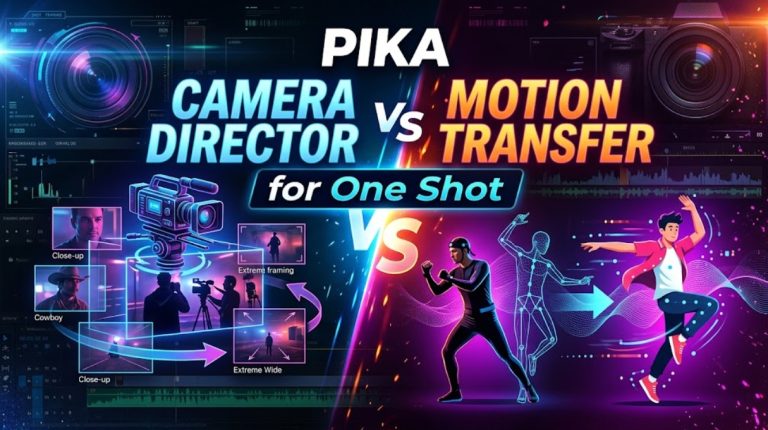
Pika Camera Director Specifications: Verified via Pika’s official web app at Pika Camera Director. The app accepts an uploaded scene and offers visual shot framing cards (such as Extreme Wide, Wide Master, Medium, Cowboy, and Close-Up) alongside camera movement parameters.
CrePal Video Workspace: Documented at CrePal Features as a video-first AI Director framework that coordinates scene cards, multi-camera shot lists, and revision handoffs.
When editing a short product film or commercial sequence, a single missing B-roll cut can stall your entire timeline.
You have an approved hero take of someone using a product, but you need a tight cutaway of their hands or an alternate angle to hide an edit splice. In the past, you had to schedule a reshoot or re-prompt a generative video engine from scratch, which often meant losing your lighting, background, and product consistency.
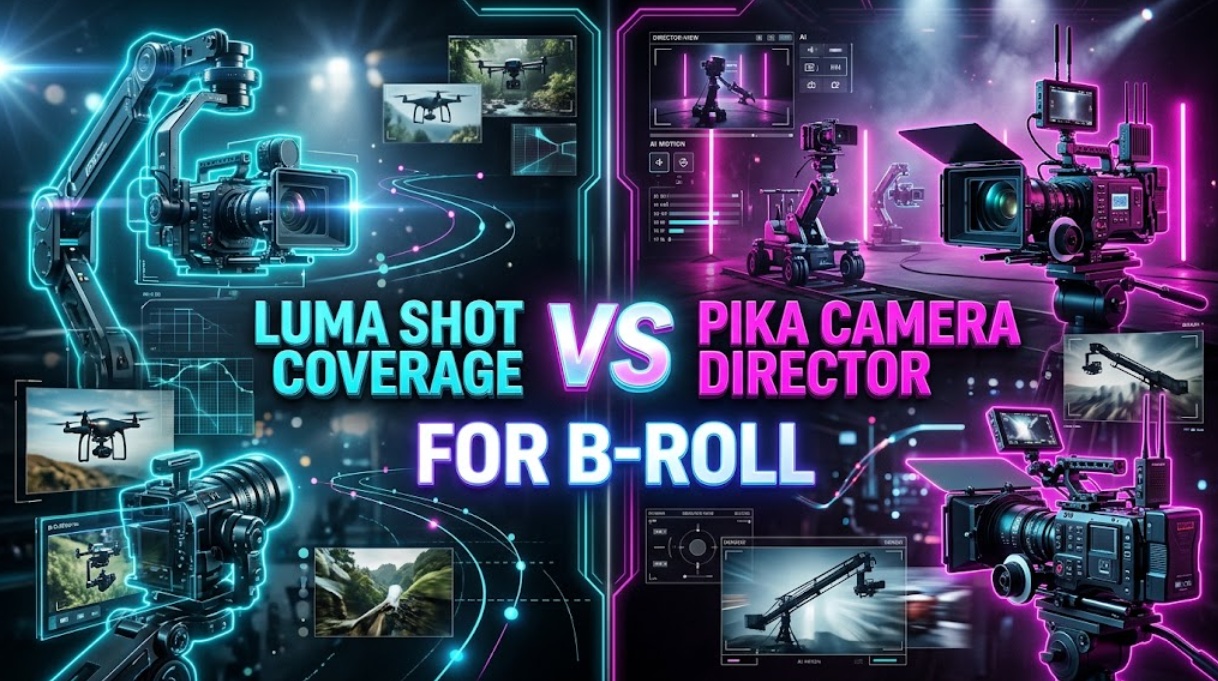
Two dedicated tools now address this exact problem: Luma Shot Coverage and Pika Camera Director.
Both apps re-shoot an existing video take from new perspectives without rebuilding the scene from text prompts. However, they structure camera controls, source clip handling, and audio differently.
Here is how to choose between Luma Shot Coverage and Pika Camera Director for one missing B-roll angle, verify your inputs, and check your generated cutaway before adding it to your timeline.
Quick Choice for One Missing B-Roll Angle
To make a quick choice between these two tools, look at how you prefer to direct your camera:
- Pick Luma Shot Coverage if you want intent-based coverage categories. Luma lets you pick styles such as Performance-led, Action-led, or Spatial-led, and can render multiple coverage perspectives from a single upload.
- Pick Pika Camera Director if you want traditional cinematic framing cards. Pika lets you select exact shot sizes—such as Wide Master, Cowboy, or Close-Up—and, and pair them with specific camera movements.
Neither route guarantees a perfect result on the first attempt. Both tools produce synthetic camera angles that require human review on the editing timeline.
What Source Clip Does Each Route Need?
Both tools require an existing video take rather than a text prompt or still image. Supplying clean, stable source video ensures the engine calculates accurate 3D scene geometry.
Luma Shot Coverage works best with a clean 4-to-15-second clip. The tool recommends medium-wide framing so it has enough background context to calculate alternate views. If your subject moves out of frame or the camera shakes violently, the model may struggle to track spatial depth.
Pika Camera Director also requires an uploaded continuous clip. For best results, use a short take with steady lighting and minimal compression artifacts. If you need a close-up of a product, ensure the product is clearly visible in the source take. If an actor’s hand covers the product label during the entire original take, neither tool can invent the missing label accurately.
How Do You Request the New Angle?
The primary workflow difference between Luma and Pika lies in how you set up the camera.
Shot Coverage options in Luma
Luma uses an intent-driven selection interface:
- Coverage Types: You can select up to three coverage types: Performance-led (focusing on character reactions and gestures), Action-led (tracking motion and physical interaction), and Spatial-led (establishing room geography and wide relationships).
- Output Resolution: An Auto setting matches the nearest native generation resolution to your source video, with options to scale up at the cost of additional generation credits.
- Audio Handling: A dedicated audio control allows you to generate sound—including speech delivered in a new voice—or export silent takes.
Framing and camera controls in Pika
Pika relies on conventional film framing presets:
- Shot Framing Cards: You select specific cinematic framings, including Extreme Wide, Wide Master, Medium, Cowboy shot, and Close-Up.
- Camera Movement: You can pair the selected framing with camera moves (such as pans, tilts, or tracking shots) to direct how the virtual camera navigates the scene.
- Visual Direction: The interface focuses on visual camera positioning, giving editors direct control over lens perspective relative to the subject.
Which Result Cuts Into the Edit?
A generated B-roll angle is only useful if it cuts cleanly against your master shot. Once your clip renders, evaluate it against two quality checkpoints.
Subject and action continuity
Place the newly generated angle beside your original take in your editing software:
- The 30-Degree Rule: Ensure the new angle shifts camera perspective by at least 30 degrees. If the generated angle only shifts 5 degrees from the original, cutting between them creates an awkward jump cut.
- Motion Velocity: If an actor picks up a product at a moderate speed in the wide shot, the hand motion in the new close-up must match that same velocity at the cut point.
- Eyelines and Screen Direction: Confirm that the subject still looks in the correct direction (screen-left or screen-right) across the edit.
Detail and sound review
Examine fine physical details and acoustic sync:
- Product Details: Check packaging labels, logos, and textures. Ensure letters do not warp or blur when moving to a tighter framing.
- Audio Track Alignment: If you generated audio in Luma, verify that generated foley or dialogue lines match the timing of your visual cut. If using Pika, plan to lay down original production audio or sound effects manually on your timeline.
When organizing multi-angle commercials where shot lists, generative B-roll takes, and scene cards must stay aligned across teams, creators coordinate their assets in tools like the versatile CrePal workspace. Within CrePal, creative teams can map approved Luma and Pika B-roll takes to specific scene beats, track revisions, and build an editable video draft. For broader techniques on planning scene assets, see our guide on photo-to-video AI storyboarding.
FAQ
Can I export both tools’ results at the same aspect ratio?
Yes. Both tools allow you to export standard widescreen (16:9) or vertical (9:16) video clips to match your project settings. However, verify that your source’s aspect ratio matches your target export before generating to avoid unwanted cropping.
Does either tool export a separate audio track?
No. Neither tool exports an isolated audio stem (such as a separate WAV file) independently from the video container. Luma offers an integrated audio generation toggle within the video render, while Pika outputs standard video files. For professional sound mixing, editors should manage audio stems on a separate timeline track.
Can either tool re-angle a clip with two visible subjects?
Yes, both tools can process scenes with two subjects. However, complex two-person interactions increase the risk of perspective warping or swapped wardrobe details. To keep results stable, select clear framing options (like a two-shot or clean single close-up) and avoid source takes where subjects constantly cross in front of each other.
How are repeated angle attempts charged in each tool?
Both services operate on account credit systems where every generation attempt consumes credits, regardless of whether you keep the take for your final cut. In Luma, costs vary based on output resolution settings. In Pika, running Camera Director tasks draws from your active subscription or top-up credit balance.
What source footage permissions do both services require?
Both platforms require users to hold all necessary rights, licenses, or explicit consent for any uploaded video clips, including visible actors, copyrighted logos, and proprietary product packaging. Review the official terms of service on both platforms before uploading confidential or unreleased client commercial assets.
Conclusion
Choosing between Luma Shot Coverage and Pika Camera Director comes down to how you prefer to direct your B-roll coverage:
Use Luma Shot Coverage when you want broad coverage categories (Performance, Action, or Spatial) and need the option to generate bundled takes from one upload.
Use Pika Camera Director when you need traditional cinematographic shot sizes—like an Extreme Wide, Cowboy shot, or Close-Up—paired with specific camera moves.
By trimming your source clip to the essential action, applying the 30-degree rule, and auditing motion continuity, you can turn a single video take into reliable B-roll that fits your edit.