Hi, Dora is here.
I had a folder of product shots from a client shoot — decent lighting, clean backgrounds, good compositions. They just sat there for weeks because the client wanted “something moving” for their socials and didn’t have budget for a full shoot. So one afternoon I ran all of them through every photo to video AI tool I could find.
Some outputs were genuinely usable. One made the product drift sideways like it was on a space station. Another — I still don’t fully understand what happened — turned a white studio backdrop into slow-motion fog.
Here’s the breakdown I wish I’d had before I started: what these tools actually do, where they hold up, and the exact workflow I use now before touching any of them.
Not sponsored. Just a folder of test images and a lot of patience.
What Photo to Video AI Means
At the basic level, a photo to video AI takes a single still image and generates a short clip from it — usually 3 to 8 seconds — by predicting plausible motion based on what’s in the frame.
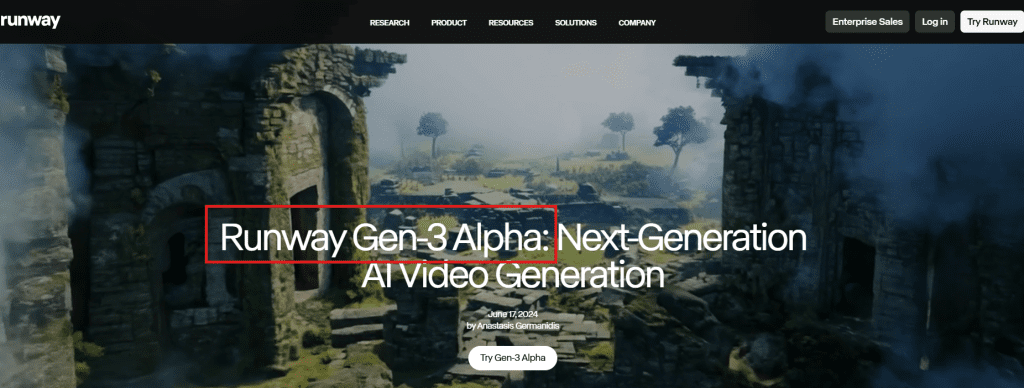
The underlying approach varies by tool. Some use diffusion models conditioned on the input image; others add camera movement as a controllable parameter. Runway’s Gen-3 Alpha research overview explains how the model interprets spatial depth from a static frame to generate parallax and object motion. Kling, Luma, and Pika all have their own takes on the same core problem.
What they share: they’re not “playing back” motion that was already there. They’re generating it from scratch — which is why results vary so much depending on image content.
Quick answer: Photo to video AI works best on images with a clear subject, readable depth cues, and minimal complex detail (think: no fine text, no crowds, no intricate patterns). Feed it those conditions and you’ll get usable clips. Feed it a busy street scene with seven faces and expect chaos.
Best Use Cases
Product Photos
This is where I’ve had the most consistent results. Clean product shots — especially on simple backgrounds — animate well because the model has less motion to “invent.” Common outputs include gentle floating, subtle vertical drift, or a light parallax where the background shifts slightly behind the product.
One thing that genuinely helps: shoot (or crop) with a little negative space around the product. Images where the subject runs edge-to-edge tend to produce awkward cropping artifacts during the motion sequence.
Known caveat: reflective surfaces are a mess. Glass, chrome, anything shiny — the model tries to animate the reflections and produces a flickering effect that reads as broken. I’ve started doing a quick desaturation pass on those surfaces before input, or just flagging them as unsuitable for this workflow.
Portraits
Portrait animation gets the most attention and the most complaints. When it works, you get subtle breathing motion, slight head movement, natural eye blinks. When it doesn’t, you get the uncanny valley at full speed: teeth that shift, jawlines that warp, one eye animating differently from the other.
My rule after a lot of failed runs: portraits shot from the shoulders up, with the face slightly off-center rather than dead-on symmetrical, animate more naturally. Straight-on symmetrical faces seem to confuse the model’s depth estimation. I ran the same prompt on the same person shot from two angles — the slight tilt consistently produced cleaner output.
Also worth being upfront about: don’t expect lip sync or speech from a still photo. That’s a different category of tool entirely. For talking avatar generation, you’d need something purpose-built for that workflow.
Social Hooks
Short looping clips for Reels, TikTok thumbnails, or LinkedIn carousels — this is where the ai photo to video generator workflow earns its keep most reliably. You’re not trying to make a film. You need 4 seconds of motion that looks intentional and stops a scroll.
Camera movement prompts (“slow zoom in,” “gentle camera push forward”) tend to produce more stable output than asking for complex object motion. The model handles a camera move better than it handles a person walking or an object rotating in 3D space.
Step-by-Step Workflow
This is the process I’ve settled on after a lot of wasted credits.
Step 1: Prepare the image. Resize to the output aspect ratio before uploading — most tools prefer 16:9 or 9:16 depending on your target platform. Run a light denoise pass if the photo is high-ISO. Noisy images generate artifacts in the video that look worse in motion than they do in the still.
Step 2: Write a motion prompt that describes physics, not action. Instead of “make the product move,” try “gentle floating with subtle vertical drift, slow camera pull back.” Describe the physical quality of the motion. Vague prompts get vague results, every single time.
Step 3: Run one low-credit test generation first. Almost every tool has a draft or preview tier — use it. I’ve burned full credits on a prompt only to discover the source image itself had a problem causing tearing artifacts at the edges.
Step 4: Evaluate before iterating. Look for: subject consistency across frames, edge stability, background coherence. If the subject is dissolving or flickering by frame 10, changing the prompt won’t fix it — the image is the problem.
Step 5: Export and check at target resolution. Issues that look fine in the preview player become obvious at full res. Always check before delivering.
Best Tools
Here’s where things actually diverge. These are the tools I’ve tested directly as of early 2026.
Runway Gen-3 Alpha handles complex scenes better than most, with strong prompt responsiveness. It’s the one I reached for first on portrait work. The official Runway Gen-3 page covers the model’s approach to spatial reasoning from static input.
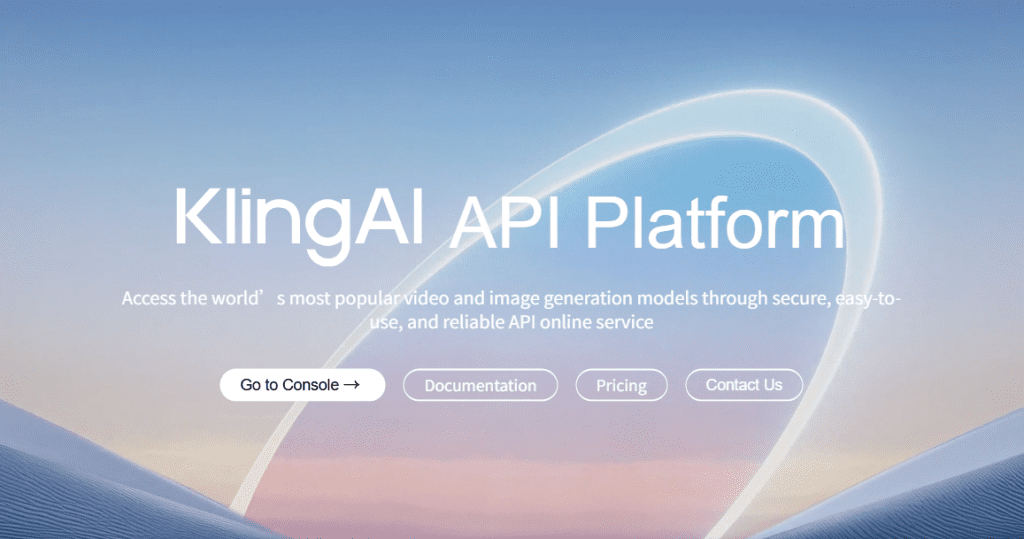
Kling 1.6 (from Kuaishou) has quietly become one of the stronger options for product video — motion quality on simple objects is high and it handles lighting consistency well. The Kling AI platform is straightforward to access now and the controls for motion intensity have gotten noticeably finer since version 1.5.
Luma Dream Machine is strong on camera movement and cinematic feel. Less reliable on faces in my experience. Their Dream Machine product page has useful context on how to structure camera motion prompts specifically — worth reading before your first session.
Pika 2.2 has improved meaningfully on portraits since earlier versions. It’s also the most approachable for someone just getting started — the interface is cleaner than Runway’s and the prompt guidance is more explicit. The Pika official site has a free tier that’s enough to get a real read on whether this workflow fits your needs.
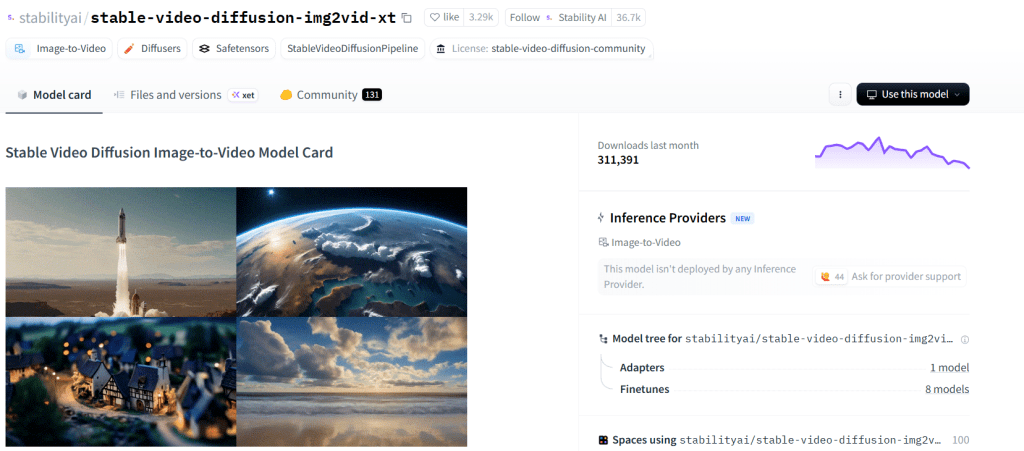
Stable Video Diffusion via Hugging Face is worth knowing if you want to run locally. The Stability AI SVD model card covers the technical parameters and system requirements. You’ll need a decent GPU — 16 GB VRAM is a comfortable floor — but the results on product images with fine-tuned weights can match cloud tools on simple use cases, and there are no credit limits.
Free vs Paid Limits
Every major tool has a free tier, and every free tier has a catch. Here’s the honest table:
| Tool | Free Tier | Real Constraint |
| Runway | ~125 credits/month | ~10–15 short clips, no HD export |
| Kling | Daily free credits | Queue wait times, watermark on output |
| Luma | Limited free generations | Slower queue, compressed resolution |
| Pika | Free with watermark | Watermark removal requires paid plan |
| SVD (local) | Unlimited | Needs your own GPU hardware |
If you’re testing workflows or learning how motion prompts work, the free tiers are sufficient. If you’re delivering to a client — don’t. A watermark on a client deliverable is a conversation nobody wants to have.
One useful thing most people don’t optimize: most tools price by the second of generated video, not by the number of clips. A 5-second output costs more than a 3-second one. For social hooks, where 3–4 seconds is genuinely enough, staying short stretches your credits further than any other trick.
FAQ
What is the best photo to video AI tool for beginners?
Pika is the most approachable starting point — the interface requires the least setup and the free tier gives you enough room to understand how motion prompt structure affects output. Once you’ve got a feel for it, Runway and Kling are worth exploring for more granular control.
Can I turn a product photo into a short AI video for free?
Yes, with limitations. Kling and Luma both let you generate short clips from a single image on their free tiers. Expect watermarks and slower queue times. For internal review or personal testing, it’s workable. For anything public-facing, the paid tiers are necessary.
Why do faces or hands look distorted in photo-to-video outputs?
Faces and hands are the hardest subjects for current ai photo to video tools — they carry a lot of structural complexity that the model has to interpolate across frames. Straight-on symmetrical faces produce more distortion than slightly angled portraits. Hands, especially when prominent in frame, almost always look off in motion. The standard workaround: crop hands out of the source image where possible, or use a negative prompt specifying “no hand movement” if the tool supports negative prompting.
The picture to video AI space has moved fast — Runway, Kling, and Luma all pushed significant model updates in Q1 2026, and the gap between “barely usable” and “client-ready” has genuinely narrowed.
The playbook I’d give anyone starting: pick one tool, run the same source image through 10 different motion prompts, and pay attention to which prompt structures produce the most stable output. That hour of testing will save you more time than any tutorial. Keep the bad outputs too — the failures teach more than the wins.
What use case are you animating photos for? Drop it below — curious how different the results are across industries.
Previous Posts