

Leo. I make content. I treat AI tools like LEGO. If I haven’t run a real project through it, I won’t write about it. I got Sulphur 2 running in ComfyUI last Tuesday. It took me about two and a half hours, and roughly 90 minutes of that was a VAE mismatch I should have caught in the first five minutes.
This is the sulphur 2 tutorial I wanted before I started. Everything in here is from actually running it — not from reading the model card and guessing. If something is uncertain or needs verification before you trust it, I’ll say so.
What You Need
Before downloading anything, check your setup against this. Skipping this step is how people end up reinstalling halfway through.
Hardware floor:
| Component | Minimum | Comfortable |
| VRAM | 12 GB | 16 GB+ |
| System RAM | 16 GB | 32 GB |
| Storage (free) | 25 GB | 40 GB |
| GPU | RTX 3080 / equivalent | RTX 4080 / A100 |
Twelve gigabytes is real but tight. At that floor, you’re running fp8 precision and keeping resolution at 512×512. At 16 GB you get longer clips and more headroom to push resolution without babysitting memory usage.
Software:
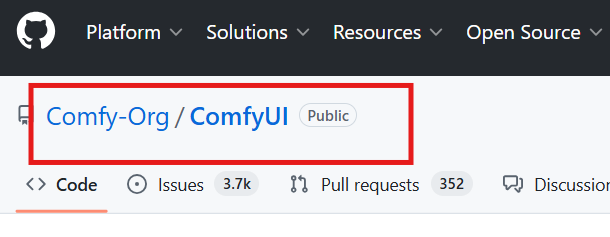
- ComfyUI — grab the latest stable commit. Video diffusion node support has changed a lot over the past year; anything more than six months old is likely to have compatibility gaps.
- ComfyUI-Manager — you need this to install custom nodes without manually cloning repos one by one.
- Python 3.10 or 3.11. Python 3.12 has compatibility issues with several video nodes as of early 2026 — don’t use it here.
- CUDA 12.1 or later.
If you’re already running LTX Video or Wan 2.1 locally, you probably have most of this in place. The sulphur 2 comfyui workflow shares a lot of infrastructure with LTX-based setups, so existing installs usually need minimal changes.
Download and Setup
Step 1: Get the checkpoint
Go to the Sulphur 2 model page on Hugging Face. You’re looking for the main .safetensors file — around 13–16 GB depending on the variant posted. Community model naming isn’t always consistent, so read the model card before downloading to confirm you’re grabbing the inference checkpoint, not a LoRA or adapter file.
⚠️ This is a community release. Model card details and file names may change. Verify on the page before starting the download.
Once downloaded, place it here:
ComfyUI/
└── models/
    └── checkpoints/
        └── sulphur2.safetensors
Step 2: Install required custom nodes
Open ComfyUI Manager (the “Manager” button in the top-right of your ComfyUI interface). Install these:
- ComfyUI-VideoHelperSuite — handles frame sequencing, video input, and video output. Without it, you have no clean way to export the generated clip.
- ComfyUI-LTXVideo (or equivalent LTX-compatible sampler nodes) — Sulphur 2 is built on LTX Video 2.3, which means it needs the matching inference architecture to run correctly. Standard KSampler alone won’t cut it.
After installing both, do a full restart of ComfyUI — not a browser tab refresh, an actual restart of the server process. I know that sounds obvious, but I spent 15 minutes confused about missing nodes before I did this properly.
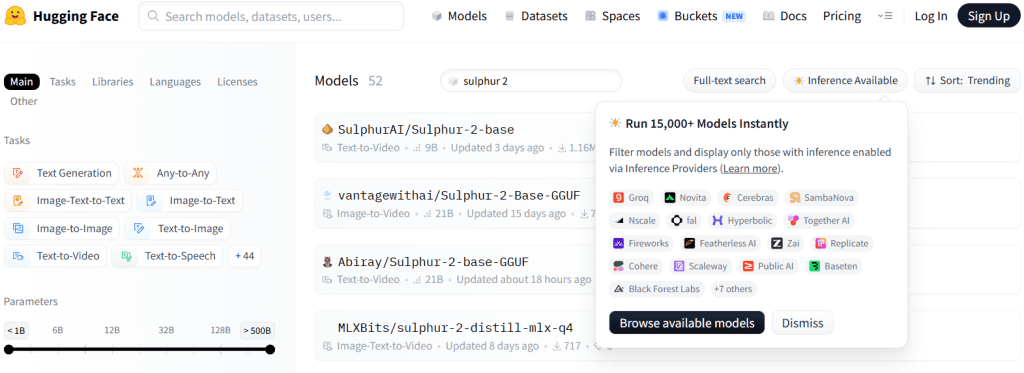
Step 3: Download the VAE separately
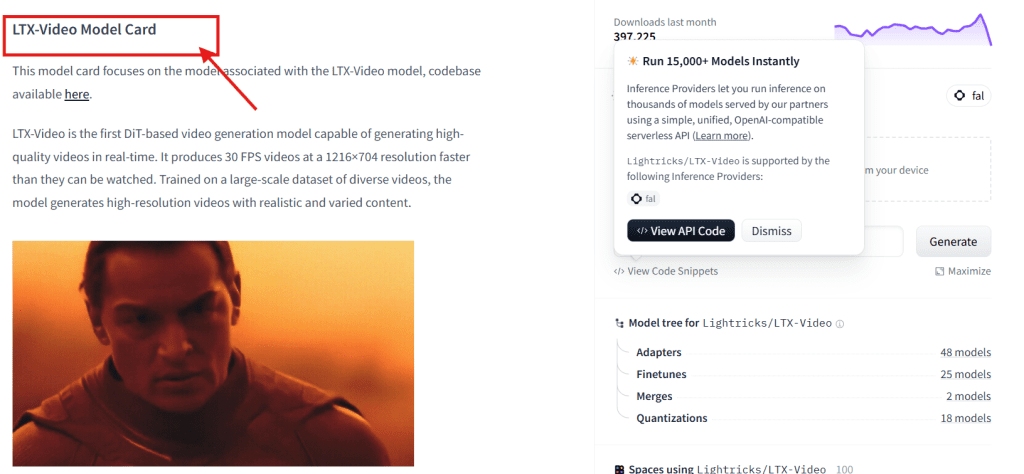
This is the step most sulphur 2 install guides skip, and it’s the one that gets people. The model uses the same VAE as LTX Video — it is not bundled inside the checkpoint file.
Download the VAE from the Lightricks LTX-Video repository on Hugging Face. Look for the file labeled as the VAE or the combined model file from which VAE weights are extracted. Place it in:
ComfyUI/
└── models/
    └── vae/
        └── ltx_vae.safetensors
Without the correct VAE loaded, you’ll get either black frames, visual noise, or an error during decode. The model loads fine — the failure only shows up at generation time, which makes it frustrating to diagnose.
ComfyUI Workflow
There’s no single official sulphur 2 comfyui workflow file yet. What I’m giving you here is the node structure that worked consistently across my tests.
Core node chain:
Load Checkpoint → sulphur2.safetensors
        ↓
CLIP Text Encode (positive)
CLIP Text Encode (negative)
        ↓
LTX Video Sampler
        ↓
VAE Decode
        ↓
Video Combine (VideoHelperSuite)
        ↓
Save / Preview
Settings that worked in my runs:
| Parameter | Value | Notes |
| Steps | 25–35 | Below 20 gets muddy fast |
| CFG scale | 3.5–5.0 | LTX-based models run lower than SDXL — don’t use 7+ |
| Sampler | euler or dpmpp_2m | Both stable; euler is more predictable |
| Scheduler | sgm_uniform | Recommended for LTX-derived checkpoints |
| Resolution | 512×768 or 768×512 | Start here, push up once stable |
| Frames | 25–49 | Keep under 6 seconds until you know your VRAM ceiling |
The CFG range is the biggest adjustment if you’re coming from image model workflows. I kept defaulting to 7.0 out of habit and getting overexposed, oversharpened outputs. Dropping to 4.0 fixed it. I ran that comparison six times to make sure it wasn’t prompt variance — it wasn’t.
Prompt structure: Scene context before subject description consistently outperforms subject-first ordering on this model. “Sunlit office interior, woman in her 30s typing at a desk, natural movement” lands better than “woman typing at a desk, sunlit office.” I noticed this on my third test run and it held up across different subjects.
First Test
Before running anything elaborate, use this prompt to confirm the setup is working:
Positive:Close-up of a ceramic coffee cup on a wooden table, morning light, subtle steam, cinematic
Negative:blurry, distorted, watermark, text, cartoon
Settings: 512×512 · 33 frames · 30 steps · CFG 4.0
This is intentionally low-complexity — no faces, minimal motion, controlled scene. If this doesn’t generate cleanly, the problem is in your node wiring or file paths, not your prompt. Figure it out here before burning time on harder shots.
If it runs: generation takes about 4 minutes on an RTX 4080. Community reports for 12 GB cards with fp8 and --lowvram are landing at 8–12 minutes for similar settings. Both are in a usable range for testing.
Once the simple test passes, add a person to the scene and push resolution to 512×768. That’s where you’ll actually see what Sulphur 2 does differently from base LTX Video — the handling of skin tones and subtle facial movement is where it’s been getting attention.
Common Errors
These are errors I hit directly, plus a few that showed up repeatedly in community threads.
“Model not found” or checkpoint missing from dropdown File is in the wrong folder or has an unexpected character in the filename. Check the exact path. ComfyUI is case-sensitive on Linux. Try clicking the “Refresh” button on the model loader node before assuming the file isn’t there.
“CUDA out of memory” at generation start You’re over your VRAM limit. In order: enable --lowvram in your launch arguments, switch to fp8 in the model loader, reduce frame count, reduce resolution. If you’re still hitting it at 512×512, fp8, with lowvram enabled, you’re below the hardware floor for this model.
VAE decode produces black frames or visual noise Almost always the wrong VAE. Confirm you loaded the LTX-compatible VAE, not an SD 1.5 or SDXL VAE. They load without throwing an error — the failure only appears in the output, which is what makes it annoying to catch.
Custom nodes not showing up after install Full server restart, not a browser refresh. Most common cause, easiest fix.
“NoneType has no attribute” error during sampling Node version mismatch. Go into ComfyUI Manager, update everything, restart. The error message is genuinely unhelpful — stale custom nodes cause this more often than anything else.
Motion flickering or jelly artifacts on moving subjects This is a model-level characteristic, not a setup error. Research on video diffusion model temporal consistency shows frame-to-frame coherence across fast motion is still an open problem at this generation — Sulphur 2 doesn’t solve it. Mitigation: keep motion subtle, lower CFG slightly, add “smooth motion, consistent lighting” to your positive prompt.

FAQ
How do I install Sulphur 2 in ComfyUI?
Download the .safetensors checkpoint from Hugging Face and drop it in ComfyUI/models/checkpoints/. Install ComfyUI-VideoHelperSuite and the LTX-compatible sampler nodes via ComfyUI Manager. Download the LTX Video VAE separately from the Lightricks repository and place it in ComfyUI/models/vae/. Full server restarts after each node install — not just a page refresh. That covers the full sulphur 2 install sequence.
What files do I need to run Sulphur 2 locally?
Three things: the Sulphur 2 checkpoint (13–16 GB .safetensors), the LTX Video VAE file, and the ComfyUI custom nodes for video generation. The checkpoint does not bundle the VAE — you have to pull it separately from the Lightricks repository. A base ComfyUI install with standard image nodes is not enough for this workflow.
What should I do if the Sulphur 2 ComfyUI workflow fails?
Start with the minimal test from the First Test section: 512×512, 33 frames, no faces, simple scene. If that fails, update all nodes in ComfyUI Manager and do a full restart. If the minimal test passes but complex prompts fail, the bottleneck is usually VRAM — enable --lowvram, reduce frames, drop resolution. For node-level errors not covered here, the ComfyUI GitHub issues tracker is the most reliable place to search by exact error message.
How much VRAM does Sulphur 2 need?
12 GB is the practical minimum — fp8 precision, --lowvram flag, 512×512 resolution. At 16 GB you have room for 512×768 and longer clips without constant memory management. Below 12 GB, you’re not going to get usable output from this model regardless of settings.
That covers the full how to use sulphur 2 setup from checkpoint to first output. The quality comparison — this model versus base LTX Video versus Wan 2.1 on matched prompts — is a separate post. Setup and evaluation are different questions, and combining them here would make this guide twice as long and half as useful.
If you hit an error not in the Common Errors section, drop the exact message in the comments. I’ll either recognize it or test it and report back.
Tested on ComfyUI (early 2026 build), RTX 4080 16 GB, Windows 11 and Ubuntu 22.04. All linked resources were accessible at time of writing — community model pages can change without notice, so verify before downloading.
Previous Posts: